|
Ball
Toss - Page 2: Create a Motion
in MikuMikuDance to Toss the Ball Accessory that we made using Google
SketchUp
and the 3D-RAD Plugin.
Before you start this
exercise, you will need to have the
Ball accessory object. You can create it using Google SketchUp as we
did
on Page 1... the
full
instructions are HERE.
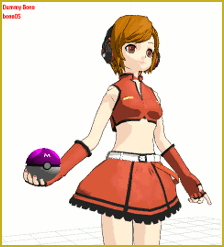
With the ball in hand, you
are ready:
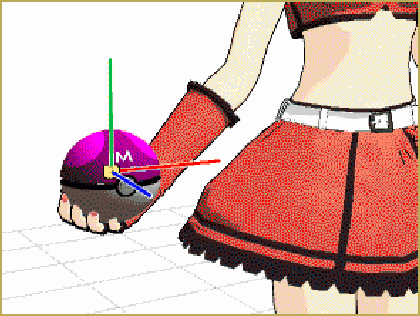
Align the ball with the
Coordinate Grid.
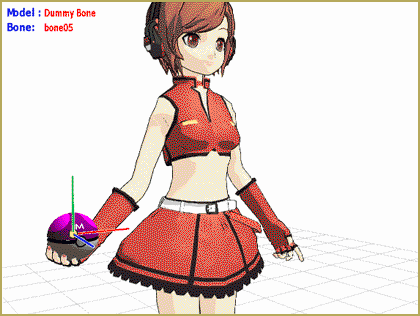
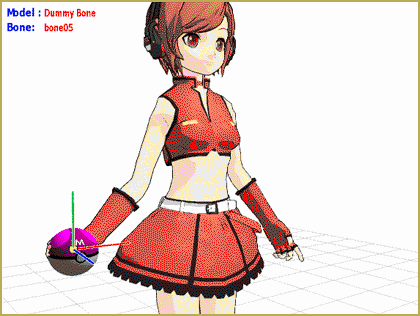
Set up Frame Zero with the ball in it's "neutral" position.
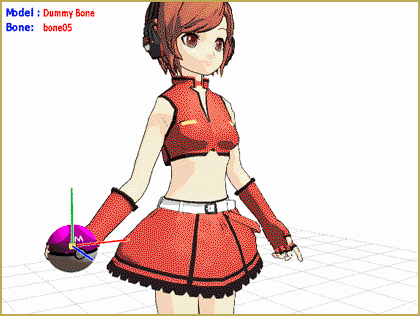
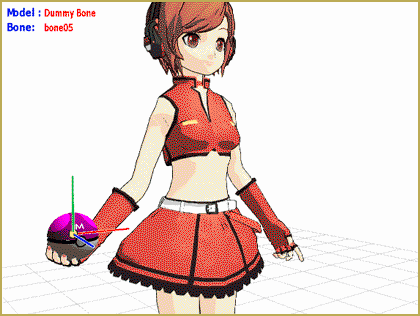
Advance to Frame 3 and lower the ball a little below "neutral"
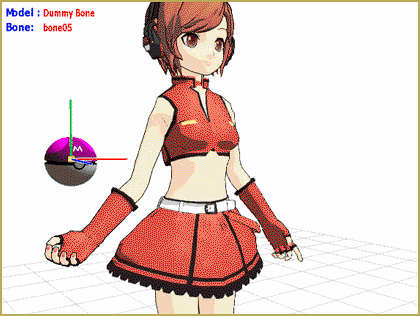
Advance to Frame 10 and place the ball at the top of its toss.
Advance to Frame 17 and position the ball slightly below the neutral
point.
Advance to Frame 22 and return the ball to the Neutral position. For
the smoothest action, COPY the Frame Zero dummy bone position and PASTE
it into Frame 22 so that the ball's in the same place as it was in
Frame Zero.
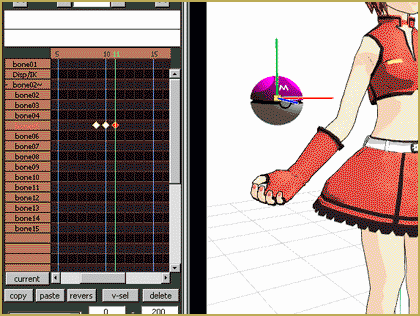
Now add some "Hang Time" to the ball's motion by COPY Frame 10 and
PASTE it into Frames 9 and 11. This keeps the ball in place for 3
frames.
That's ALL THERE IS TO IT ! ":o).
Read
the enclosed text for the details of this exercise ... and
CLICK
HERE to move on to the NEXT STEP!
|
Here's where
we are going:
But First, in
this lesson, we animate the ball's motion ... then,
later on, we will match the model's arms to that motion.
To make it easier, I
started the project by rotating the ball's dummy bone so that
its axis is squared with the Coordinate Grid. This lets the ball move
straight up or straight forward as I move the dummy bone.
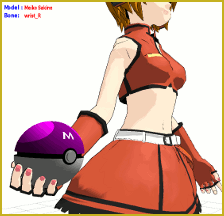
I spent some time
getting the model to hold the ball realistically. Position the arm,
wrist, and fingers as necessary. I used one of my standard hand pose
files,
RH_RelaxOpenRD, to give me a head start. You can download all of my hand
poses HERE.
When
you are happy with your Frame Zero, we are ready to move on.
We
are going to focus on only the ball's motion ... ignoring the model's
action until
later.
I
will call the ball's position in Frame Zero the NEUTRAL position.
Advance
the frame counter to 3 and then lower the ball, a little below the
neutral position. The ball's motion starts with a little wind-up before
the pitch ... giving the ball the look of having some weight.
Advance
the frame counter to 10 and move the ball straight up to the top of
your "toss".
Advance
the frame counter to 17 and position the ball a little below the
neutral position, again.
Now
go to
Frame Zero: highlight and COPY the dummy bone's diamond so that you can
PASTE it in Frame 22 to finish the motion. This locks the
ball in the very same position it was in at Frame Zero.
Finally,
fine tune the ball's motion by giving it a little "hang time" at the
top of the toss. Go to Frame 10, highlight and COPY that diamond. Go to
Frame 9 and
PASTE ... Go to Frame 11 and PASTE. This holds the ball at the top of
its
flight for 3 frames.
That's
it
":o) for one cycle.
Click
the
Repeat box by play, enter a play range of 0 - 28 ... Push PLAY ... and
it
should look like this:
Have
fun ... keep practicing ...
Keep 'em dancing!
Move
on to the next step in "tossing the ball" by creating the model's
motion:
In the next page we will set up
the model's motion to make her toss the ball.
See
you there!
|
