

Carefully select only the MMEs that you need for your scene. Control the look of your scene by adjusting the settings of your MMD lighting and the MMEs you have chosen. Adjust an MME’s variables to gain its maximum potential effect. Ray-MMD is NOT a must-use effect for modern MMD animations.
MME: Less is More…

Welcome back
Whatever the merits of the image the point we are making here is that it was done with a single suite of effects: Ray-MMD. Now I can say a lot of really nice things about Ray-MMD and I love what the effect can do.
But…
Ray-MMD might not be the best choice of effect for everything. Sometimes, other effects can do things either more efficiently or even more effectively. It depends on what it is that you are trying to do. Why is this point important? Because, recently my attention was drawn to a MMD video that someone obviously took a lot of effort to make; it featured a bunch of the latest effects including Ray-MMD and it looked awful.
MME: Less is More…
So, here are tips on how to choose the correct effects for your project and the thinking that needs to go behind how you select and how you implement MME to achieve the best results. But I will tell you one thing in advance, throwing in a ton effects into your project to create a witch’s brew of effects will usually result in unwatchable garbage.
Plus you could even potentially damage your PC by causing it to overheat. This is a truism; there is a reason why computer manufacturers put fans into computers and laptops. And one sure way to overheat your PC is making it do graphic intensive work which some MME will definitely require. ahem… Ray-MMD.
MME why use them at all?
This is a good question to ask yourself. What are you trying to achieve by using MME in your project?
- Is it because you just want a “wow” factor?
- Are you trying to impress your girlfriend?
- Do they actually add anything to the your project?
- Do you want make your project look like it came from a computer game?
- Is it because you think the default lighting looks bad?
- Do you just want to try an effect to see what it does?
- Are you trying to achieve a particular look or art style?
All of these are valid questions. Figure out why it is that you want to see as a final product of your project and this will really help when deciding which ones to use.
Color space
When you play a computer game or even when you watch an anime, they are the products of the efforts of many people. Because everyone does things in their own way, in order to maintain consistency these projects are given their own unique “color space“. What color space is, is a common palette. This is a set of colors and hues that is set for that project so that everyone uses the same colors and only the same colors.
MMD does not have a definitive color space. Everyone is doing their own thing. This is why some MMD models are rather pastel and others are an explosion of colors; and everything in between. This is where MME can help, but it really helps to factor in color space into your thinking process.
WYSIWYG? NO, not really…
Here is something else to think about if you are inclined to be heavy handed with MME. Most modern display devices vary in quality from manufacturer to manufacturer. Some displays are brighter and some are more muted. There are glossy screens and there are matte ones. Big ones and small ones. Etc.
What this all means is that images and videos that you prepare on one device can look very different when viewed on another device. In other words, what may look right on one screen might not be that nice on another. Plus to make things even more complicated, everyone experiences colors differently. Some more things to think about before you reach into your effect folders and throw in a ton of MME into your project.
But, I do not want to write a wall of text on these subjects and you won’t want to read it either. So instead, let me take you through a sample project and show you how I tackle all these issues. My method is not set in stone. Nor should it be, but see what I do and if anything is helpful, please take from it what you will.
Rayneshia again


For this project I am going to use Rayneshia again. Why? Because she’s darn cute plus she’s ideal for what I am planning to do.
Shown above you see her as she appears normally when loaded into MMD. I applied FullSimpleSoftShadows to her just to smooth out the self-shadows so that she looks a little better here. Her model does use texture maps and these are all, by design, comparatively light handed.
For my project she is going to need the help of another model…

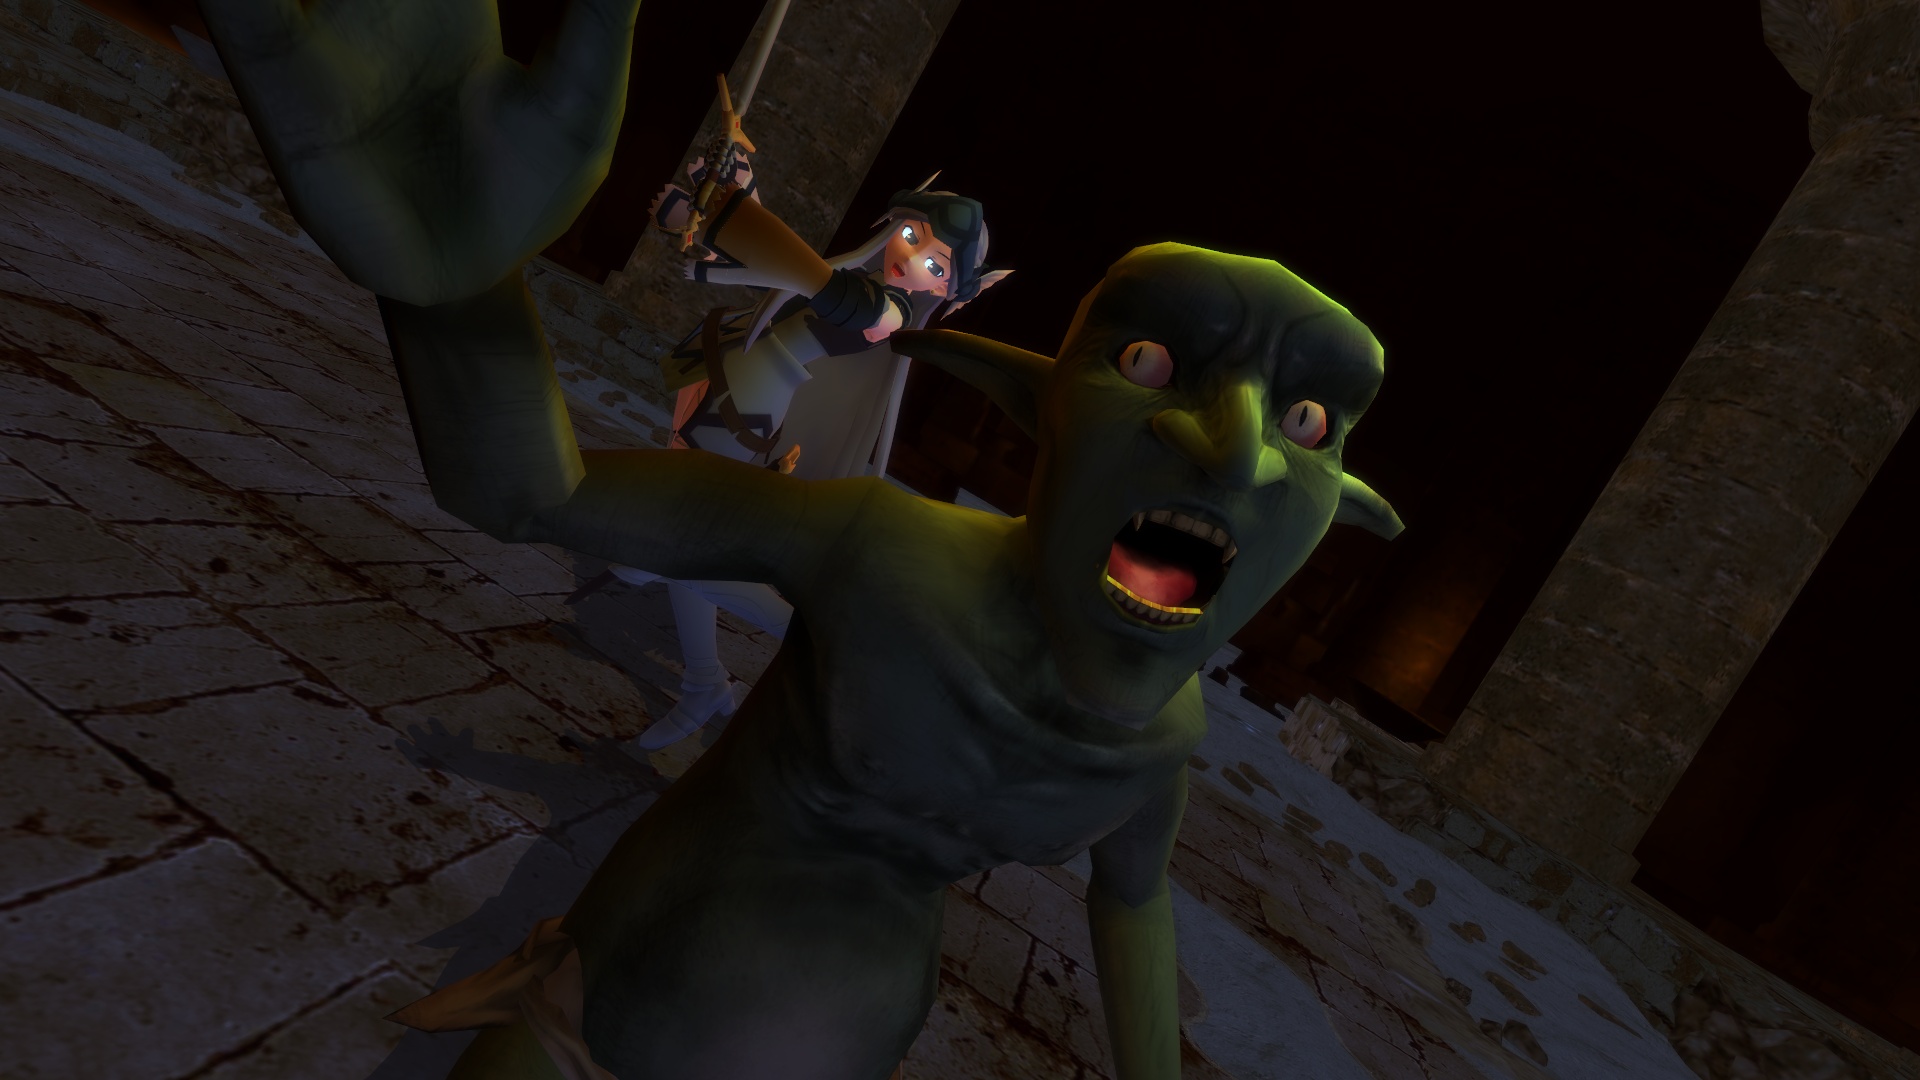
The goblin model takes a very different approach. It too uses a texture map but it is much more detailed. When viewed under MMD’s rather dull neutral gray lighting, both models can appear a little drab so adding MME to enhance the way they look is a very valid approach.

Now, if the three of them will just stop fighting for a moment…
IA’s model also uses texture maps but her set has at least made some attempt to accommodate MMD’s default lighting. She actually works fine with nothing more than the shadow softener that I used on all three models here; and in fact, very often when I use IA by herself, I just use a single smoothing effect and she shines right through.
OK we will need a stage…
Since those three are otherwise preoccupied, let’s look at staging options for our project. I have a Valkyrie and I have a goblin so I’m thinking that an RPG theme is the route to go. So I chose the stage below that someone kindly ripped from a video game. As Mr. Goblin demonstrates, the stage is huge but comes with a nice set of textures. But it is naturally on the dark side. This is fine for our RPG dungeon theme. But the stage’s color space – there is that term again – will need to be factored into our MME stratagem.

In the mean time, let’s get to work on Rayneshia again…
… away from Mr. Goblin as we don’t need anymore distractions for the moment.
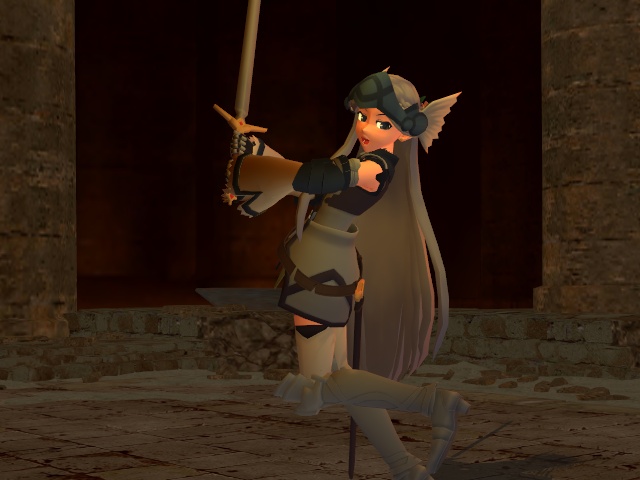
Rayneshia’s model comes with a slider that hides her sword and the same sword comes with her as a separate model. So it is easy to sheath one and place the other in her hands. This is a big two-handed broadsword and it looks like it can do a lot of damage. In MMD, we simply use the OP function to attach it to her hands and then we pose her.

I put SeriousShader on her to smooth her out for the moment but she does look like she wants to hurt someone…
I suppose since she doesn’t carry a shield, that makes her a pure DPS class. Berserker perhaps? Well no, she’s labeled as a Valkyrie. Regardless, this is an absolutely beautiful model and a dream to work with.
Dungeon Shading 101
Not sure where Mr. Goblin ran off to, but let’s get Rayneshia into the ruins stage.

She’s shown located on to the stage in the image above. At the moment, there are no effects loaded so you are seeing the scene raw. As you can see, the stage is really dark but that is not so much a challenge but just something that needs to be accounted for. However, it gives us a great clue in terms of deciding on which MME to use and this is a natural set up for the Cook Torrance effect.
Since LearnMMD already has a tutorial on using this effect, I won’t go into using it in any detail again here. However, my method of application is very different from the method used in the tutorial but for now that’s all the info you need to know.
We need only 3 Post Point Lights:
- A main frontal source to the right of Rayneshia (the right from our view point, not hers and it is positioned to shine down towards her).
- A frontal fill and ambiance light to her left (this light helps bind her to the scene and even out the color space).
- A rear effects light which subtly will pick up some of that red glow coming from mysterious sources in the back (mood lighting if you want to call it that).
The image above shows the location of the 3 Post Point Lights as indicated in the list above.
What should immediately become apparent is that after the application of the Cook Torrence effect and after the post point lights have been properly configured, both Rayneshia and the stage is in the same color space. However, it is not just the post point lights that have corrected the colors but because I also adjusted MMD global lights to unify the different elements.
The stage model does not have the Cook Torrance effect applied to it and is essentially not affected by the post point lights. However, what I did apply to the stage is an effect called DetailUp_for_landscape. All that this effect does is to enhance the definition of the stage model’s texture rendering primarily by sharpening it. One of the by-products is that it also helps brighten it a little.
But what really is brightening the scene is that I brought the global lighting level up. MMD does not come with darkening/brightening controls. Instead, you reset the RGB colors of the global light. By default it is set at 50% R,G and B and this represents what is known to photographers as neutral gray. This used to be important back in the days when cameras still used film; not really a factor anymore with digital cameras.

Above is a capture of the settings I used. Now if the RGB slider was pushed all the way to the left, you get a black light and the scene becomes very dark; great for night scenes. Pushed all the way to the right and you get a pure white light; kind of similar to the kind of white light used in the Ray-MMD render at top of the article. But the setting here uses a warm reddish light. This works as both a blender as well as a mood light.
More importantly, this cements the global color space; everything essentially is now using the same palette.
It is important to realize that the global light setting used reinforces the post point light settings. The post point lights are not giving out white light either. The one in the rear is actually a red light but it is very subtle; you might get some clue of it when you look at the edge of the wings on Rayneshia’s helmet. Subtle but still perceptively noticeable and it really does make a difference. The fill light on her right uses a blue-gray hued light and the main light has a warm hue.
These were all done by eye, you can do it mathematically, but I prefer to do these adjustments by eye and only use math if I really need precise adjustment.
Here’s another view without the post point lights visible. Since I wanted people to really see Rayneshia’s eyes (like all anime girls, they’re really big and really prominent), I like to highlight them. In this instance I applied ObjectLuminous at drastically reduced strength to her eye’s highlights. The effect is not obvious but it is perceptible and a by-product is that the eyes now really have a sparkle.
But we’re not done yet…
MMEs are divided into 3 basic categories:
- Localized effects. These only affect the model to which the effect is applied. The Cook Torrance is one of these effects but with a cautionary note. The Post Point Lights can “bleed” and affect their immediate surroundings.
- Global effects. These affect the entire scene. As such they are best applied after everything else. They are extremely powerful and usually supplied by default at full strength. This is by design for technical reason. BUT they should almost never been used at full strength so almost universally, there is provision made by the effects programmer for the user to adjust the strength of the effect. Read the readme.txt for details but in most cases, adjustments are made using the accessory manipulation panel controls.
- Specialized effects like explosions, smoke and mirrors. Etc. None of these were used here so I won’t say anymore about them.
Only a single global effect was applied here and the images below shows you what it does and I will explain why I used it.
Diffusion7
This effect is not simply a Gaussian variant. By default it does two things, blur and slightly darken an image. But in actual fact, it can also be used to tint as was done here.
Dungeons are dark, but the scene above is bright. Which is fine, some people might like that, but dark also means mystery and scary. Since, Rayneshia is a brave anime Valkyrie girl I wanted her in a much moodier scene so that it focuses in on the characters in the scene. In other words, the darkness serves to frame the scene. All this will make much more sense when you see the final scene.
The strength of the effect can be adjusted by operating Tr (transparency).
The blur range can be controlled by Si (size).The default is a little stronger, so please adjust accordingly.
You can perform simple color tone correction by moving the position of the accessory.
X, Y, Z respectively correspond to R, G, B respectively,
The intensity of the color changes in the range of -1.0 to 1.0.
Taken from the Google translation of the readme.txt (emphasis mine) and that’s the method we used to achieve the results above. The tint added incidentally is bluish in color.

And so Rayneshia finally finds Mr. Goblin again…
When I plan out images and MME strategies I almost always factor in the size of the final product. But since I can gain control of the MMD color space through the judicious use of available MMEs, this makes my projects much easier to implement.
Oh and BTW, we only needed to use four effects to do all of this.
- Cook Torrance
- Diffusion7
- DetailUp_for_Landscape
- ObjectLuminous
Thanks for reading and I hope this article will encourage you to carefully plan out your MME strategy and not to acquire the habit of throwing everything into a witch’s cauldron and hope for the best. Plus, you will prolong the life span of your hardware by not needlessly overheating it’s circuitry.
Credits
Rayneshia Valkyrie model by black-yuzunyan
Goblin model by Mosamosa_fox
Ruins and temple stages belongs to Bandai-Namco Games
Grassland stage – author’s name not documented – Japanese modeler
IA Rocks model by Mdql (this version my edit)
Epony model belongs to Nintendo
MMD 9.32
Inkscape
Irfanview
MMEs used as noted in text above.
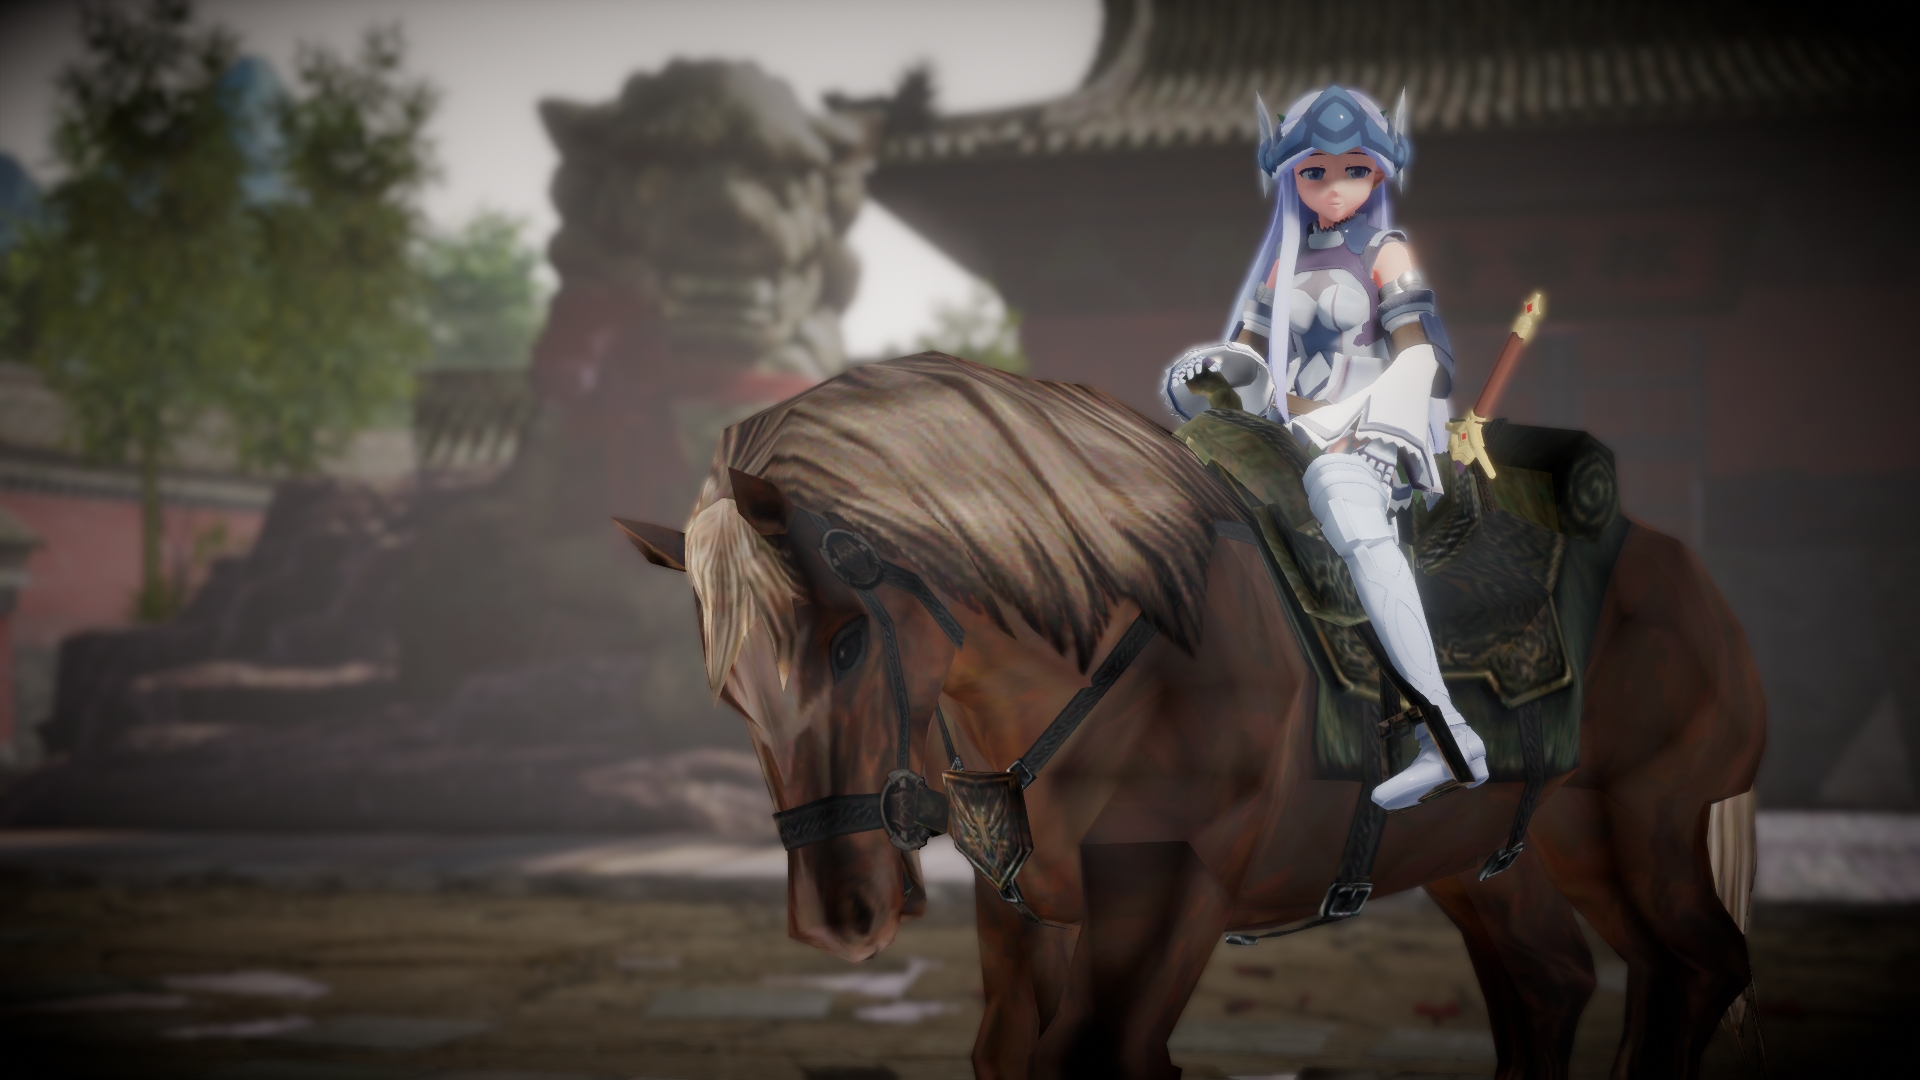
Ray-MMD was used exclusively on the header [The Last of her Kind] and bonus [Ride of the Valkyrie] images.
– SEE BELOW for MORE MMD TUTORIALS…
— — —
– _ — –
![]()
