 How
can I add bodies to the bones in the MMD model I am making from scratch?
How do I add physics to the skirt in my MMD model... how do I do it?? How
can I add bodies to the bones in the MMD model I am making from scratch?
How do I add physics to the skirt in my MMD model... how do I do it??
Making Your First Model Part 18
. . . Anyone know how to add skirt physics?
Ya’know Magnets?
Science knows how magnets work. But, does the average person know how they
work? I feel like that’s a good analogy for MMD physics. I know I can
grab two magnets and make them stick together. I can make them repel
each other. But does it really matter if I know what is happening?
Before we get started, we need to add bodies. What are bodies?
They’re boxes, circles, or pills that say “Hey! I exist! Don’t pass
through me!”
There aren’t many model making tutorials that really hold your hand,
so the first time I was adding bodies . . . Not only did I do it one at a
time, I also adjusted the position and size by hand! But thankfully, we
don’t have to do that. Nope!
You can add bodies to as many bones as you like at once. When you add
the body to the bone, it is automatically sized to fit the bone! So,
let’s select all the bones in her left arm.
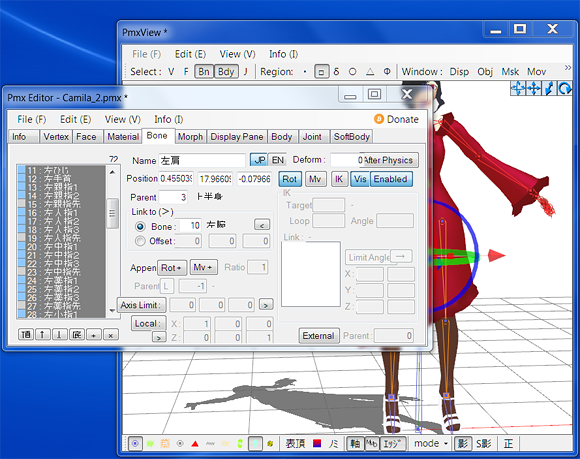
After they’re selected, go to “Edit > Bone > Create Body”.
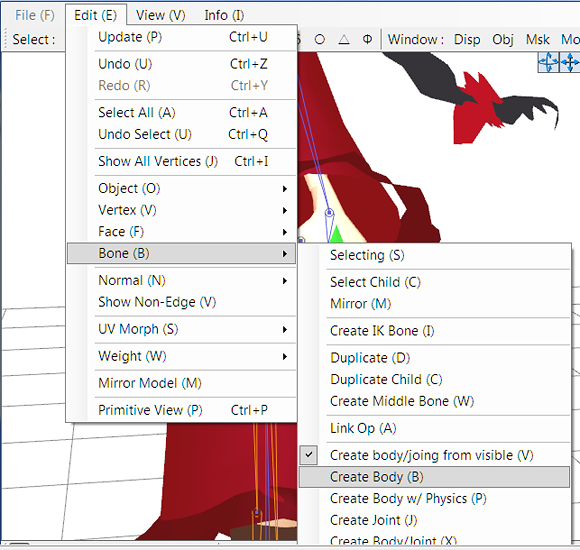
Click that and . . .
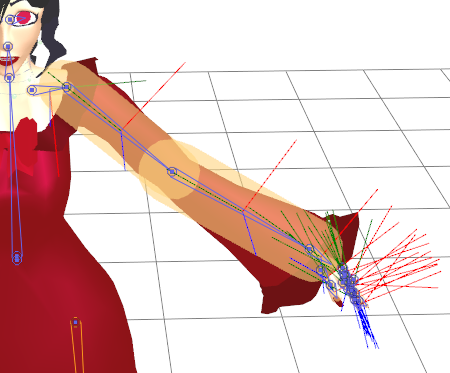
We have bodies! It’s hard to see, but invisible bones were ignored so
that we don’t have extra bodies floating around. See, that was the
reason we added the invisible bones! Without them, the tips of her
fingers would have bodies that were the default size on them.
Now, if you can do the entire arm at one time . . . Why not do all of the bones? Simply put, there are quite a few bones that don’t have
bodies. IK, center, groove, and eyes don’t have them. It makes sense!
But I have trouble selecting multiple selections in the bone panel . . .
So I’ll just repeat the process from before until I have all of the
needed bodies!
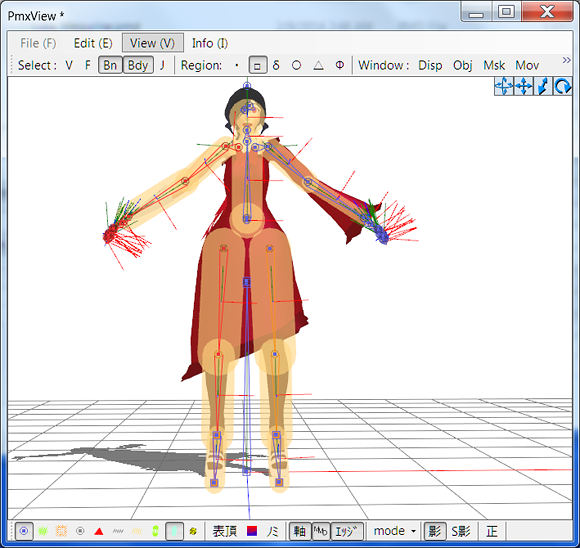
All of the bodies are added . . . But some of them look a little to
big! The length is perfect, but the width is a little “extra”. So, let’s
go into the body panel and fix that!
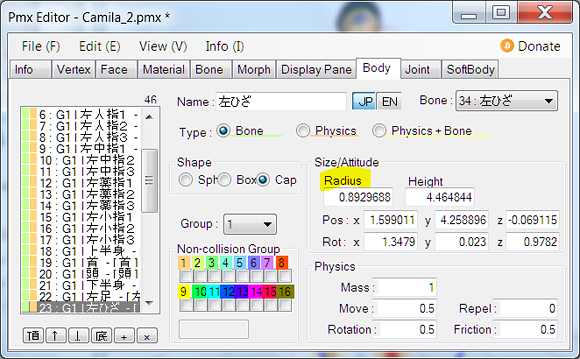
Because the length is good, the only thing we need to change is
radius. Remember how circumference = 2πr ? (That’s two time pi times
radius!) Changing the radius makes it bigger or smaller.
After resizing a few parts and changing her upper body body into a box, here’s what we have!
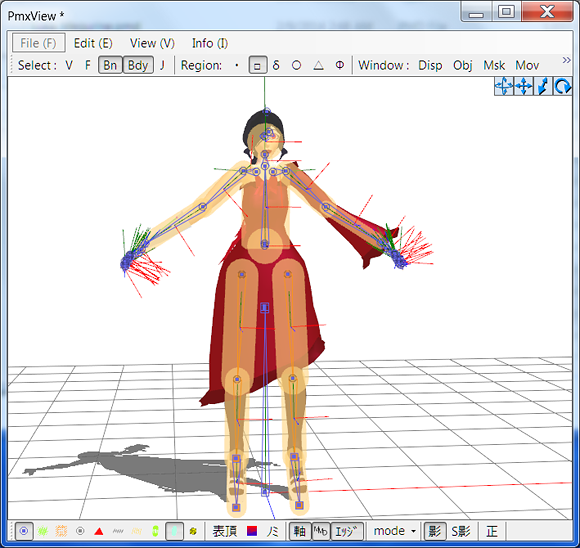 Done adding bodies to bones without physics… Now, without anything with physics . . . these bodies do literally nothing. If you were content making a model with no physics, you wouldn’t need to add these bodies. Regardless! We will be adding physics.
To get morale up, let’s start with something easy . . . Skirt physics.
If you’re new to making models, you probably think I’m being
sarcastic. But I’m not! Thanks to a skirt plugin, making skirts is as
easy as easy can be!
This is the only version I have a link to. Mine is in English. If I knew where
I got it, I’d share! Unzip it, plop the .dll file in your “_plugins
> user” folder in PMXe. Open up PMXe, and you should have a new
plugin ready to use!
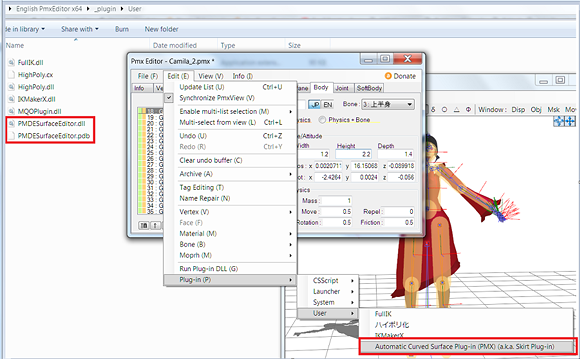
Now, let’s start out by masking her body so that it doesn’t get in
the way. Make sure vertex select is on, then select the skirt.
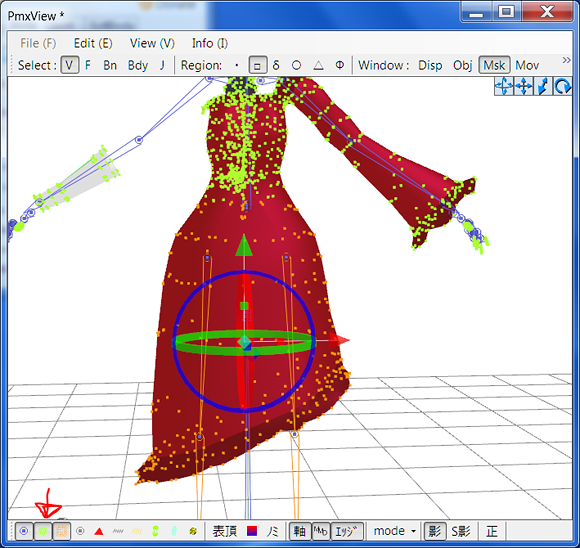
The first thing is that I drew a little arrow to the view vertex
button! When you’re making bones for things you’ll add physics to, it’s a
good idea to see where exactly the vertices are so that you don’t have
too many bones for something that doesn’t have enough vertices!
The second thing is that I likely selected too much too high up. But
I’m really hoping that adding the skirt physics will make her hips stop
popping out of the dress, and I’ve had problems that high!
Now, let’s open the plugin using the path from earlier.
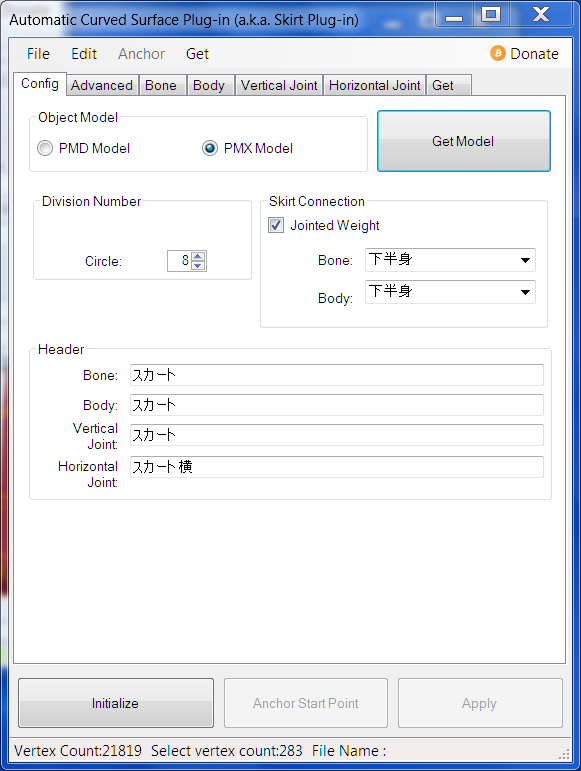 Skirt Plugin Config Panel So, at first it’s pretty self explanatory! Choose PMX model and “Get
Model”. That will fill in what the skirt will be connected to.
Now . . . you came here for a tutorial. You didn’t come here to get linked to someone else’s tutorial . . . So here ya go. Sometimes you get frustrated with the ineptitude of people writing for free on the internet.
Now, I copied all of their screens on their tutorial. It’s time to press “Initialize”.
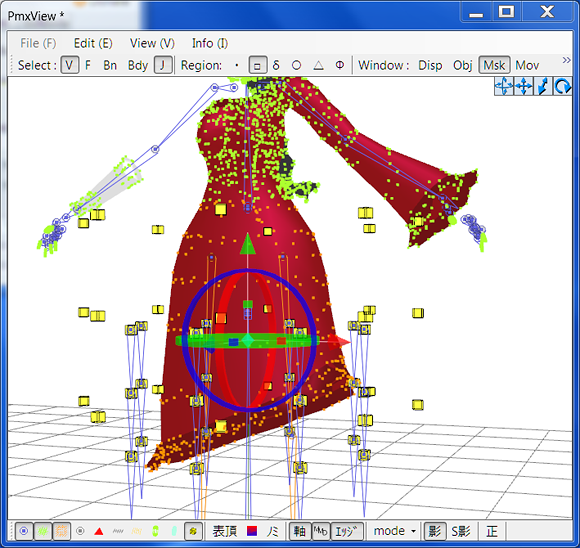
And I almost spoke out loud, “What are those?!”
Then I looked and realized that now, I need to click “Anchor Start Point”. Then, according to this tutorial where I swore I got the plugin from, you select only the joints and fit them to the skirt.
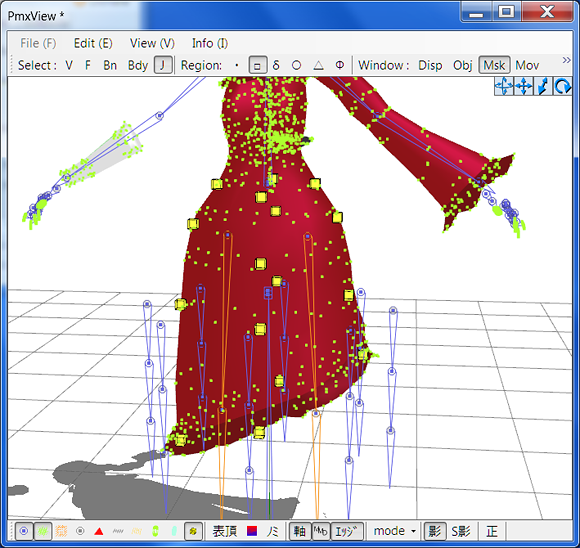
Now . . . To mash “End Anchor Point”.
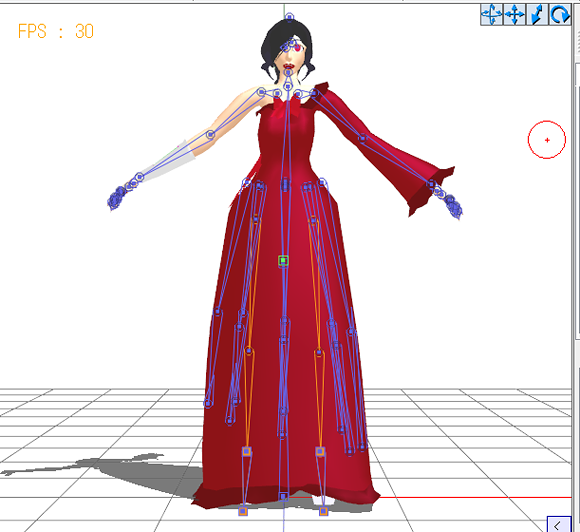
hmmm . . . This is literally not what I wanted.
Let’s try it again.
. . .
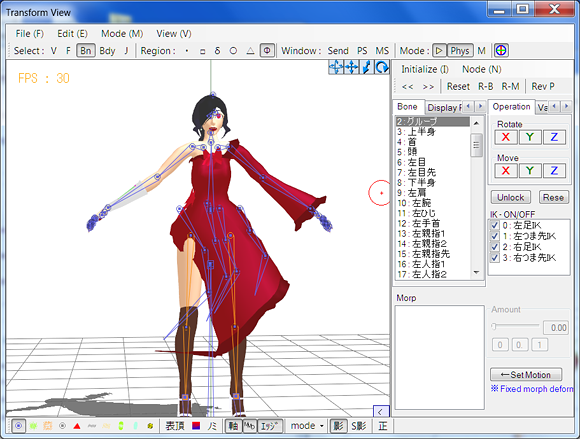 Skirt after another attempt at using the plugin huh.
. . .
Ever notice how a lot of MMD tutorials telling you how to fix skirt physics already have skirt physics?
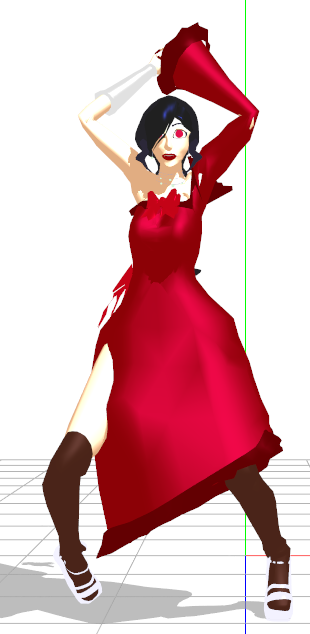 Camila in MMD… with bad skirt physics Why?!
I have a theory . . .
ナイフ!!!
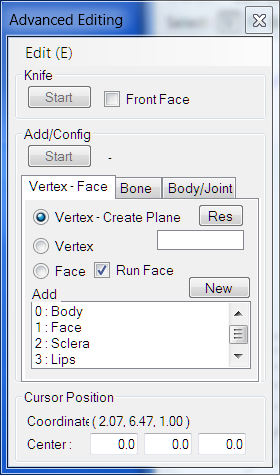
I will use the KNIFE to make vertices! And then maybe the skirt will stop being a bother! Because maybe there just aren’t enough vertices!
I am mad, so I will [mildly offensive stereotype] you skirt!
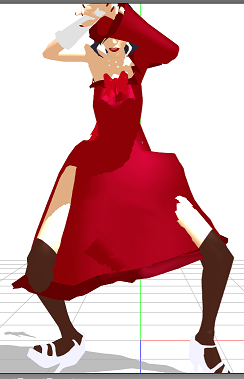 Camila in MMD Looking Slightly Worse! . . .
nope. adding more vertices did nothing.
Ok, Camila, you win this round. Or you lose. I don’t know.
But you don’t get skirt physics for now.
And ‘member when I fixed her foot IK on both feet and was so happy?
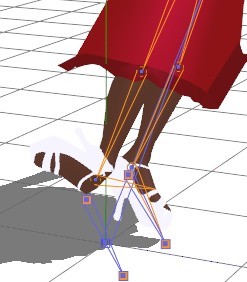 Camila’s ankle is broken I’ve stared and I’ve stared and I literally can’t find any difference
between the good foot’s settings and the bad foot’s settings!
It feels like I can’t do anything today . . .
You know what I can do?! Hair physics! Tune in next time when I do hair physics!
<
Previous Tutorial CONTENTS PAGE Next
Tutorial >
|

