 How
do I make textures for the MMD model I am making from scratch? Is it OK
to copy texture images from other sources? What about spheres and toon
files if I use textures? How
do I make textures for the MMD model I am making from scratch? Is it OK
to copy texture images from other sources? What about spheres and toon
files if I use textures?
Making Your First Model Part 25
Creating Textures
If you’re interested in making textures by hand, make sure you have
your UV maps! If you don’t know how to make UV maps for texturing, I covered it earlier in the series.
Paint it, paste it, or generate it!
Those are your basic options when it comes to textures. You can paint
the textures by hand, paste textures from other images, or use some
fancy computer smarts to edit the AO map to look like a decent texture!
One of the nice things about working with Blender on an MMD model is
that you can trash the model in Blender and never have to worry about
accidentally saving it. You have to put quite a bit of effort into exporting a model. Because of that, I feel safe completely wrecking the model to get AO maps.
When Camila’s braid is the correct shade of black, the AO maps are
impossible to read (at least on my screen). If you change her hair color
to something like white, the AO maps suddenly become a breeze to read.
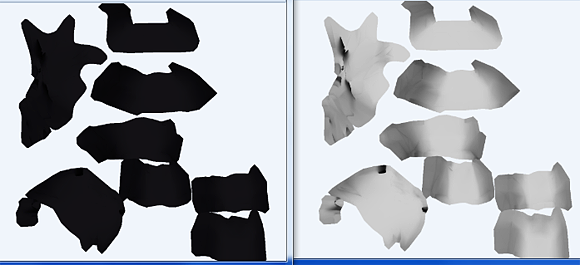 AO Map with Black Material vs AO map with Light Material Because “Paint It” uses the least technical knowledge, I felt like I could knock it out first.
Paint it!
You know how old people tend to make their lives harder by adding way too many extra steps? That’s me!
I’ve found out that it takes slightly less effort to open SAI, load the
AO and the UV map, paste those into the same file, save that as a PSD,
then open it in Photoshop than to just open everything in Photoshop.
Now, for me, having both the UV and the AO is important. I keep them
both on separate layers so that I can check that things are lining up as
they should. However, you don’t technically need either of them.
To be silly, let’s talk about all the ways you could make these
textures. You could do what I’m doing and paint them in Photoshop. You
could use the UV map as a guideline and do it in MS Paint. You could
print out the AO maps and paint over them, then take a picture and
adjust the final picture so that everything lines up with the UV map. As
long as you paint in the general vicinity of the lines, it should work.
Now, for the painting part . . . There isn’t much to say! If you
aren’t much of a digital artist, then painting might be more trouble
than it’s worth. For me, I at least want to try! But a 1,024 x 1,024
image is much too small for me and my attempts at “realism.” I
increased the image size to 3,024 x 3,024. I’ll downsize it once I’m
happy with it, though!
. . .
Remember earlier how spheres and toons override materials? Materials
override textures. When I first imported the texture for the braid, I
was bummed out to say the least!
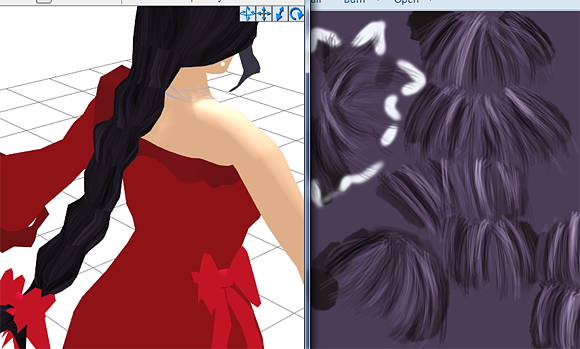 Texture on top of dark materials However . . . If I lighten the material . . .
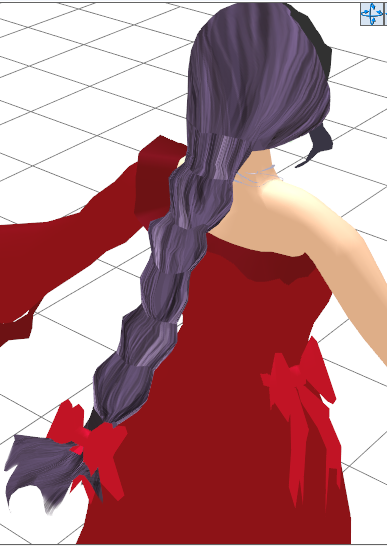 Texture on top of light materials Bingo!
Now that it’s imported, we can see some issues. Let’s think of a way
to fix it. The biggest problem is probably the fact that each part is
just so disparate. To fix that, we can copy a flattened version of one piece and clone it to all of the other pieces.
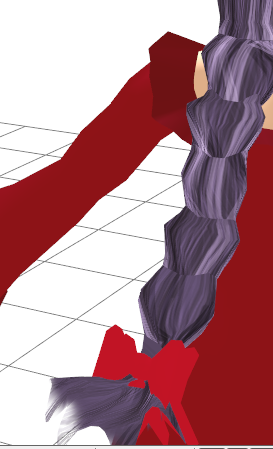
Hmm . . . It’s a slight improvement!
However, there’s not too much of a point trying to perfect the texture when there are two more methods to show you!
Paste It!
Alright, no more talk of painting now!
For “Paste It”, I took a picture of my hair on my phone and then
edited a bit. I pulled that open in Photoshop and cut a chunk out of my
hair and pasted it onto Camila’s hair.
For this, I didn’t touch the AO map. I simply pasted the hair on top of the UV map!
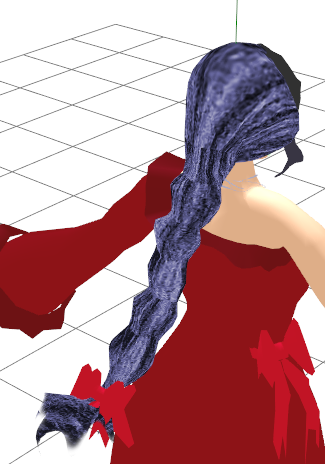
Eek! I should have probably noted that my camera isn’t the best . . . and I have some of the worst lighting in my room! Let’s add a few filters to see if we can’t make it half decent.
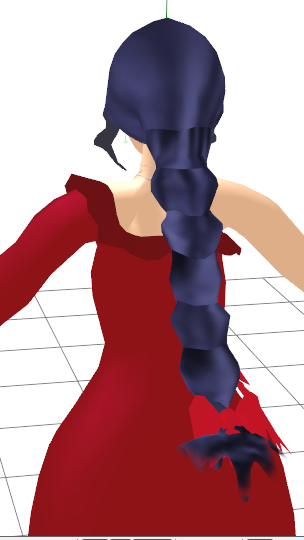
Hey! That’s at least a quarter decent!
Let’s talk turkey, though. If you were to use an actually decent picture to paste from, then this method could make your result look stunning.
For this hair, I made a fatal flaw while making the UV maps. The knots
aren’t lined up properly, so half of the knots are facing one side, and
half of them are facing the other. That could be fixed by remaking the
UV maps or by just going in and flipping things around until it’s somewhat congruent.
Generate it!
I don’t exactly want to hit up Google Images to find images that may
or may not be fair use. . . And my painting skills are rusty! But I still want a texture!
What is a girl to do?!
Well, with the AO map . . . We can mash random buttons in Photoshop until we have something decent!
While for the other parts, I just said “Here it is!”, I’ll actually walk you guys through this part.
First, let’s make a copy of the AO map so that we can destroy it and
not feel bad! Second, let’s paint bucket in a pretty good base color for
Camila’s hair in a layer under that.
Set the AO layer to multiply, and you should have something that looks like this . . .
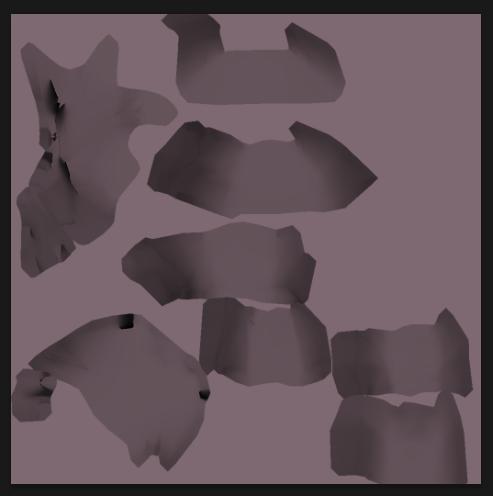
Now . . . to press random buttons! I made a layer above the AO and
stalked through the filter list. And . . . I mashed random buttons until
I got this:
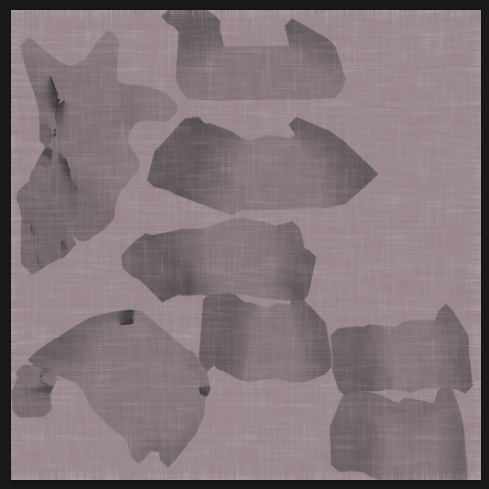
Looking at it . . I know I need to add a multiply layer to give her black hair! But I don’t just want it to make it darker . . . I want to make it have texture!
. . .
WOAAAH!
I just found something that basically made hair! Angled Strokes in
the Filter Gallery! Look how cool it made the layer I was playing with!
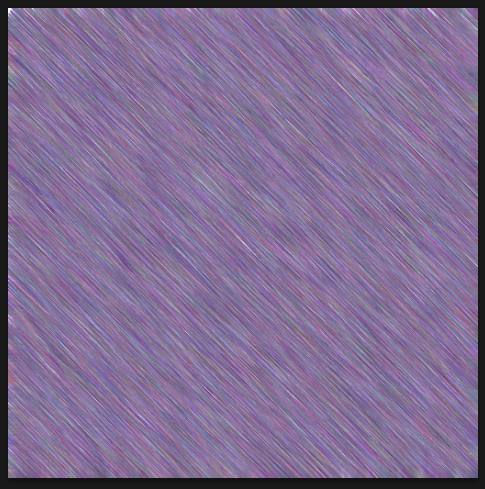
Now . . . After quite a bit of playing around . . . We got this.
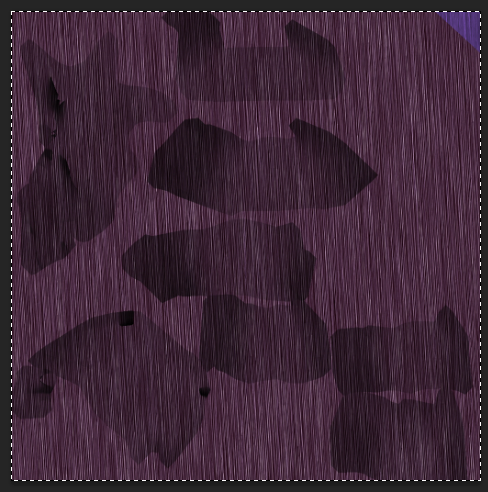
Now . . . Let’s cross our fingers . . . and type the name into the texture box . . .

It’s a mess!
So, let’s be honest here. There’s a reason the models of yore didn’t have textures. They’re kind of hard to get right,
and they’d probably look better with just the materials! So . . . I’m
sorry Camila, but you won’t get any textures. You’re just going to be
stuck with spheres and toons. . . Except for your eyes, of course!
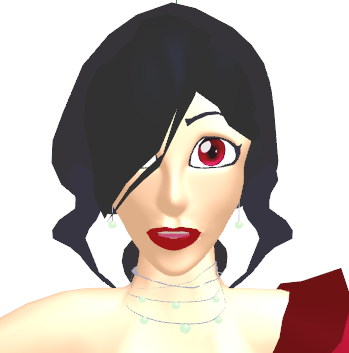
Those eyes look pretty awesome, don’t they! Well, that’s on Yesi. I
got so frustrated with this whole situation, I cut the eyes out of a
drawing of Camila and edited them to fit in Camila’s irises.
Remember – cutting things out of images and using them is OK when you play fast and loose with copyright!
I’m sorry to all of you – what should have been one part has ballooned in to three!
Check in next time when we start adding toons and spheres!
<
Previous Tutorial CONTENTS PAGE Next
Tutorial >
|

