Use the Gimp Canvas Size to add borders

Add a border using
the GIMP Canvas Size tool
Find the Canvas Size tool under the IMAGE tab.
We are going to increase the image size by adding image-area outside of our existing image size.
If you use SCALE (image size)... you increase or decrease the Size of your image.
When you use CANVAS SIZE you increase the area in which your image is floating. (You can also use Canvas Size to trim the size of your existing image.)
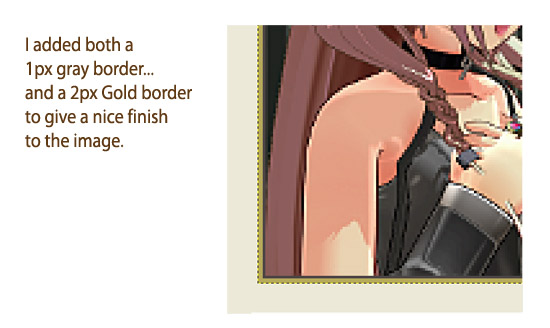
We are going to add... TWO borders, actually.
See the illustration.

We will add a 1px GRAY border all around our picture. ... so we will add 2px in height and width to our image size... and center our old image inside that new image area.
See that the little chain-link image is broken... if it is not broken, click it to break it. That chain locks the proportion of your image. By adding an equal number of pixels all around the image, we will be changing the proportion... and so must break that chain to unlock the proportion restraint.
My image was sized at 160x200. To add 1px all around, I will change the size to 162x202
Then click the CENTER button to float the old image in the center of our new image size.
Now choose the best option in
that "Resize Layers"drop-down.
I chose "All visible layers"
And click the Resize button.
Go to the View tab and ZOOM to 400% so you can see the new border.
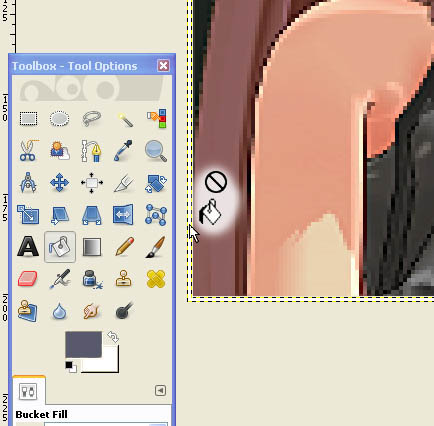
You can FILL that border with color using the Bucket Fill tool. I clicked that color swatch and chose a nice dark gray color for the inner border.
YOU MAY SEE that
you cannot fill that border...
GIMP will not let you! ... See the image at left.
... this is TOTALLY FRUSTRATING if you don't know the trick. No matter HOW much you try to "select All"... nothing works!
... but there IS a trick.
You cannot fill that border because the area is not selected. ... Even if you Control-a to
Select All, that border will STILL be not selected.
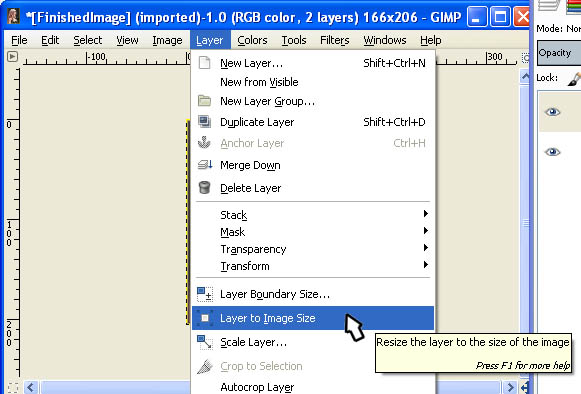
We have to go to the LAYERS tab...
Layers>Layer to Image Size
That expands the selection area of that layer to include the full image... NOW the border area is included in the selection.
Go ahead and use the Bucket Fill tool to make that gray border.
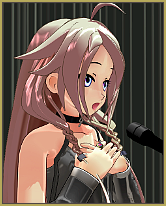
That GOLD BORDER is a "big deal" on LearnMMD.com
Since day-one, over four years ago, I have tried to create every image with a gold border...

... using THIS particular "gold".
You can Right-click that gold image and select "Save image As" and save it to your desktop as a color reference for your LearnMMD images. ... maybe save that color as a Swatch in your art program... LearnMMD Gold
... and THESE days, I also include that 1px inner border. It really makes the image "pop!"
... we will take a look at how to SAVE images when using GIMP.
Presented by LearnMMD.com
The most complete MikuMikuDance resource on
 the web!