Finally, Flatten & Crop to finish our GIMP Layer Tutorial

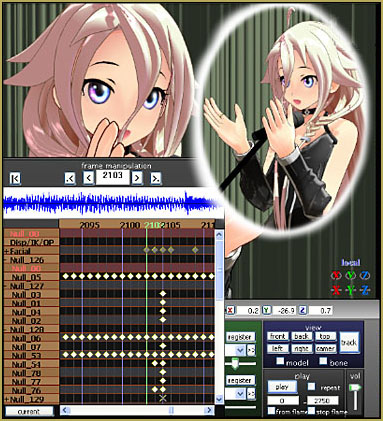
 The Finished image!

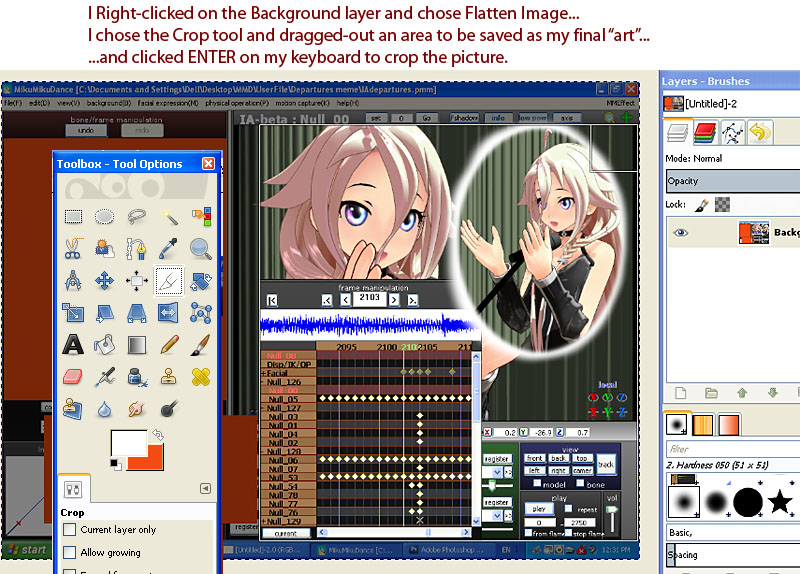
Flatten the image, make it into a single layer...
You may Flatten your image at any time... whenever you think you will no longer need to access the individual layers.
Simply Right-Click any of the image layers and choose the bottom selection: Flatten Image.
... take a look at the other options on that menu. One handy one is the Merge Down... that merges your selected layer with the one beneath it.
... also handy is Merge Visible. You can click the eye on layers you want to keep to make them invisible... so that all of the visible layers can be merged into one layer without flattening the invisible layers, which you can make visible again.
Use the Crop tool as shown in the picture to finalize the shape of your picture image,
You can use the Scale tool, under the IMAGE tab to resize your picture.
I also added borders as described in the basic Getting Started with Gimp Tutorial.
The model I used is IA edit by Hidaomari v2.0
Thank you, Hidaomari!
That's it!
We have only scratched the surface of what can be done with Layers in GIMP. Experiment and play with GIMP to learn its many secrets and hidden powers!
Visit the
Getting Started with GIMP page!
Return to Using Layers in GIMP
Return to Getting Started with GIMP
Presented by LearnMMD.com
The most complete MikuMikuDance resource on
 the web!
