 How can I use Blender to make
a model for MMD? How can I extrude model shapes in Blender? How do I shape the hips and torso for my new new model? How can I use Blender to make
a model for MMD? How can I extrude model shapes in Blender? How do I shape the hips and torso for my new new model?
Making Your First Model Part 4
Modeling the Upper Body
Alright! Last time we used the Joan of Arc tutorial to
give Camila legs and a rump.
Now, we just need to extrude the edge loop I selected
here to start making her abdomen!
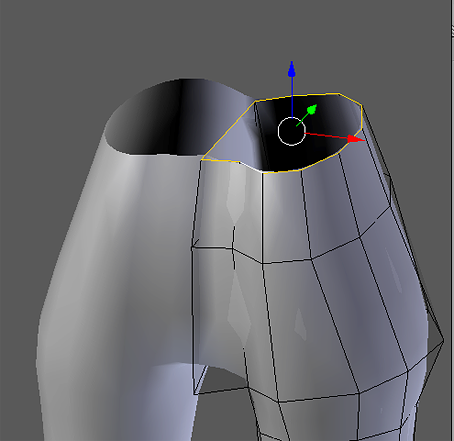
Here we run into a problem – because I made a
bad “reference-collage”, Camila’s waist is tiny!
We have two options – the first is to make the hips
smaller so that her waste seems larger. The second is to make the waist
larger.
After a bit of fiddling, I got the hips to a more
respectable size.
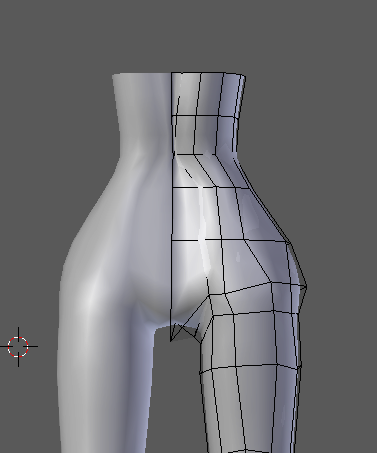
While my first instinct was to make the waist larger, I
just kept thinking about Camila as a character. She’d be the
kind of character who would have large hips and a tiny waist in my mind.
Now, let’s get on to what I’ve been dreading talking
about.
The bust.
There is a Japanese word that sums up what I think of
most tutorials for female busts. Sukebee. I
tried to find tutorials on YouTube about modeling the bust, and I got a
bunch of sukebee videos about adding
unrealistic physics to the bust.
Even our dear Ali Arango giggled like a
little girl when it came to the “feminine parts” in one of his full
body tutorials!
So, let’s just try to wing it, because I’m not venturing
out into that world again!
First, I extruded the edge loop before up to the neck
and then adjusted the sizes to make it fit better. I also extruded the
neck way higher than it had any right being because I just want to slap
a head on it without being proper and attaching it correctly!
(Seriously, life lesson – nothing actually has to be connected! The
bone will move whatever is weighted to it, regardless of if it’s
connected to the rest of the mesh or not!)
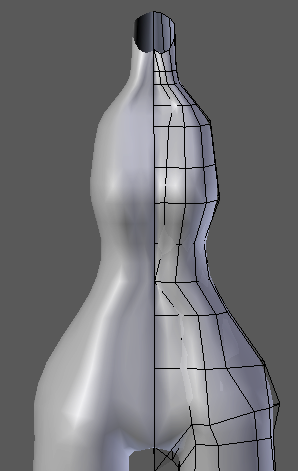
For anime standards, Camila is relatively flat-chested.
However, tracing the profile of her bust reveals the fact that she’s
very much not flat chested.
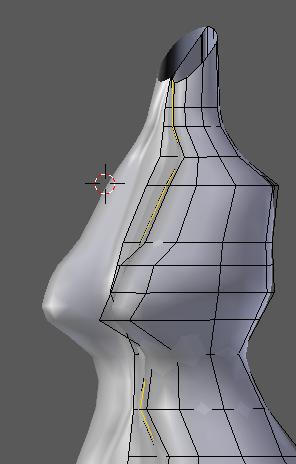
So, how do we fix this? A lot of loop cuts and a lot of
moving of vertices.
So, a quick note on breasts. If Camila were a real
person, it would be pretty obvious she was wearing a heavily padded
bra. Basically, women only have cleavage when they squish their chest
and push it up. This means that since the tissue is being squished and
held in place, there should be no breast physics.
I wish that I could have written up a great tutorial
breasts and shared the knowledge with all of you in a non-sukebee
way . . . But when it comes to something organic like the chest, it’s a
whole lot of loop cut, move around, does this look ok? I hope it looks
ok! Once you finally get to a stopping point, it’s not because it’s
perfect. It’s because it’s close enough.
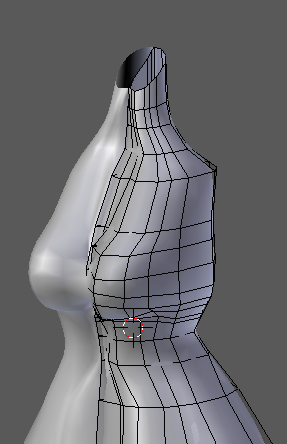
Next, we come to the arms. Oh man, arms are only
slightly better than breasts!
Let’s select some of the faces near the shoulder, delete
them, and then use the “looptools, circle”.

If your loop circle looks more like a loop square, undo
and add some loop cuts around that area so that there are more vertices
to turn into a circle. Now . . . We trace!
Rotate and extrude to get the right shoulder shape, and
then just extrude down for the arm.
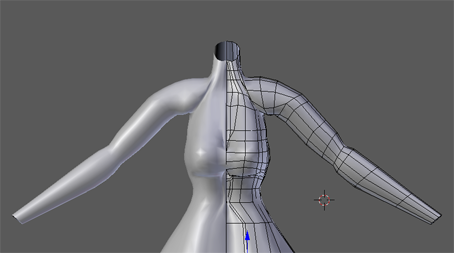
Without a very clear reference of what the arm should look
like, we’re left guessing. Nowhere is that more apparent than the
armpits. However, this is a tutorial for beginners, not Michelangelo!
We can live with silly armpits for now.
And now . . . For the hands.
For the hands, let’s use this lovely tutorial that makes
sense to me.
Here’s something awesome – you can make that hand
anywhere you want to, as big as you want to, and then you can resize it
and move it to where ever you need it!
While it would be nice to use a reference for the hands,
we can make due without. Just follow the images as closely as you can .
. . while still straying enough to make it look like a woman’s hand!
. . .
How far did you get before giving up?
I got to the “reshape the underside” of the hand! If you
got further, you’ll have better hands than I will!
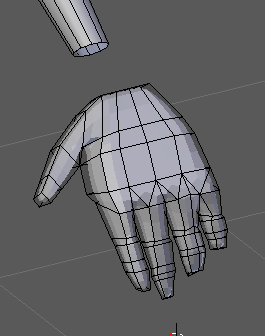
While we can hide where the wrist and the arm meet
thanks to an extremely chunky bracelet and a really long sleeve, we
still need to make the wrist.
Select all of the faces, and let’s add our friend
“Looptools: Circle”.
If you know that the area will be covered by an
accessory, you don’t need to make the junction of the arm and the wrist
look good. Should you? Yes. Do you have to? Nope!
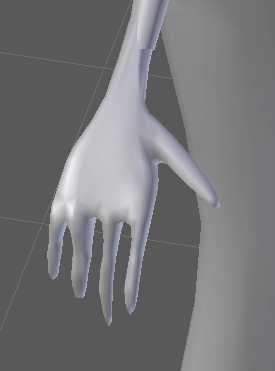
Alright, you and me, we’re both new here. Just take a
deep breath and tell yourself it’s okay
to make horrific hands because if we spent hours just
learning to make half decent hands, we’d never get anything done.
Well, now the upper body is done! What’s left?
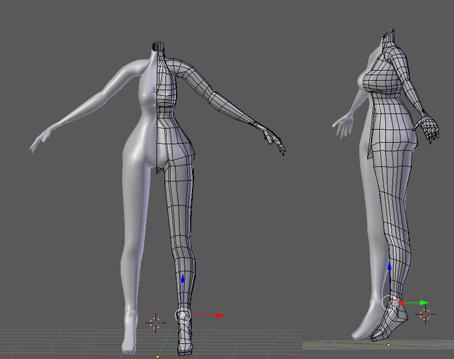
What’s left is the stuff that gets really tricky. The
next part is the head.
There are a million different ways
to do faces and a million different tutorials. But the honest
truth is that no one tutorial works for every face.
In the next part, I’m going to struggle with faces. Wish
me luck, because anime faces are a doozy.
<
Previous
Tutorial CONTENTS
PAGE Next
Tutorial >
|

