 How can I use Blender to make
a model for MMD? How do I model the head and face for my new MMD model? How can I use Blender to make
a model for MMD? How do I model the head and face for my new MMD model?
Making Your First Model Part 5
Face Tutorial Shoot Out
What are you doing to the tutorials?!
Oh! A shoot out!
I’m going to take six head tutorials, try all of them .
. . and only let the best survive!
While the earlier parts of this tutorial were very
wordy, this part will have way more pictures.
Before we get started, let me tell you how I’m going to
have six heads simultaneously in the same .blend file. Layers!
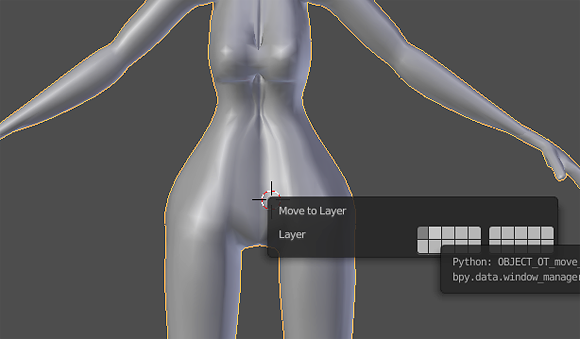
First, go into object mode. Select the object you want
to move, and then click any of the boxes to move that object into its
own layer.
If you’re used to image editing software, you’ll be
confused why these are called layers – in Photoshop or SAI, a layer is
generally still present and visible and has an effect on the finished
product. In Blender, you could call layers “go over there and don’t bug
me” boxes. Because I want to try out six different heads and have all
six available to choose from at the end, those “don’t bug me” boxes
will be my good pal!
With that out of the way, let’s get started on the first
tutorial!
The definition of insanity is the state of
being seriously mentally ill. But it sure is silly to do the same thing
over and over again and expect a different result!
That’s my feelings towards this tutorial. I’ve tried it
again and again and never got anything close to her results . . . So
let’s try it again to see if I get anything close to her results!
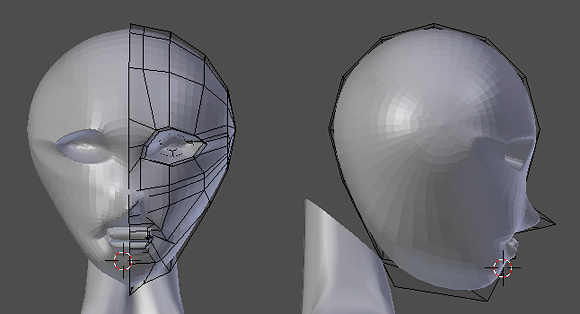
Well, there’s a saying online that sums up my feelings
about this tutorial.
The
directions were unclear; my rooster is clinging to the ceiling fan for
dear life!
The Joan of Arc tutorials have one fatal flaw for me –
I’m not sure if the person who translated it was that great at English.
However, with the absolute plethora of images included with the head
portion of the tutorial . . . it shouldn’t be an issue!
This tutorial uses “weld” quite a bit. To do this,
select two vertices (anything else ends up weird!) and press “W” on
your keyboard. After doing that, select “Merge”. I usually choose “At
Center”. This will weld together those vertices.
For this tutorial, I suggest actually ignoring the text
and just copying the images. At least . . . That’s what I’m doing.
. . .
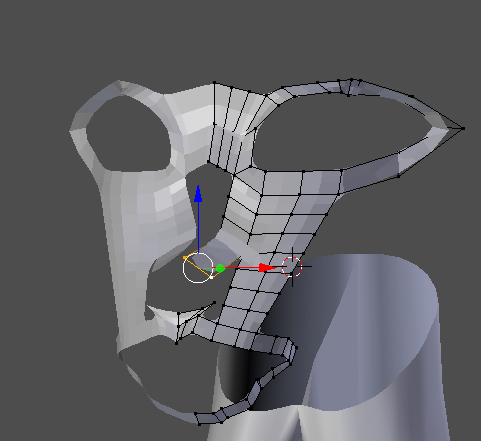
That’s actually terrifying. Let me delete that and try
to read the words this time . . .
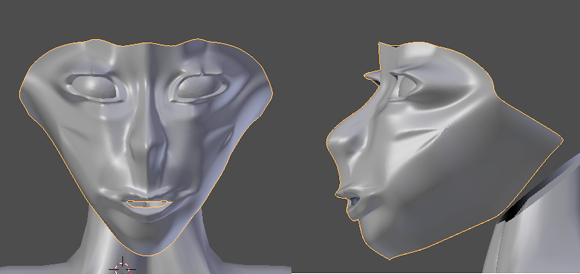
oh.
The method here is very similar to the Joan of Arc
tutorial . . . but it’s well written! So maybe, by some magic, it will
work out!
Also, I realized that the face anatomy was just . . .
wonky in my reference. I re-positioned the side reference picture
before moving on!
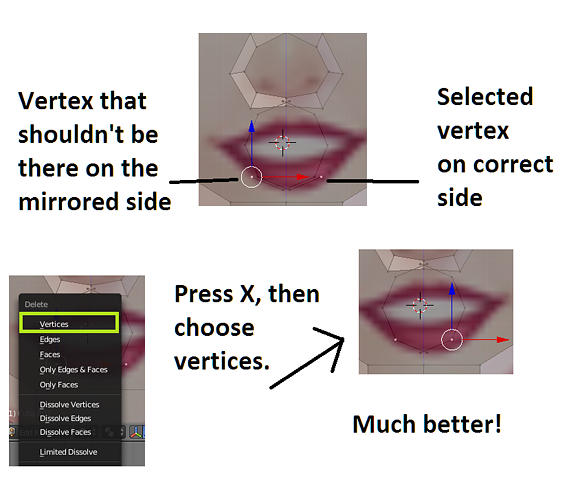
One thing I dislike about this tutorial is that it asks
you to create circles that cross the X axis . . . meaning that it
doesn’t do exactly what you want it to. In that situation, there is a
pretty easy fix!
Alright . . . After struggling, I finally made some
progress! This version is at least marginally better than those that
came before it!
Brace yourself!
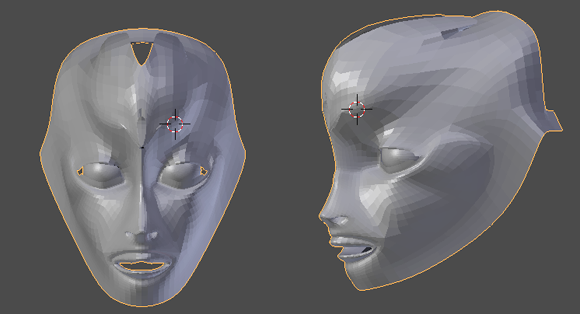
Ok, I hyped it up much more than I should have. It looks
more like a fish from a kids’ movie than a human!
With this, though, we’re moving on from written
tutorials and moving on to videos.
My problem with videos is first that I have a draconian
data limit . . . So, too many videos means the internet getting shut
off.
The second is just that if you get lost in a video . . .
you get lost. Of course you can jump back and forth and pause the
video, but it’s not exactly as easy as just scanning paragraphs of text!
The last two tutorials were better suited for realistic
faces. Let’s jump into a tutorial that is much better
suited for anime faces.
This is a time lapse and not a tutorial. So, I’ll have
to be on my toes to copy them!
Quick note: If your vertex gets too close to the X axis,
it will lock you into only moving on the X axis. This can be a problem
when you’re forming the mouth. To get around this, create new a new
vertex by pressing “Ctrl” and clicking your left mouse button at the
same time.
Also, another quick note, both YouTube and VLC Media
Player have features that allow you to slow down playback so that you
can try and keep up . . . or pause to read the context menus!
And remember – setting your background image to “Front”
will allow you to see it through the mesh, even in “Solid” view.
. . .
Well, I had to give up after a certain point. Once I
realized that semi-realistic lips are going to really mess up a anime
face mesh, I got a little disheartened! But regardless, I at least got
to a place where you could cover everything with hair!
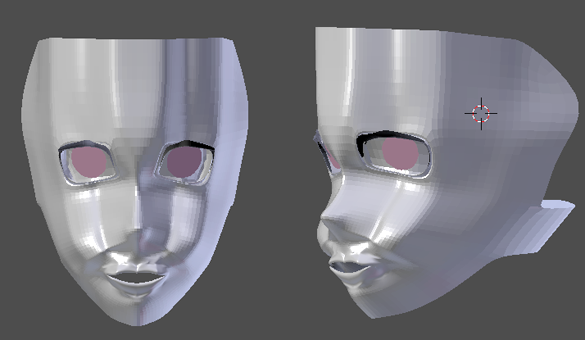
It is by far the best
result!
However, I have high hopes for the next video . . .
Finally! A video that uses a reference image with lips!
Well, tiny-tiny little lips, but not just a line!
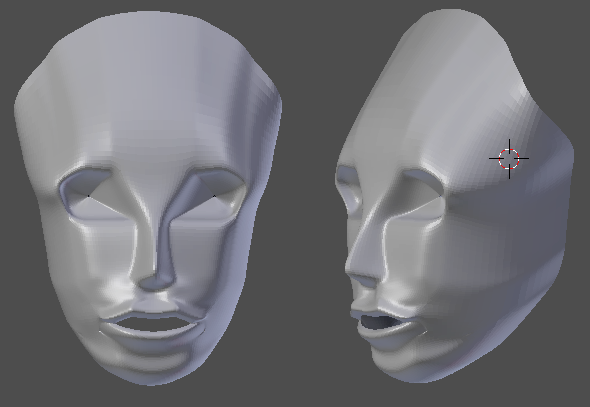
I was quite wrong to be excited.
An astute reader may notice that I’m quitting these
tutorials before I actually finish. The reason is simply that I know
when a lost cause is a lost cause, and I know when “But I’m a n00b!” is
an excuse!
Besides, I was just hoping with all my heart that the
next tutorial would actually get me somewhere!
Alright. Alimayo Arango. He’s a mixed bag when it comes
to tutorials. Some will be great and hold your hand through making a
good model. Some will be a bit confusing . . . and some will make you
close out the window almost instantly when you realize what his
finished models look like.
I haven’t watched any of this tutorial beforehand, so
let’s see how this one is!
. . .
I keep almost just telling my computer screen to change
the background images to front in the tutorial! Working in wireframe
mode is so tedious because you keep selecting the things behind what
you want to work on!
. . .
I couldn’t handle it. I lasted an hour before I just
threw my hands up.
If you don’t know anything about Blender, this tutorial
will help you a lot! But if you already know what you’re doing, it will
be a lot of staring blankly while you wait for him to catch up.
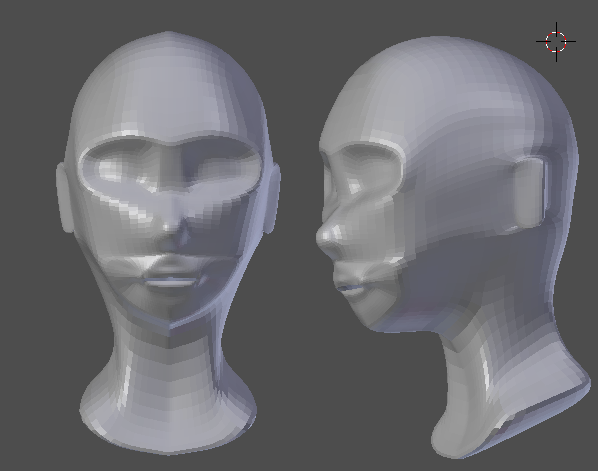
Ironically, I thought that this tutorial would give me
the best results.
Well . . . what have we learned?
The most important thing I learned
was that if you pick bad reference images, you’re in for a really bad
time.
In my eyes, the Nhi Quang face is the best. But there’s
an issue.
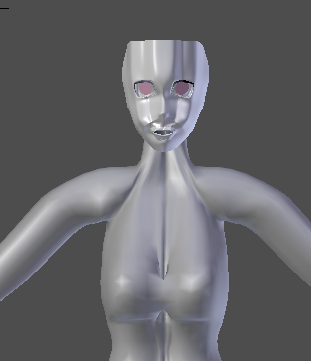
Despite it looking the best on its own, it looks too
anime for that model.
Joan, Michi-K, and Ali are out of the picture because
they simply look jacked up. So that leaves us with just Mr. Williamson
and Draconian Rain.
So . . . It’s
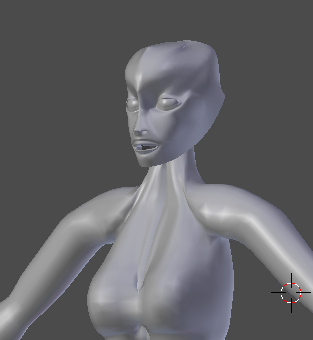
VS 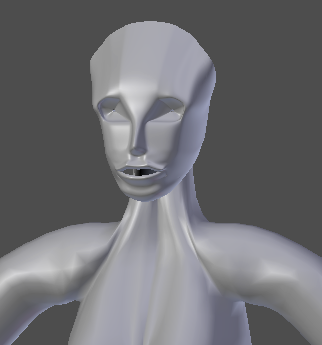
If I had started with the head, I probably would have
made the body completely differently to fit the head . . . If I had
started with the head, I might have also figured out that my references
images weren’t the best before I committed to using them!
As I said earlier, I wish I had made the body to fit the
face I made based off of Nhi Quang’s video. It’s a very nice,
expressive face that I imagine would be a breeze to add facials to. But
it sadly just does not fit the
body. The same with Mr. Williamson’s tutorial. I do believe that the
head made using that tutorial is, on technical merit, the best.
However, it is extremely detailed when compared to the body. For that
reason, it also didn’t fit.
So, if you ever read this Draconian Rain, You won! Your
video beat out all of the other tutorials and timelapses to win the
number one spot!
Tune in next time for fun with hair!
<
Previous
Tutorial CONTENTS
PAGE Next
Tutorial >
|

