I’m back from a very long hiatus, but I have come back with little bits of knowledge to share with all of you. Today, I’ll be answering a simple question that you probably haven’t asked yourself… “When posing MMD models, do I need to worry about anatomy?”
Why Anatomy Matters…
(And What You’re Doing Wrong)
Now that I’ve got you thinking about it: yes, you do need to worry about it. “Well, the anatomy is laid right out for me,” you might be thinking, and yes, I know. That doesn’t mean that you don’t have to worry about it, though.
Let’s begin with a simple example. Have you ever been scrolling through DeviantArt and seen something like this?
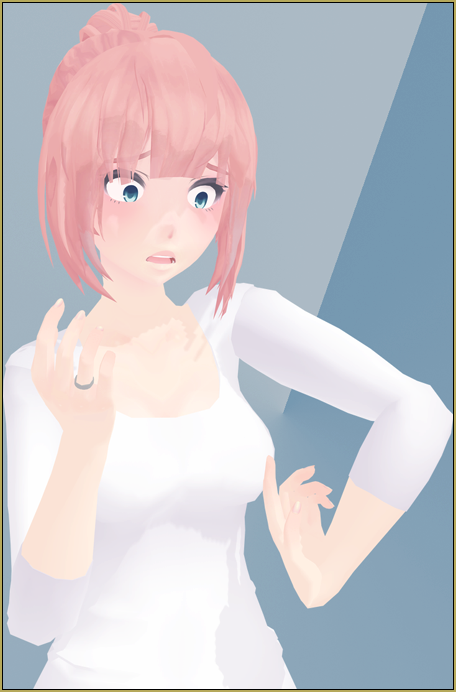
Yeah, that doesn’t look very natural, does it? Even though the bones are already there for you, there’s still something very important to keep in mind: physical limitations. The human body has certain limits that it can reach, no matter how flexible you may be. Sometimes we can reach these limits, but that usually results in a broken bone and an ouchie!
In my 3D animation classwork, I was taught the five-point acronym FLEFA (Fingers; Legs; Eyes; Feet; and Arms)… I would like to bring it out of the darkness to perhaps help some of you in your posing endeavors. Let’s get into it!
PART 1: FINGERS
The first point (and probably the most important one) stands for fingers. When it comes to posing MMD models, fingers can either be a blessing or they can be a curse.
STEP 1: Actually POSE the fingers. I have seen many people just not pose the fingers at all, and it bothers me. I know it might not bother many people, but it bothers veterans. If you want to keep the fingers flat as in the standard pose, then, at least, spread them out a bit. You never hold your fingers perfectly straight for anything except for maybe swimming, if you even do it there.
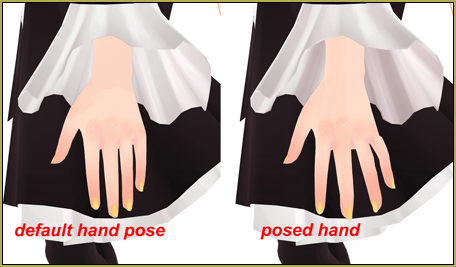
STEP 2: Don’t break a sister (episode one). If you can’t do it, your model can’t do it either. Look down at your hand and pick up your index finger. How far back will your first knuckle go? How far forwards? Using your own body is a great tool of reference without having to scavenge the internet for stock poses. It shows you very well how much something can move.
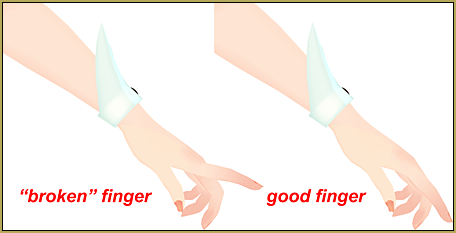
If you don’t want to pose fingers by yourself (I don’t want to 80% of the time, so I don’t blame you), or if you aren’t very good, I recommend starting off with Reggie’s Finger Pose Pack in the LearnMMD downloads section. There are some really good, basic poses in there, and the more that you study them and toy around with them, the easier fingers will become!
PART 2: LEGS
Legs are actually important, and there are some ways that I can help you with everything (when it comes to posing, mind you).
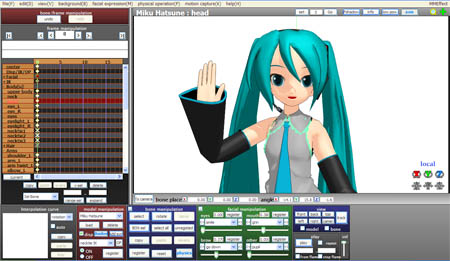
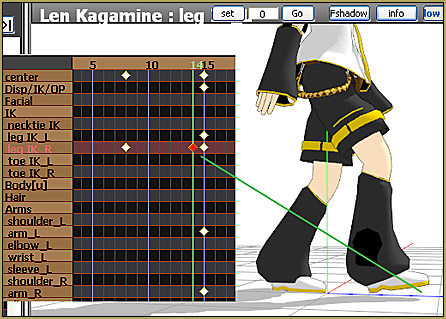
If you are posing your model for a still image, a picture scene: Turn off the IK! Inverse Kinematic is the big, college textbook word for basically a Rube Goldberg. You move one bone (the little blue box), and it moves everything that is highlighted in orange and connected to said blue box. For even simpler terms, it’s basically like everything has roots. When posing your model for an art picture, turn these things off. They’re really only good for a video/moving animation, so it’s just best to turn them off. To turn them off, navigate to the model manipulation box where you can see your model’s name.
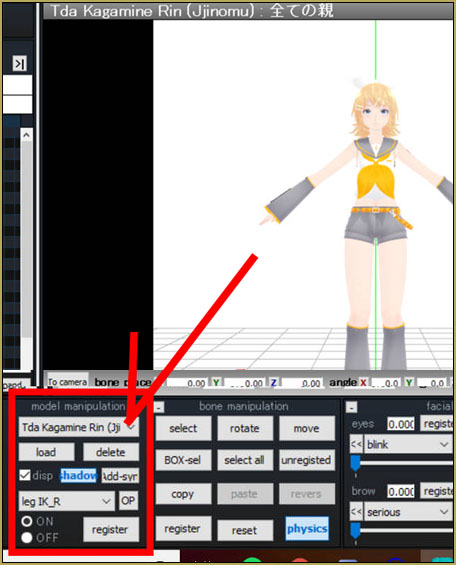
You see down at the bottom how it says
“something-something-IK”?
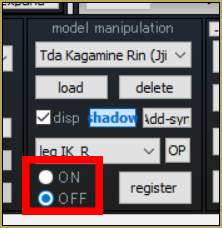
Untick that little checkbox, and do it for both toes and legs.
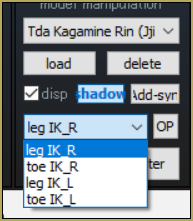
You’re done. Now you can move all of the individual bones in the legs without having to worry about the stupid IK monster getting you.
PART 3: EYES
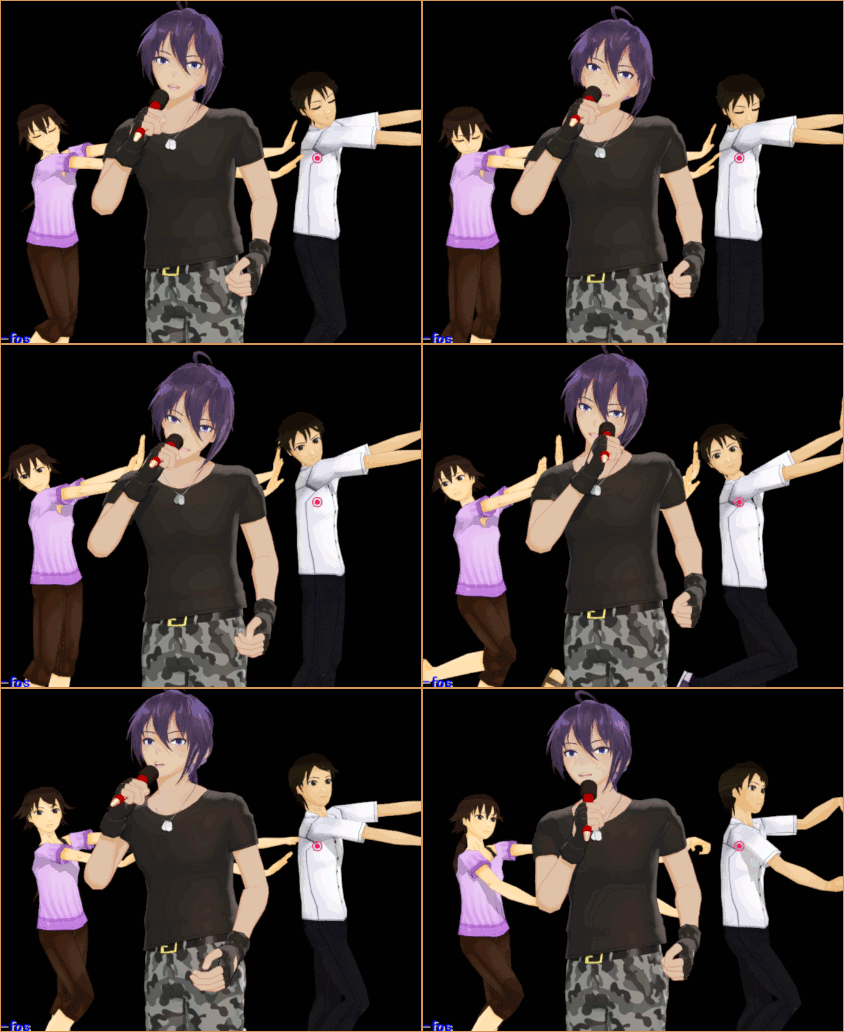
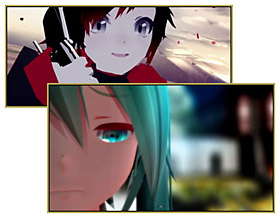
The only thing that bugs me worse than fingers (in my personal opinion) is eyes. Don’t give your model a dead-shot stare, please. To me, you lose all credibility if you don’t move the eyes even slightly, and it does make all the difference. I don’t need to teach you about moving eyes because it’s pretty self-explanatory, but let me show you an example of default eyes vs. posed eyes. See how much more natural the posed eyes appear.
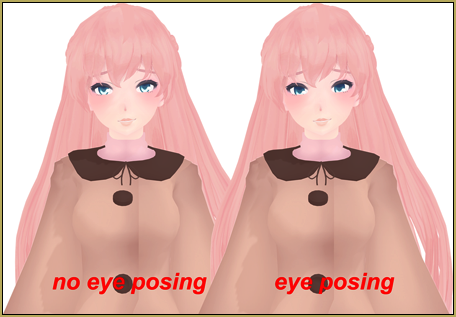
Do you get the point? It makes all the difference.
PART 4: FEET
Ouch, yikes, oof…
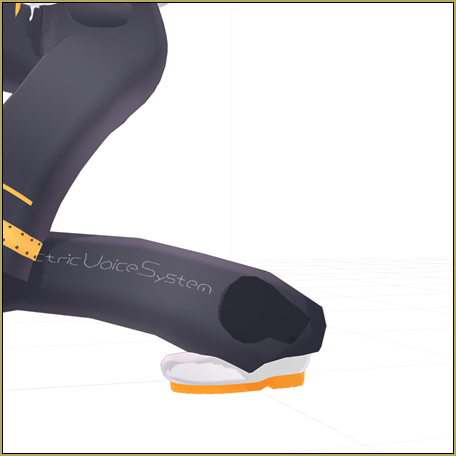
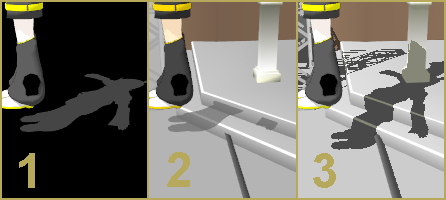
…there it is, there’s using the IK bones again. Either that or you’re trying way too hard to get that foot to touch the ground. Remember what I said about the fingers? Look at your own feet and start to move them. How far can you point them down, to the sides, and towards you? Just check it out and take a look.
Oh, and don’t get me started on toes. Some models don’t have pose-able toes, and that’s fine. Sometimes (if they’re standing out too much) I’ll edit the toes in Photoshop, and it’s no biggie. If you’re not experienced with photo editing, that’s no big deal, either. But for the love of all that is holy: if your model has toe bones, use them. The modeler didn’t just throw those in for fun; they can actually add a lot to a full body piece.
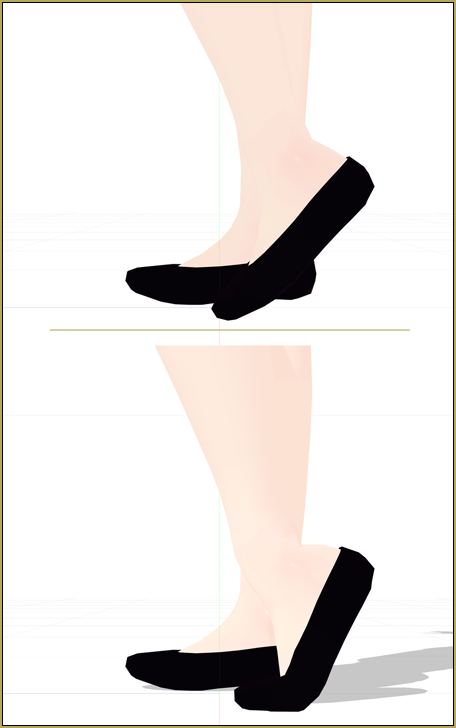
Just try it, and I promise you that it’ll look better.
PART 5: ARMS
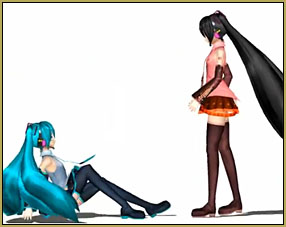
Chill out, Samara.
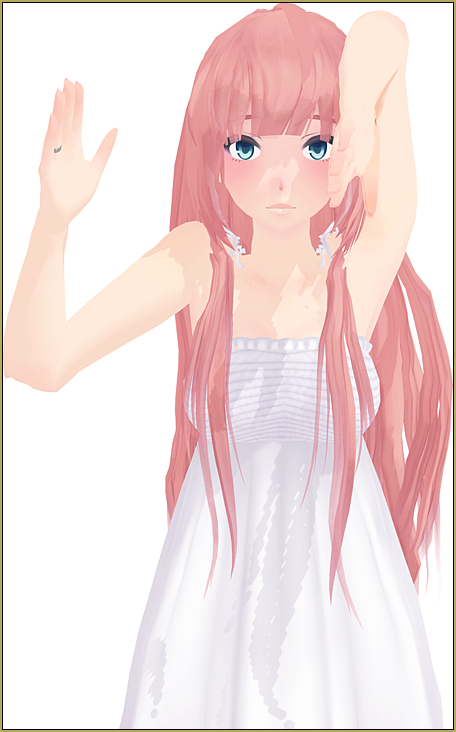
Try to bend your arms, like I’ve been saying, in a natural, normal position. Shoulders are sort of tricky, but just do the best you can with them. The first thing about shoulders is that the shoulder shouldn’t go all the way to the neck without the neck bending, and vice-versa.
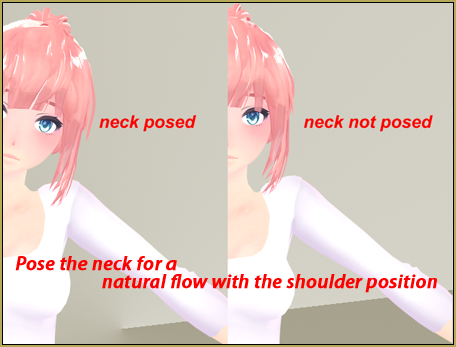
The elbow isn’t as hard as the wrist and shoulder, but its pivot point should be kept in mind. Don’t strain bones that shouldn’t be over-twisted!
Wrists don’t seem hard, but sometimes they can be. They don’t have unlimited movement (I would know: I just broke mine). Play around and see what looks natural!
I hope this helped some of you guys, and I’m excited to see what you create! Leave a comment below!
CREDITS: All models I used are by Jjinomu!
– SEE BELOW for MORE MMD TUTORIALS…
— — —
– _ — –

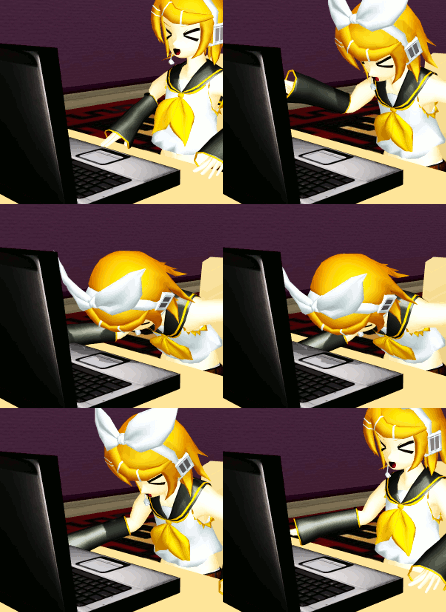







Honestly, I just the IK bones and I make the legs and feet pose naturally. The IK bones make my like a lot easier. I stopped caring about them bothering me and now I use them to my advantage even with posing.
Hello i just need help with my mmd which crashes afrer just playing the full video in a spesific frame…