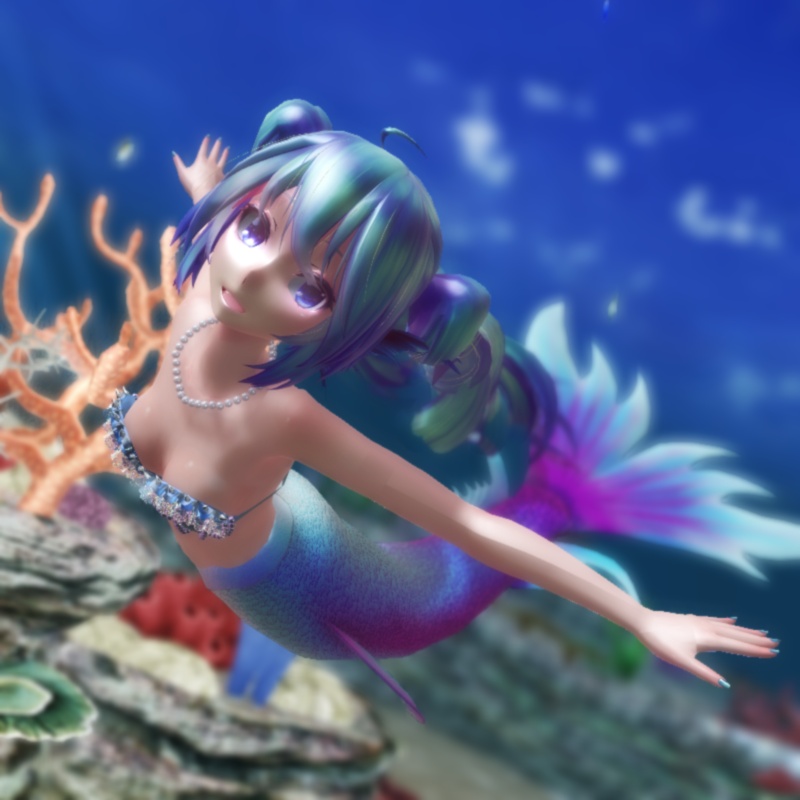
There are some rather nice MMD assets around that can be used to create really nice under water scenes. So what this article will be exploring is how to use some of these assets to create a really neat under water scene. When you take things under the surface of the waves, the way to do things is actually a little bit different so this article will also serve to introduce these ideas. As with most of my articles, this one will also be structured as a “project” so please feel free to work along. This practice helps you to understand the process much more than just reading the text.
Use BeamMan’s fluid2D to Create Under Water Scenes
What you will need
The list below are just the models that I will be using; but feel free to substitute if you want to use other models.
- Either a mermaid model or a swimsuit model. I will be using this one: TDA Mermaid Miku
- We will need a suitable stage; you can get creative with choices here but I will be using this one: MMD under water stage
- BeamMan’s fluid2D MME will be core to this project; so download a copy of it if you do not already have it: fluid2d_1_0_3
- Other MMEs will be used but these are subjective so feel free to substitute. I will list the one’s that I am using in the relevant section of the text below. However, Ray-MMD is not recommended as there are compatibility issues with the fluid2d effect.
The MMD world below water is different
One of the things that I’ve noticed is that a lot of people making underwater scenes using MMD do not fully appreciate that the world under the surface of the water is very different from the world above the water as we experience it. Because of this, there are a lot of missed opportunities which we will be addressing in the process of developing our scene. But of note are the following:
- Because water is a dense medium, this does actually have an impact on how physics work under water.
- Sea water especially filters out a lot of the reds from the light spectrum.
- Visual depth is more limited under water. Visibility is some what limited depending on the depth and the density of particles in the water.
- The world under the waves is fully 3 dimensional (this will be made more apparent in the discussion below).
The “science” behind mermaids
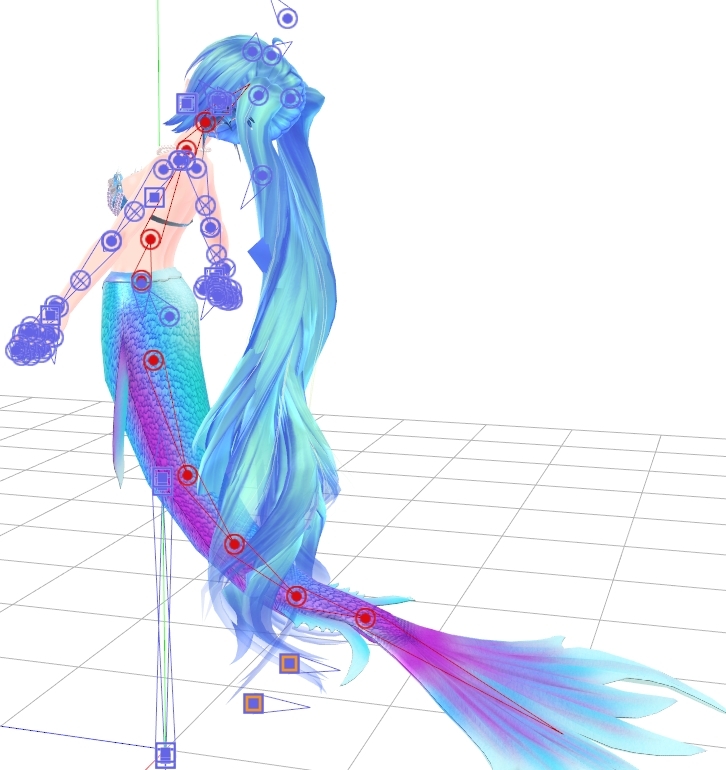
A mermaid is half human and half fish so it makes a lot of sense to create poses that emphasizes both of these properties. So let’s load up our mermaid into MMD and have a closer look at her to understand her bone structure.
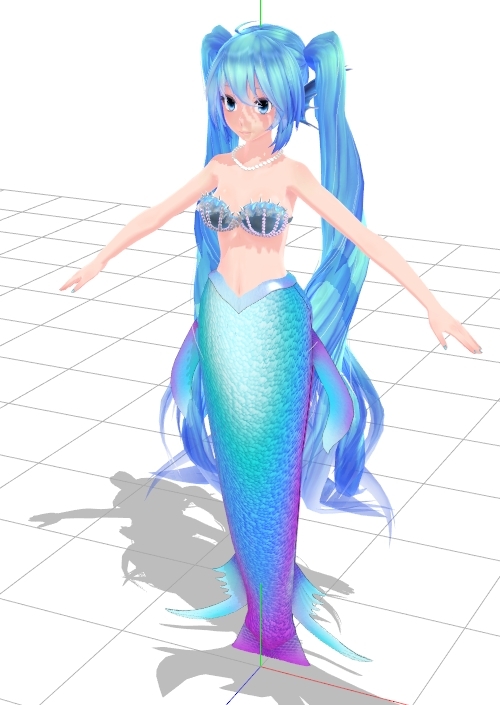
That’s the Miku mermaid model we will using shown immediately above. She looks absolutely gorgeous but before we do any posing with her we need to ask one simple question:
Is a mermaid a fish or a mammal?
Why this question is important is because it will determine how she moves and therefore, how she needs to be posed. Fish swim using a side-to-side motion; aquatic mammals uses an up/down motion. Given the orientation of a mermaid’s tail fin, they are definitely an aquatic mammal. If we work to this logic, this will help us correctly determine the primary lines of the spine. To an extent, we can draw parallels with actual aquatic mammals such as dolphins and manatees.
A dolphin’s spinal structure helps best illustrate what we are trying to get at here. Dolphins swim by moving their tails up and down. This is a simple curvature, either the spine curves down or it curves up as it moves through the water. But how do they turn? Well, to simplified this mechanic drastically, they twist their snout in the direction that they want to go. So this introduces an “S” shape to the lines of the spine.
What I am trying to get at here, is that even before you start posing, it helps to get a clear image in your mind of how the creature would actually move. This aids in getting the pose right and natural looking.
Posing our mermaid
Step 1
We start the process by getting the spinal curvature correct. The from the head downwards this bone chain follows a gentle curve. Note that the lower waist bone is used as the center fulcrum of the bend so it is not moved and the bone controlling the fin itself, to make the pose more dynamic, goes in a contra-direction.
Step 2
The groove bone is used to rotate the model into position. If this was a motion, this bone will control the direction of travel and the center bone will be used to control the height of the model. So basically, as the mermaid is travelling through water, we are treating her in much the same way as we would control an aircraft model. Also, some adjustments are made to correct or ease the spinal bone chain to make it look more elegant.

Step 3
In this pose the arms will be used for “steering“, so as to help look the mermaid appear to glide through the water. This is actually quite simple to do, just pose one side and reverse paste to the other arm. The shoulder area required some careful handling to ensure that everything looks natural.

Step 4
To make the pose more dynamic the spinal chain is gently twisted into an “S” curve. This helps makes the mermaid look like she is about to make a gentle correction to the direction of travel. Note the use of the groove and center bones in this process. Even with static posing, you need to create a regimen so as to have a disciplined control over the bone system at all times.

Creating context for the pose
Since the mermaid and what she is doing is not independent of her environment, it makes much more sense to add her environment first before we finalize her pose. So here are the steps to adding her environment.
Adding the fluid2d components
First, turn off MMD’s ground shadow display.
The color of the reflections on the water used by BeamMan’s fluid2D is derived from a sky dome that the user selects. So load one first, preferably a “normal” sunny day one. We chose one of the anime sky ones. The fluid2d components are then added to the scene in the following order:
- Caustics_Addon.x
- fluid2d.x and then set Si=20
- UnderWater_Addon.x (Note that if you don’t use the area under the water when using fluid2d, you don’t need this model).
- fluid2dController.pmx
- Add the default settings to the controller by loading コントローラー初期値.vmd on to it.
The scene now looks something like this:

Creating the world under the waves
Since our mermaid isn’t a flying fish, we need to put her under the surface of the water. Now, a lot of people may be tempted to just lower the model to under the ground plane but that’s not the best way to do things. All we actually need to do is to raise the sea level. This is done simply by setting the Y-axis value of fluid2d.x to raise it above the ground plane. In this scenario, we used Y=25 as we don’t want the mermaid too deep under the surface.
But gravity works a little differently under water due to the density of the water; so a slight tweak to the gravity settings is required to correct the flow of the mermaid’s lovely twin tail. And since this twin tail is also slightly translucent we also corrected the model draw order.


Gravity setting notes:
At sea level the acceleration due to gravity is around 9.80 m/s²; this is the default MMD setting. To make the mermaid’s hair look like it is under pressure from water, we’re going to have to cheat unless you want to do a lot of maths. We want her hair to look like it is flowing freely as she glides through the water. So that’s why the settings used were chosen as these values makes the hair much lighter. I added noize but that’s really unnecessary for a still shot; but it’s neat to look at so that’s why that control was triggered.

But just swimming around the deep blue sea isn’t visually very exciting, especially in the context of a still image. To make things more interesting it makes sense to add more features to our scene. Coral reefs or sunken ruins makes for ideal settings, but since there is a nice coral reef stage available, we’re going to make use of that set.
Creating the Mermaid’s garden
Setting up the coral reef stage is straight forward. The set has 6 parts but we only need four of the parts. Simply load these and use the settings specified by the person who ripped and converted this model. Specifically set Si=160 and Rx=90 for each of the components. Then amend the draw order list again to make sure MMD draws the scene correctly. Note that the mermaid model is always drawn last.

Once everything is set up correctly, the scene will now look something like the image shown below. You can see the sky above the water, the background recedes into a deep blue murkiness, shafts of lights comes through the water, gently playing on the elements under the ocean surface and the whole environment comes alive with fish, coral, etc. It has nice tropical feel and all these elements makes for a wonderful undersea playground for our mermaid.

Finishing the scene
This process is relatively straight forward. Specifically, the lighting direction was finalized and the mermaid’s pose refined further. Facial expressions were added and camera settings were set up. Since scenes like this, in such a rich 3D environment, are very open ended, there are almost limitless opportunities to explore so it is pointless to go into much more detail here. Suffice to say, the image below shows the POV that we will be working with.

Rendering the scene
With a scene set up like this, there is a lot of latitude in deciding what MMEs can be used to render the scene. The schema I settled on eventually is described below.
Lighting set up
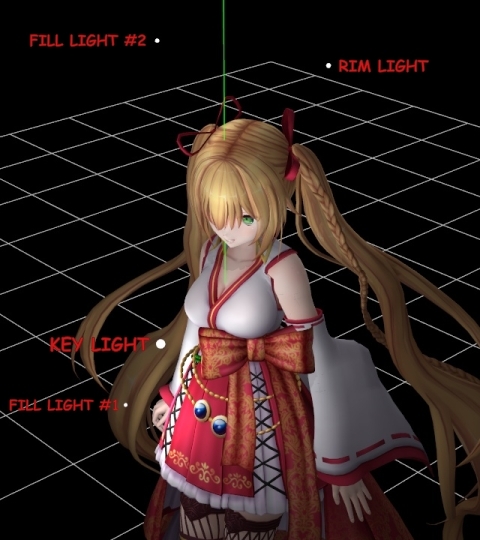
The first order of business is to correctly set up the lighting environment and camera POV. The settings used are shown below. There is a slight emphasis on the blues in the light spectrum and this is balanced by a slight reduction in the red hues. The lighting direction was set up to maximize the potency of the god-ray effects which are a by-product of the caustics addon.

MME application
The actual MMEs used were as follows:
- ExcellentShadows2 – foundation for the main shader
- DetailUp_for_Landscape v055 – used on the stage components
- d_pmotskin_20130309 – this is a variant of pmotskin which is matte and this makes it much more suitable an effect to use on the mermaid model; but note that there is still a gloss element which was used to add shininess to the scales.
- o_SelfOverlay_soft – scene softener/toner
- o_BleachByPass – desaturates the colors making them look more natural (setting: tr=0.25)
- ObjectLuminous – used to brighten the pupils (setting: tr=0.15)
- PowerDOF – attached to Miku’s neck bone and set at Si=0.25; the DOF set up helps make the stage look much deeper by blurring the background areas and focusing attention on Miku.
- GaussianPlus v001 / MipGaussian – This is a more specialized Gaussian/diffusion effect; it just works well for this schema but other similar effects can be used instead (setting: Si=0.135). It is, however, ideal for making the scene subtly softer hence allowing the under water scene to look much more realistic.
- KiraKira – this was used only in the video; but it works really well to create the illusion of bubbles and other particles in our watery environment.
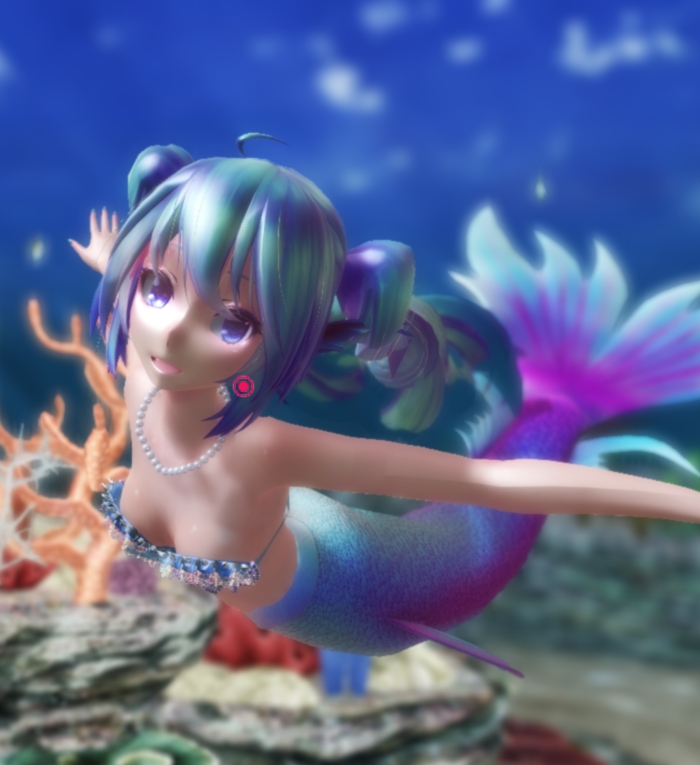
The end result is shown below (and in the header image). The short video clip below demonstrates the full potentials behind this type of set up when used in an animated short.
Thanks for reading; we hope you were able to find some useful tips here. If you have any questions, please feel welcomed to use the comments section below.
CREDITS
TDA Mermaid Miku – edit by K-Manoc1
Miku Hatsune © Crypton Future Media, Inc.
Stage (game rip) – edited for use in MMD by ElviraMoa
Skydome – AnimeSky by SeasaltP
MMD 9.32
IrfanView64
AviUtil
MMEs used as listed in the article.
– SEE BELOW for MORE MMD TUTORIALS…
— — —
– _ — –

