



Using MMD and INKSCAPE to create comics
One of the fun things to do with MMD is to make comics. The process is simple enough:
- Create a picture in MMD
- Add speech bubbles and text in a graphics application
What this article will be about is how to make speech bubbles using an open source application known as INKSCAPE as it is awesome! And you can get some really professional results with it even without knowing the full depth of the program. It hands-down beats the default Windows graphic applications for making comics.
What is Inkscape?
Inkscape unlike Windows Paint or Adobe Photoshop is a vector based graphics application. Vector based graphics are scalable. What this means is that unlike pixel based images, vector based graphics can be drawn in one resolution but will scale to any resolution you wish to output the graphics and still look good.
When making comic art, however, because the main image coming out of MMD is still pixel based, you won’t be able to take full advantage of this; but for adding speech bubbles and text, a vector based system offers the most flexibility. In fact, when I made comics in Photoshop, I used that program’s vector based functions to do the same thing. But Inkscape is free and Photoshop is not.
Inkscape is directly comparable to Adobe Illustrator; it has almost all of the same functions but is a little lacking in its support for commercial applications. That has no significance for hobbyist like us.
LET’S MAKE A COMIC PANEL
Preparing the main image
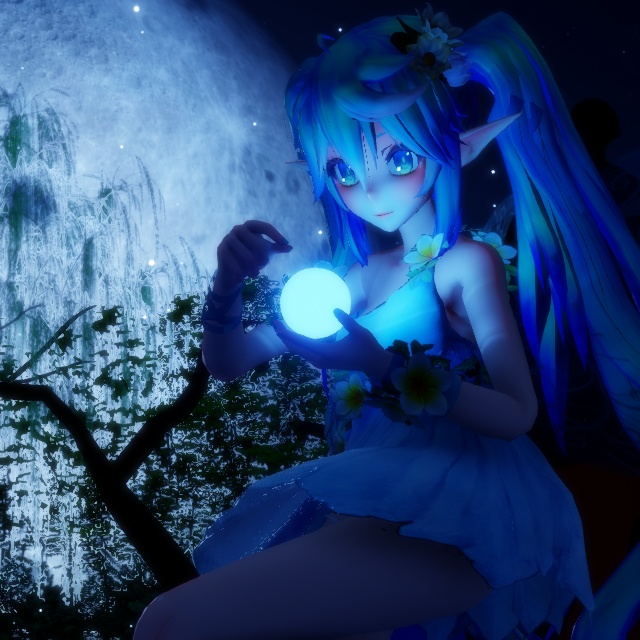
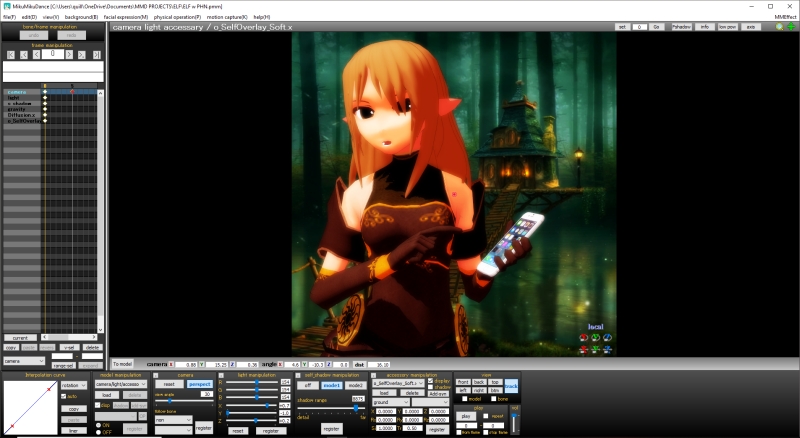
The process in creating a MMD comic panel is to first create your main image in MMD. We made that picture above simply by posing the model and loading an image to use as the background. The screen is set for at the full size for the output image which in this case is 800 x 800 pixels and is shown below.
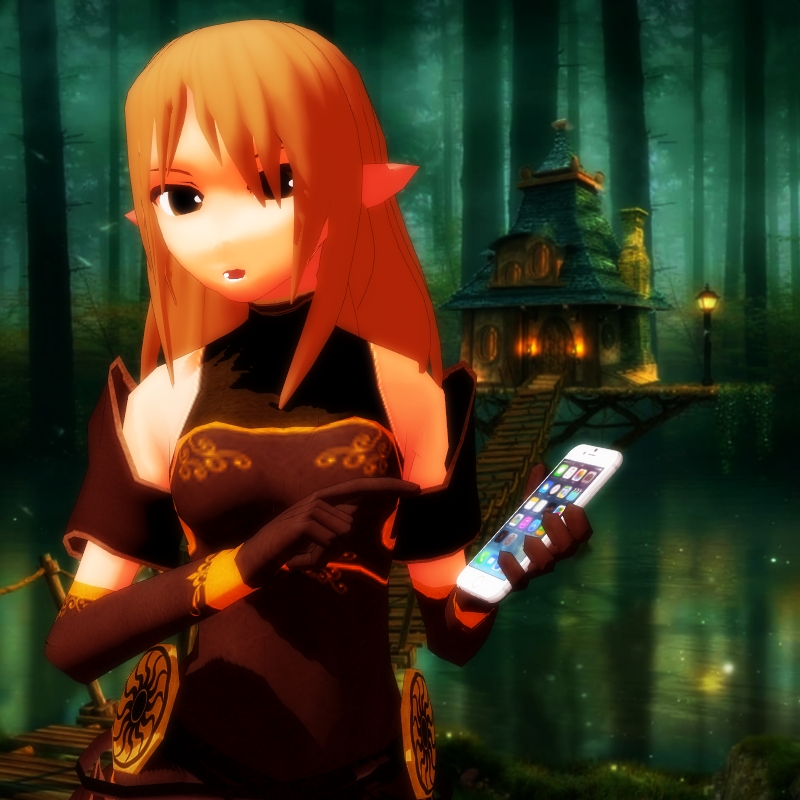
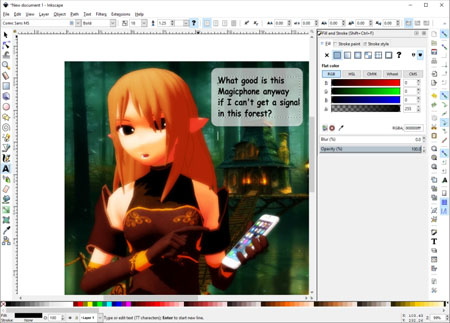
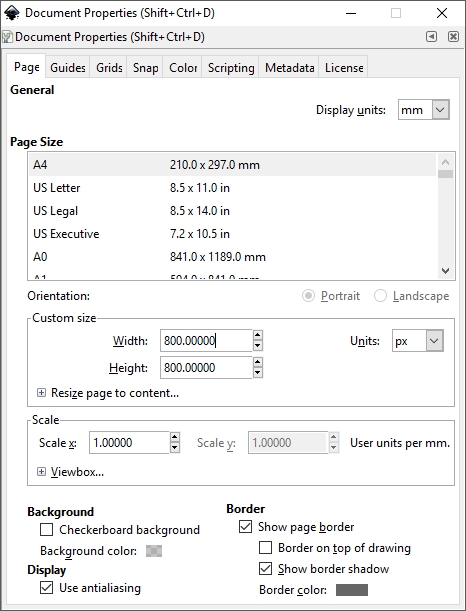
Our image is rendered as a BMP and loaded into Inkscape. But before adding the image, access the Document Properties and set the page size to be the same size as the graphic: 800 x 800 px. The next step is to just load the image and locate it exactly on the page.
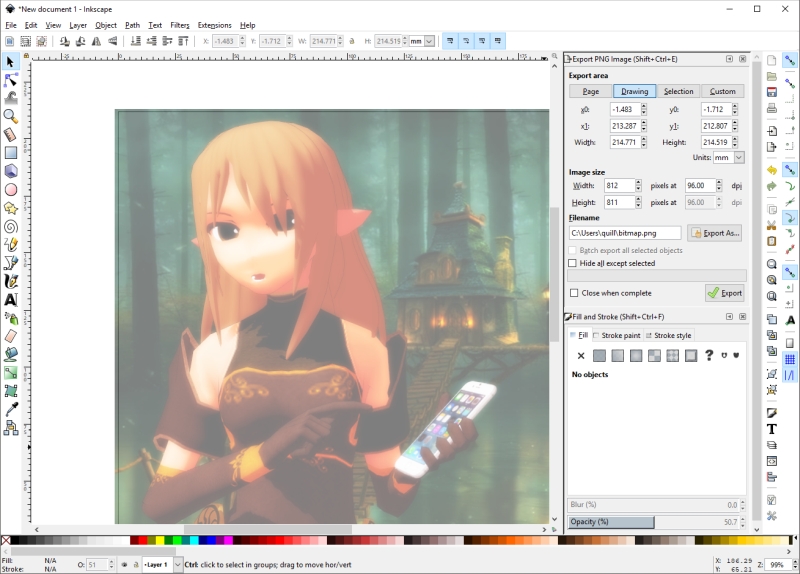
When you first load the image, it will probably be loaded at a size much larger than the area indicating the extent of the page we specified. Simply resize your view and the image to fit the area of the page. Allow for a little overlap or what is known as bleeding. This will avoid having white edges around the image when you output your finished image. Alternatively, if you do want a white border, just scale the image to be slightly smaller than the page margins. Our image is scaled to allow bleeding; however, if you are going to print the image, you must allow for margins.
Adding the speech bubble
Making speech bubbles is really easy with vector based applications.
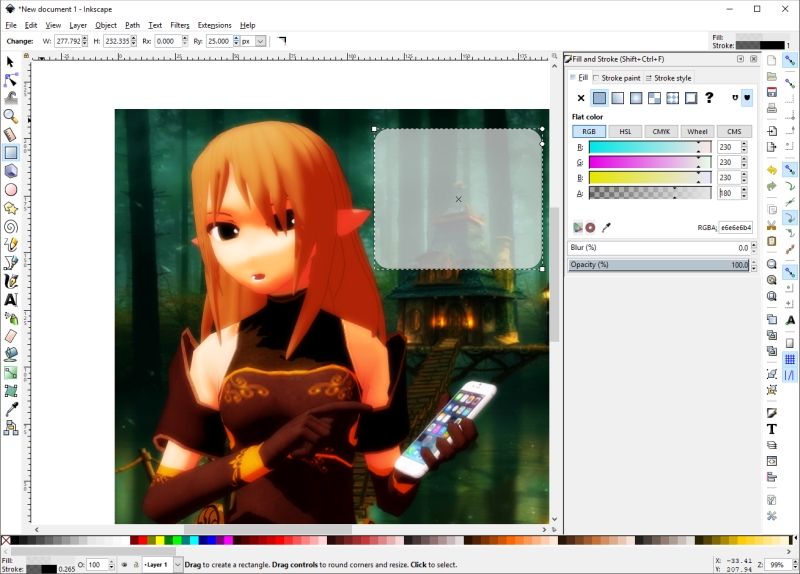
Use the Rectangle tool (F4) to drag out a box for your bubble. To get rounded corners, set a suitable value in the Ry field. In the Fill and Stoke panel, you can set the colors for the box as well as add an outline. Because we did not want the speech bubble to completely hide the interesting looking building behind the elf, we made the fill translucent.
Adding Text
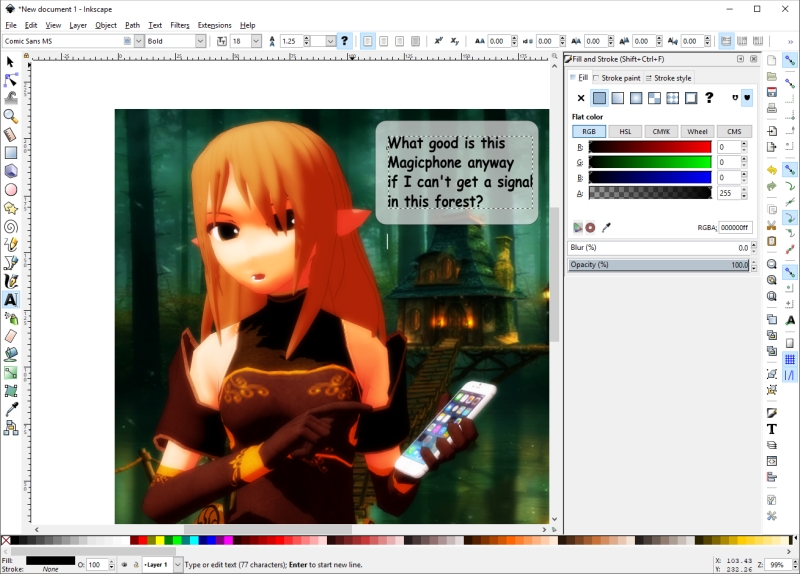
Use the Text tool (F8) to add your text. The text is scalable, so set a suitable size, type out your message and resize to fit the bubble and vice versa till it all fits. Each element, is an independent object and can be separately manipulated. You can also shift-click to select multiple elements and manipulated them as a group.
Adding the tail to the speech bubble
Use the Edit Path Nodes tool (F2) to convert the speech bubble into an editable path so that add nodes to the speech bubble.
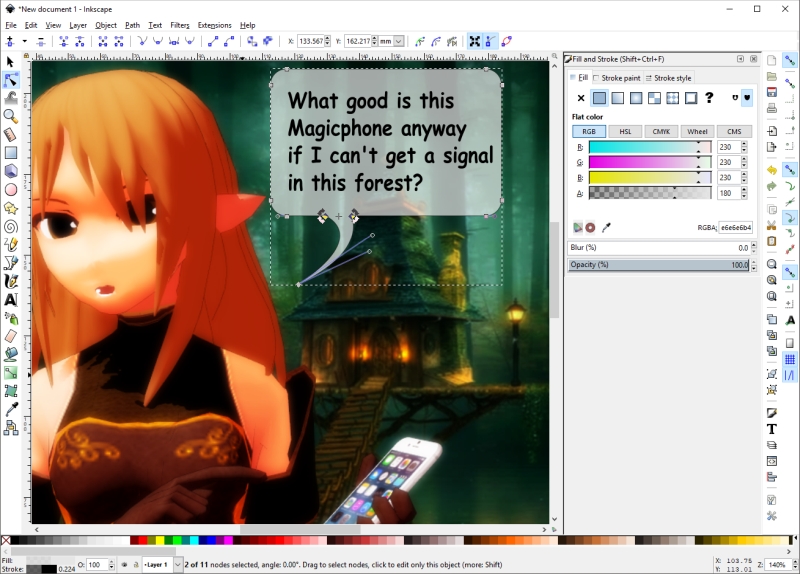
To do this follow these steps:
- Select the speech bubble.
- Click on the “Convert object to path” function.
- Select the nodes on the edge where you want to add the tail.
- Add 3 more nodes to this edge.
- Select the middle node and drag it out to where you want it.
- Move the adjacent nodes closer together and shift them to where you want them on the edge.
- Convert the pointer node into a corner node.
- Using the Belize curve widget that is now available, tweak the tail to the shape desired.
Producing the final image
Make any final adjustments you desire and then select the Export PNG Image function and set up your parameters.
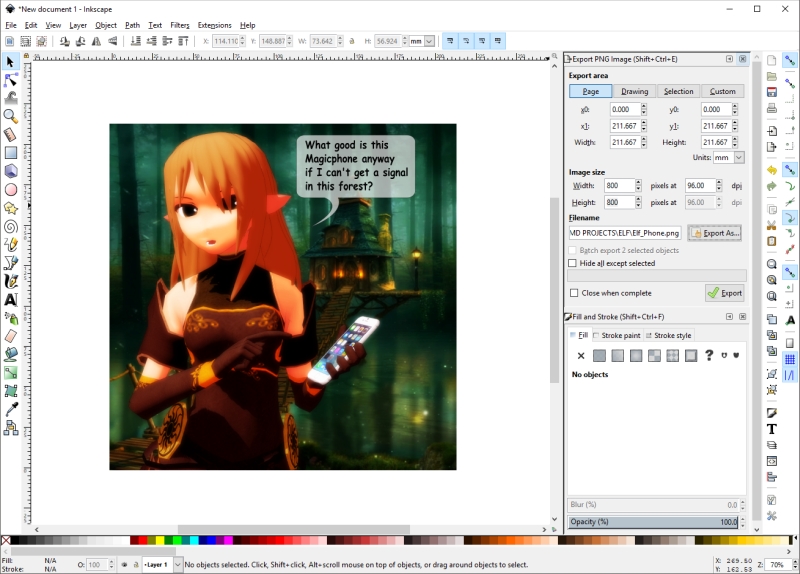
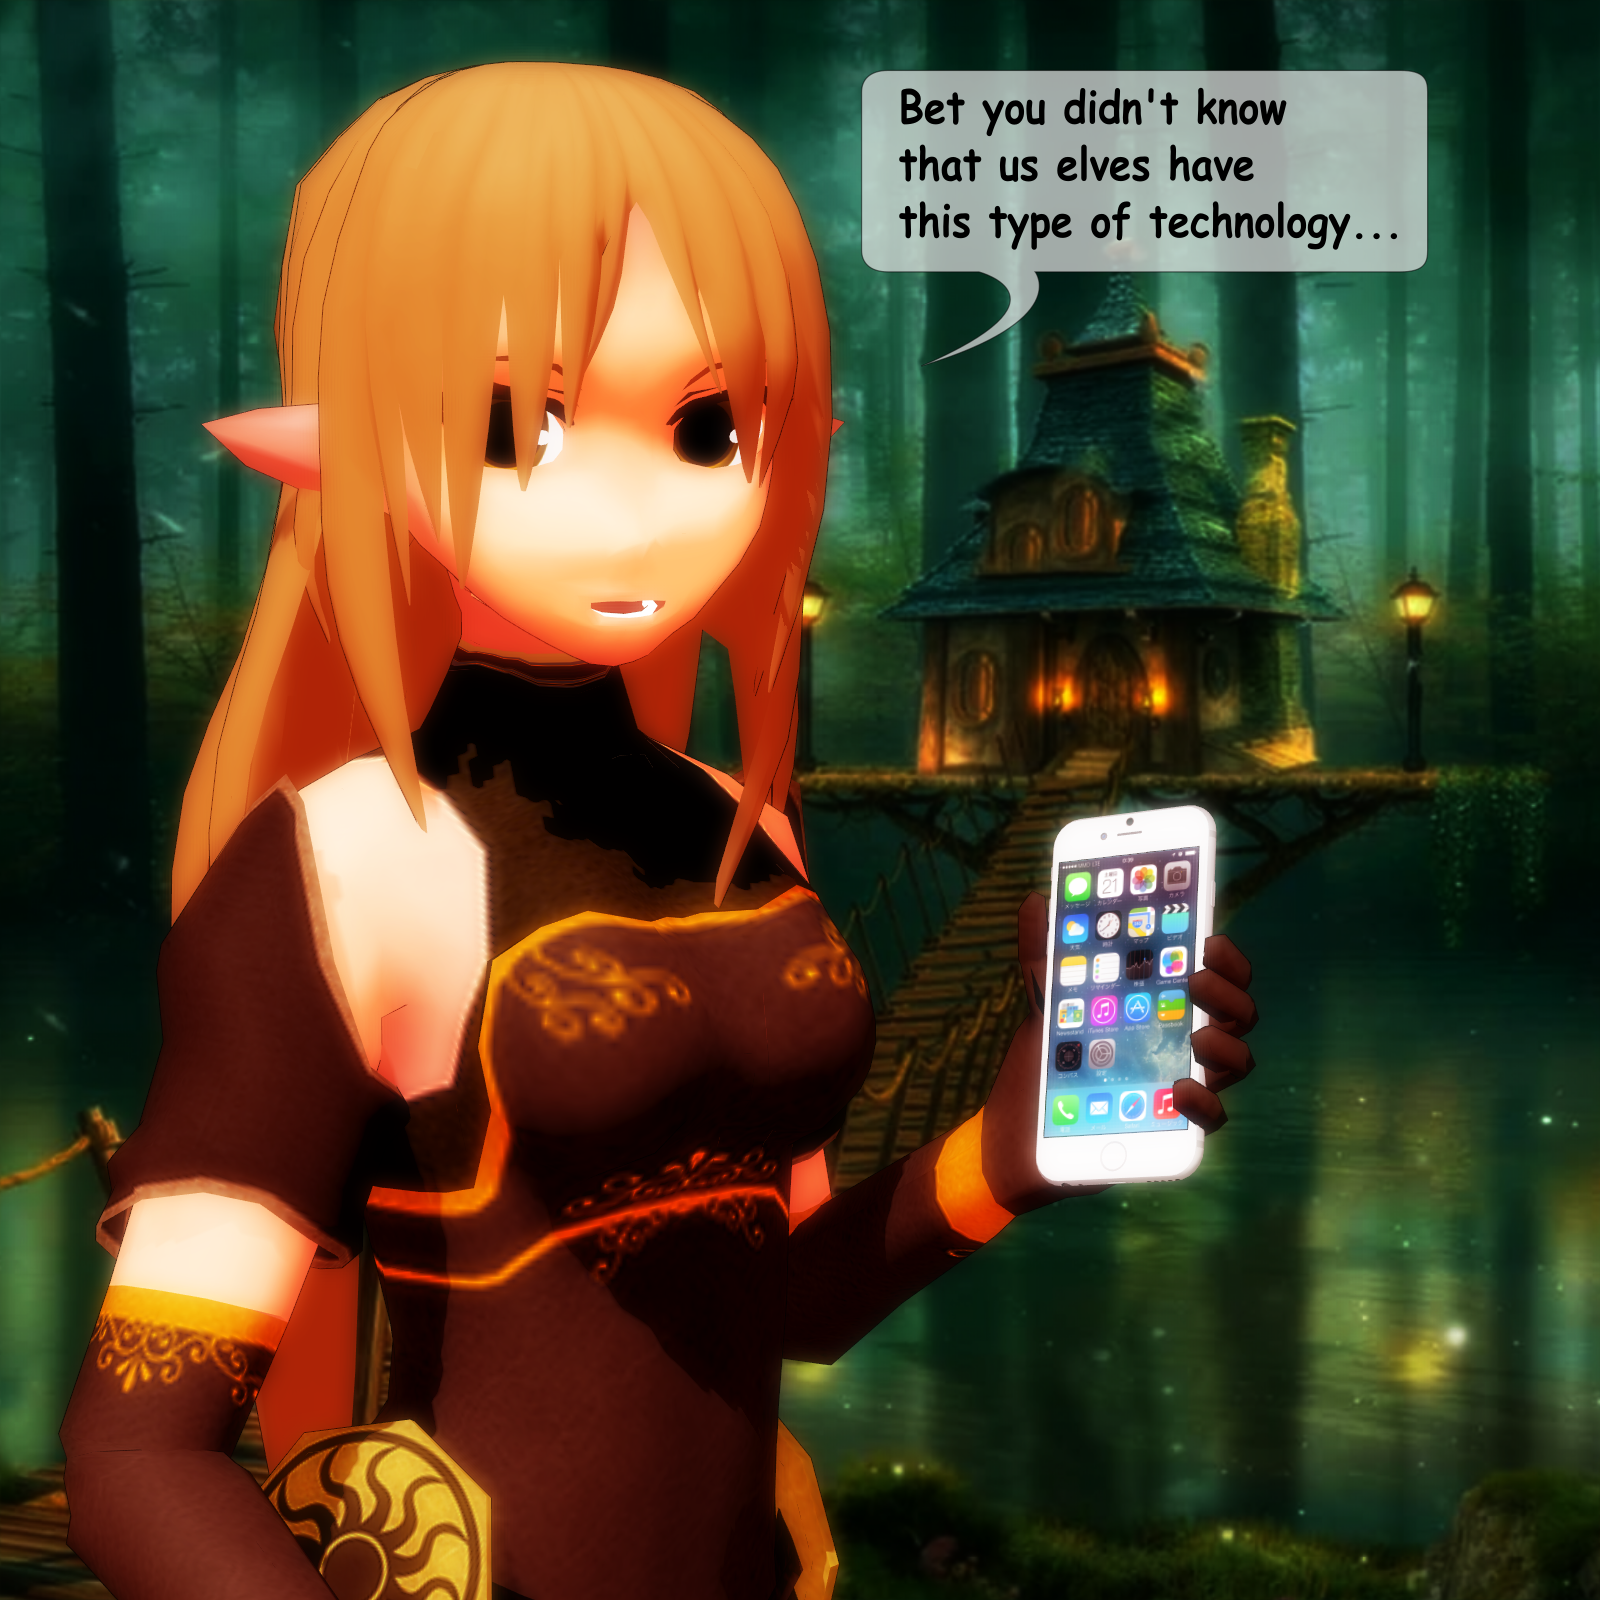
Make sure that the image size is correct then set the file name and location. When you are ready to export, click on the “Export” button. That’s all there is to it. Our finished image is shown below at the exact render size. The image and text are sharp and crisp and the whole production process, because we used Inkscape, was a smooth and flexible experience.
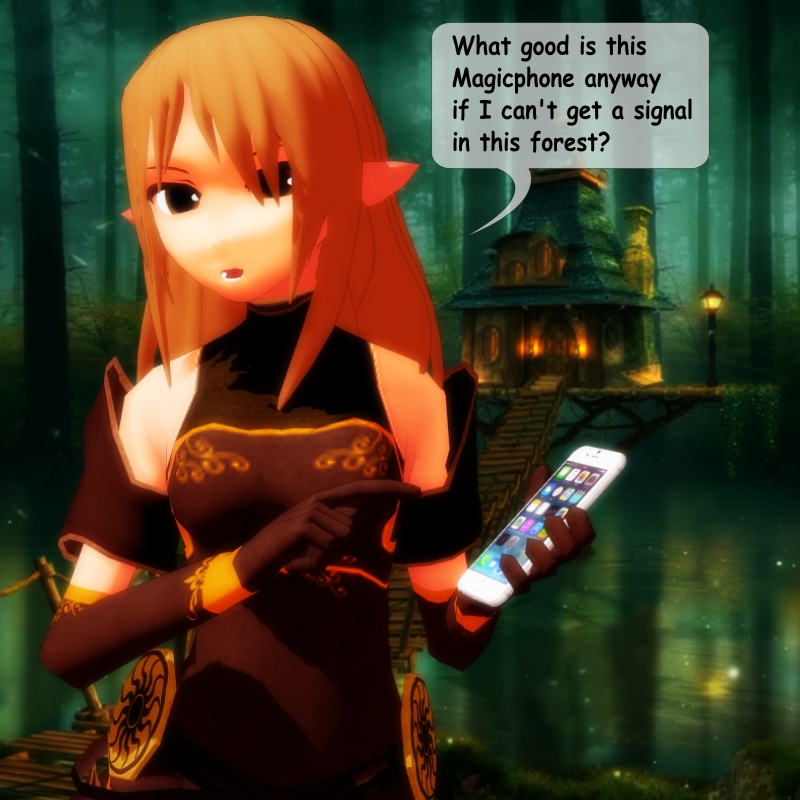
Well I can do this in Windows Paint too
Actually, no…
Click on the image at the top of this post if you haven’t already. It is linked to a 1600 x 1600 px high resolution image produced in Inkscape. It can be even larger than that and the speech bubble with the text will remain perfectly sharp. The advantage of using vector graphics is because they are scalable. Plus you can change elements at will and with ease in Inkscape. These are not things that you can easily do using Windows Paint, where even making a decent looking speech bubble would be a challenge.
If you are looking for a free professional grade graphics application to use alongside MMD, we seriously encourage you to check out Inkscape. For users familiar with Adobe Illustrator, transitioning over to Inkscape is a breeze. For new users to this application, there are plenty of online tutorials covering a range of related topics. It is really easy to learn.
CREDITS
Elf model (エィルさん ver1.0) by 壱
(This model seems to be out of circulation as I can’t find a link for it… )
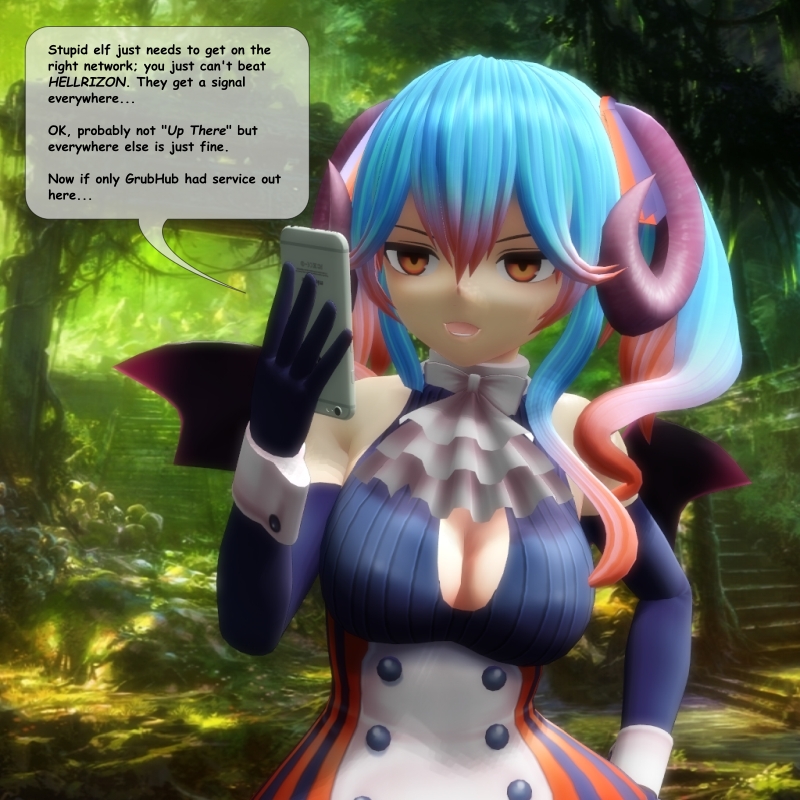
Smartphone: https://bowlroll.net/file/51448
Renders done in MMD 9.31 with G_Shader / dGreenerShader / Diffusion 7 / o_SelfOverlay_soft
Inkscape can be downloaded from inkscape.org
IrfanView 64
(Available through the Microsoft Store; it is also free and is an excellent image processing app).
Background images via Google Images and may be subject to copyright.
– SEE BELOW for MORE MMD TUTORIALS…
— — —
– _ — –