


![]() How do I add hair physics to my model’s hair? Should my model’s hair have bones? How can I use PMXE to add hair physics to my model’s hair?
How do I add hair physics to my model’s hair? Should my model’s hair have bones? How can I use PMXE to add hair physics to my model’s hair?
The Easiest Way To
Add Hair Physics in PMX Editor!
Hi y’all… Today I’m going to show you how to create physics in MMD. For an example, I want to add hair physics to Virtually3D‘s Yandere Simulator model Supana Churu, because I was asked to add physics into her models.
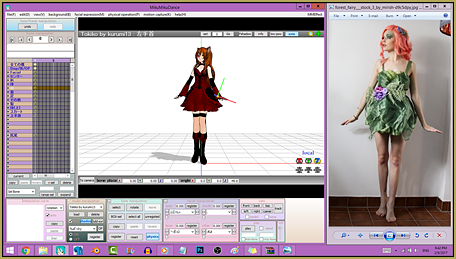
So, of course, the first thing you want to do is open up PMXEditor and open up the model without physics.

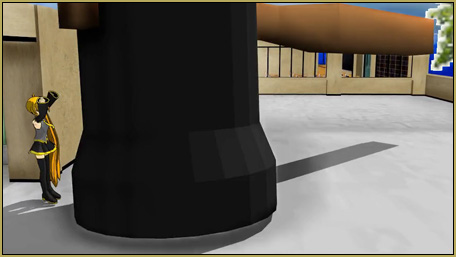
Well, this is a full model…
… how am I supposed to add hair physics to her hair if this is a full model?
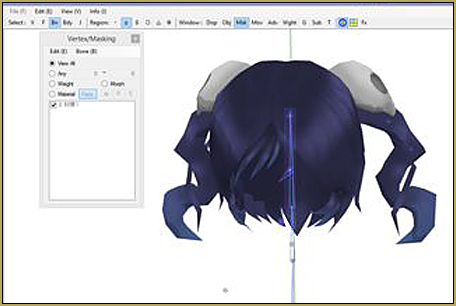
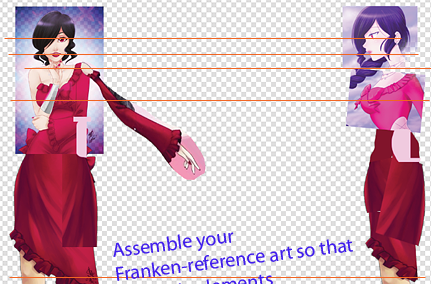
That’s easy, just take away the body!
Remove everything but the head bone, neck bone, upper body bone and the hair you want. Yes, even the joints and physics.

Now that you have all of this, save it as something like “hair.pmx”.

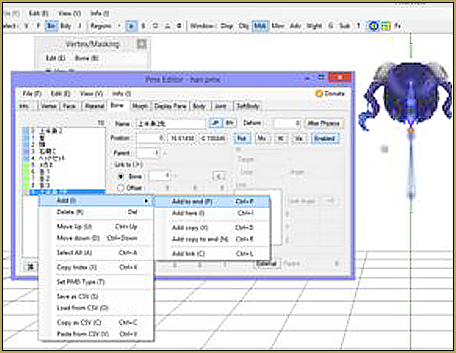
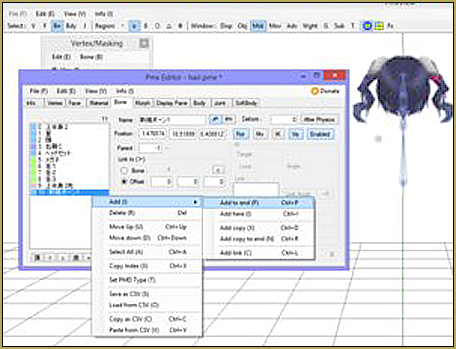
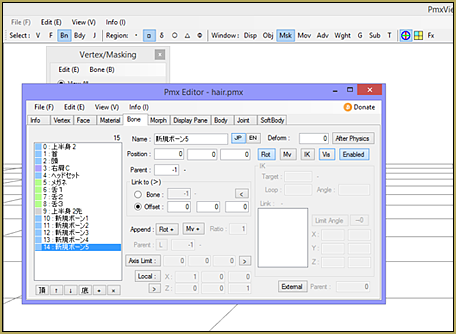
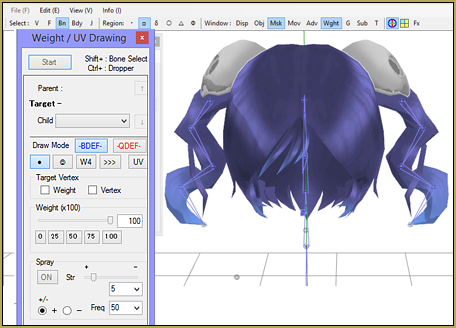
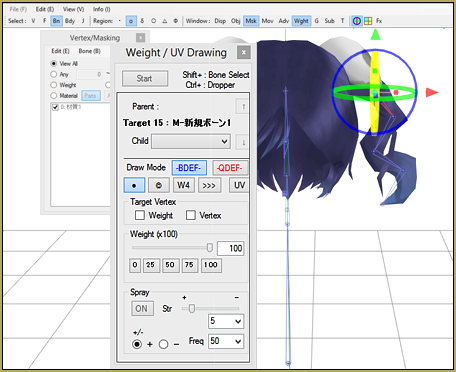
Now for the literal hardest part of this whole tutorial: creating and adding bones. First, add the bones. just create a string of bones by using this short tutorial below.
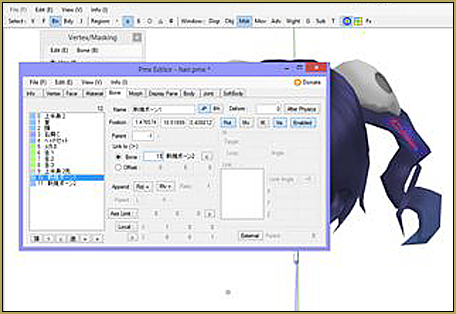
Now just keep repeating this process until they’re all where you want them in one ponytail. Don’t forget to make the end bone invisible!
Now mirror the bones by selecting them and clicking Edit>Object>Mirror Object

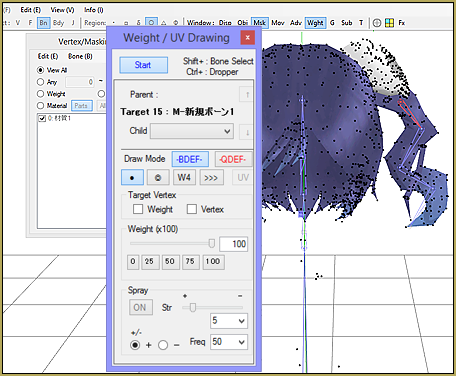
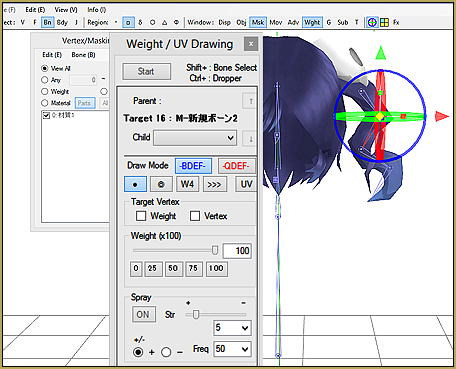
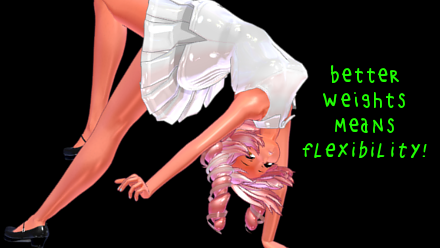
Now weigh them down with this short tutorial!
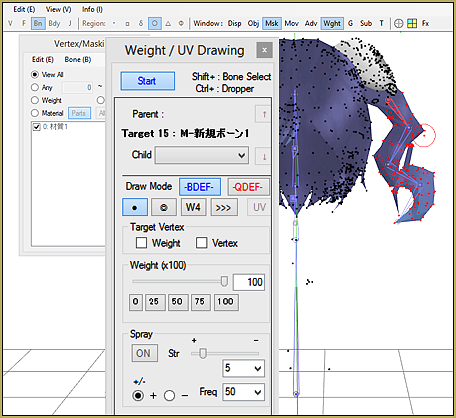
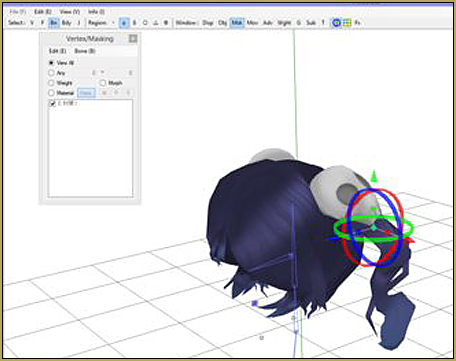
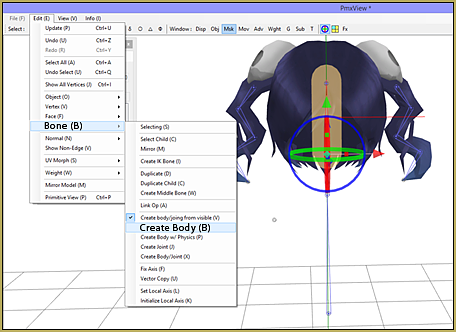
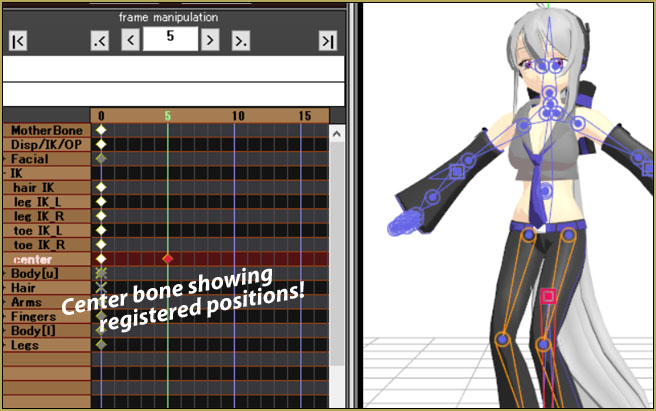
Then keep going all the way down. Now here’s the easiest part. Select the head bone and click Edit>Bone>Create Body>Yes.
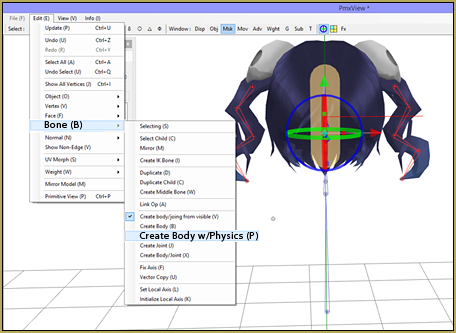
This creates a physic on the head. Now select the ponytail bones and click Edit>Bone>Create Body w/ Physics.
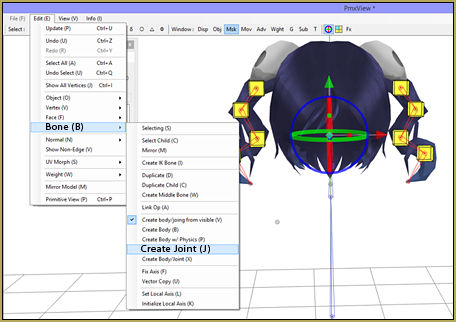
Then WITH THE BONES STILL SELECTED go to Edit>Bone>Create Joint.
Now you’re almost done! Look at this very short video to finish what you started!
Good luck with your Editing…
… be sure to leave a comment to ask a question!
– SEE BELOW for MORE MMD TUTORIALS…
— — —
– _ — –
![]()


The tutorial is a failure.
It was going really well until the tutorial maker decided to just throw a video showcase instead of finishing to explain the final steps properly.
If you make a tutorial you must make sure everything is properly explained before making a showcase.
And before anyone comes with the classic “Final steps are in the video”, yes they are. But they’re not explained and the video quality isn’t the best either.
Also, don’t come with the “look for other tutorials then”, because most tutorials about physics also skip many important steps.
Sorry about that issue… Have you got a particular question that I might help you with? I can find help.
— Reggie
You are using outdated version, it’s not the same and does not work the same
Some important details you failed to mention about mirroring stuff is that it works best if you have full Japanese names for your bones, including the proper kanji for “right” and “left.” Without these kanji, PMX cannot figure out how to mirror your weights correctly and will instead mirror them to the same side. Joints and physics can also end up connected to the wrong side of the body if the Japanese name isn’t quite right when you mirror it. You also fail to mention that you don’t need to make the joints and physics separately. The “Create body/joint” command does BOTH at the same time. You also fail to mention that the first joint created on the selected bones will ALWAYS be blank and that a person will need to set up the connecting bodies for it to avoid crashing MMD as so many comments on here have done.
How come when i try to follow this tutorial and I don’t get all those bone choices anytime I try to do it. when I press edit > bone, I don’t get any create bone options
That’s so strange! Maybe you need to right click instead? If there’s no options when there should be, maybe you need to download a different version of PMXEditor :(
What if we want to edit the physics so that they are smoother, and the hair already has bones, joints, and physics. Would we still do the same in this tutorial?
The vid doesn’t explain anything, but it just shows what he/she is doing.
Needs more explanation.
I can’t get hair physics to work. Even if they work, the model just crashes MMD whenever I load it.
For starters, look into PMXE’s Joint tab. Check if every joint has its “Body A” and “Body B” fields filled.
If that’s not enough, try to run “File->PMX Info” command, Google Translate its output, and see what errors your model may have. See the tutorial for more details.
Help i add phisics but when i load it mmd crashes
The most common cause of MMD crashes, especially after editing physics, is orphaned joints. Go through all of your joints and make sure that each is connected fully, to two rigid bodies.
I fixed the crash but now it melts
You probably need to make sure that the first join of the root connects to a bone-type rigid body for its first body.
OK thanks
I followed this to the best of my abilities with hair that is a single long ponytail on the side and the whole ponytail just falls to the ground, stretched from the head and all. What do I do.
Also, I got really confused in the video because it was all in japanese vs my parts being in english + i need to know exactly what doing what’s in the video does. Thanks!
Okay I THINK I got it fixed, but now it’s just straight up crashing MMD :/
Im PMDE, select “File->State verification of PMD data” (or, if you use PMXE, “File->PMX Info”), run its output through Google Translate and see what error your model has. This tutorial also can help: http://akemiwhy.deviantart.com/art/pmx-diagnostic-window-a-WIP-guide-661769461
Okay, this is what I got out of it:
System
Additional UV count: 0 | … ○ OK
■ Model Information
Model name: | … △ The model name is empty.
Comment: (*******) | … △ The comment is empty.
■ Vertex
Illegal normal number: 0 | … ○ ○ OK
Illegal wait count: 0 | … ○ OK
Not set SDEF value: 0 | … ○ OK
SDEF vertex illegal bone reference count: 0 | … ○ OK
Independent (non-plane reference) Number of vertices: 0 | … ○ OK
Surface
Number of invalid reference vertices: 0 | … ○ OK
Number of fronts: 0 | … ○ OK
Number of overlapping faces: 0 | … ○ OK
Material
Material name Not set: 0 | … ○ OK
Material name Duplicate number: 0 | … ○ OK
Material without surface: 0 | … ○ OK
Texture invalid material: 0 | … ○ OK
Sphere texture invalid Material: 0 | … ○ OK
Sphere setting invalid Material: 0 | … ○ OK
Toon texture invalid material: 0 | … ○ ○ OK
Total number of materials: 2694 | … ○ ○ OK
■ Bourne
Number of bones: 8 | … ○ ○ OK
Bone name not set: 0 | … ○ OK
Bone name duplication number: 0 | … ○ OK
Circular reference: 0 | … ○ OK
Order sequence check: 0 | … ○ OK
Invalid parent reference: 0 | … ○ OK
Granted sequence order confirmation: 0 | … ○ OK
Granted parent reference invalid: 0 | … ○ OK
Display destination invalid: 0 | … ○ OK
Granted parent reference invalid: 0 | … ○ OK
IKTarget reference invalid: 0 | … ○ OK
IKLink reference invalid: 0 | … ○ OK
■ Morph
Morph name not set: 0 | … ○ OK
Morph name duplication number: 0 | … ○ OK
Morph offset reference invalid: 0 | … ○ OK
■ Display frame
Frame name not set: 0 | … ○ OK
Frame name Duplicate number: 0 | … ○ OK
Unregistered bones: 6 | … The bones below △ are not registered in the display frame.
(1, 2, 3, 4, 5, 6)
Unregistered morph: 0 | … ○ OK
Duplicate registration bone: 0 | … ○ OK
Duplicate registration morph: 0 | … ○ OK
Registration bone reference invalid: 0 | … ○ OK
Registration morph reference invalid: 0 | … ○ OK
Registration frame registration: … OK
System frame status: … OK
Rigid body
Rigid body name not set: 0 | … ○ OK
Rigid body name duplication number: 0 | … ○ OK
Incorrect bone reference: 0 | … ○ OK
■ Joint
Joint name Not set: 0 | … ○ OK
Joint name Duplication number: 0 | … ○ OK
Rigid body A reference illegal: 1 | … × Bad! The following Joint has incorrect rigid body A setting.
(Five)
Rigid body B reference illegal: 1 | … × Bad! Joint below Rigid body B setting incorrect.
(Five)
■ Soft Body
Soft Body name not set: 0 | … ○ OK
SoftBody name Duplication number: 0 | … ○ OK
Material reference invalid: 0 | … ○ OK
Rigid body reference illegal: 0 | … ○ OK
Vertex reference invalid: 0 | … ○ OK
Illegal multiple vertex reference illegal: 0 | … ○ OK
Target material Outer vertex reference illegal: 0 | … ○ OK
I used this other tutorial (https://www.youtube.com/watch?v=V5Pt8ArK-FY&t=510s) which made more sense to me, but basically gave me the same outcome. Someone in the comments mentioned static vs dynamic physics, but i don’t know how to enable that.
(Thanks for the response btw ;w;)
Apparently the joint #5 does not join anything or is otherwise faulty.
How would I go about fixing that?
In Joints tab, find the record #5. “Body A” and “Body B” refer to a pair of rigid bodies (aka “physics”) that the joint is supposed to connect. Without seeing your model, I can’t guess which ones they should be, though. If you use a newer PMXE, you may try to call for TransformView window (F9), make sure rigid bodies are visible (“Bdy” button the upper left toolbar), and press the “Mode: ►” button. Supposedly you will see what bodyparts go scatter and what needs to be connected. If you only know how to use PMDE, try to delete that joint altogether, save under a different name, and load the model into MMD for the similar result. Hopefully it won’t crash without that offending joint and you will get your answer.
Hello there,
I could not figure out how to remove your body.
That’s why I’m so glad you helped me.
Hi I don’t know what to do for mmdplayer
I’d be glad to help you… What are you talking about?