How to use the Ray-MMD LED widget…
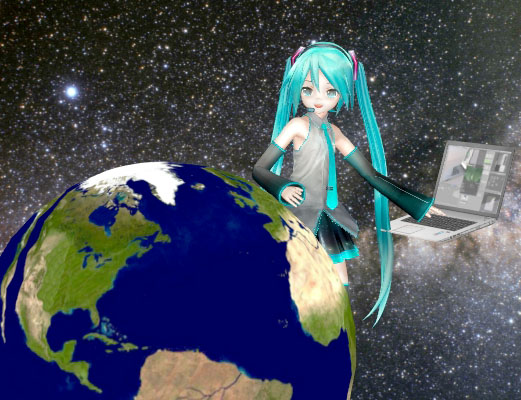
Chibi Miku’s Old V2 Droid
Ever since MMD was first available it always had a screen capture widget. The first stage model that featured this widget is the default stage that comes with all versions of MMD. But, the screen widget is really easy to model so a lot of stage model makers used to include some version of this widget as a part of the stage design. By default, the widget can either be set to capture whatever is visible though the MMD view port or it can be made to actually play a video.
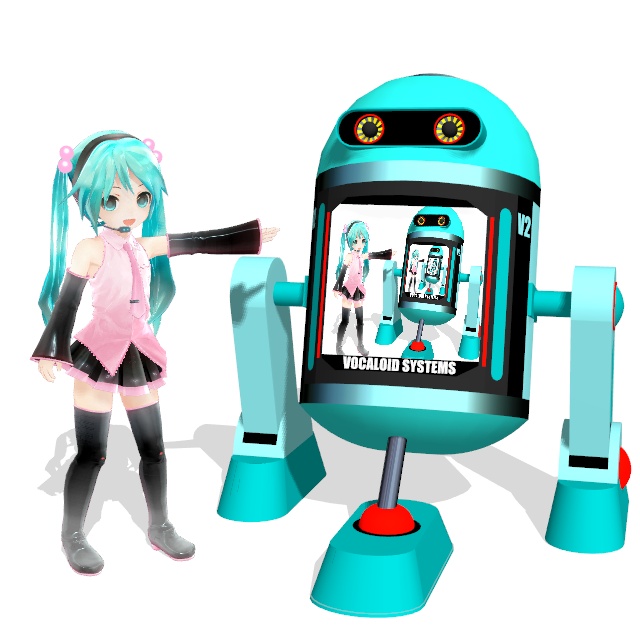
The image above shows a model droid that I originally built back in 2012 which featured this widget and I have revamped it to illustrate the process in this article. If you want the model, a link is provided at the end of the article.
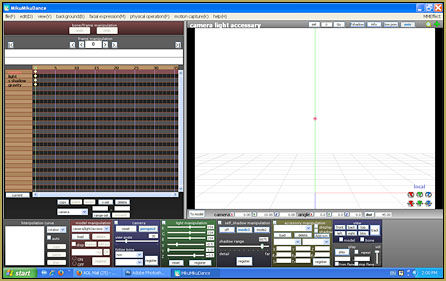
If you do not know how to turn on MMD’s screen capture modes, please refer the image below:

Ray-MMD essentially killed the default screen capture widget
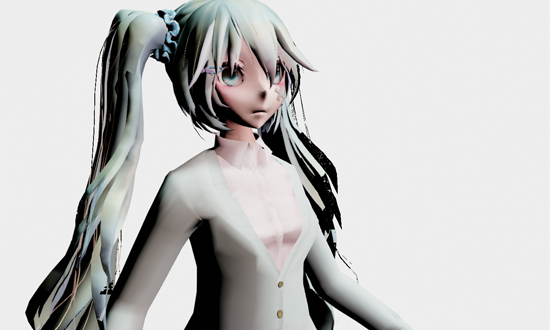
Ray-MMD has not been kind to stages that are built without texture maps. This is probably why most MMD videos that uses Ray-MMD do not use the older style of stages which largely do not use texture maps. But there are plenty of stages that do use texture maps which work fantastically with Ray-MMD. Especially when normal maps are added, many of these can look almost photo-real. The downside is that these newer stages, for the most part, do not use the capture screen widget. And even when they do, they run into the issue shown in the image below. The capture screens become very dull and don’t look very nice.
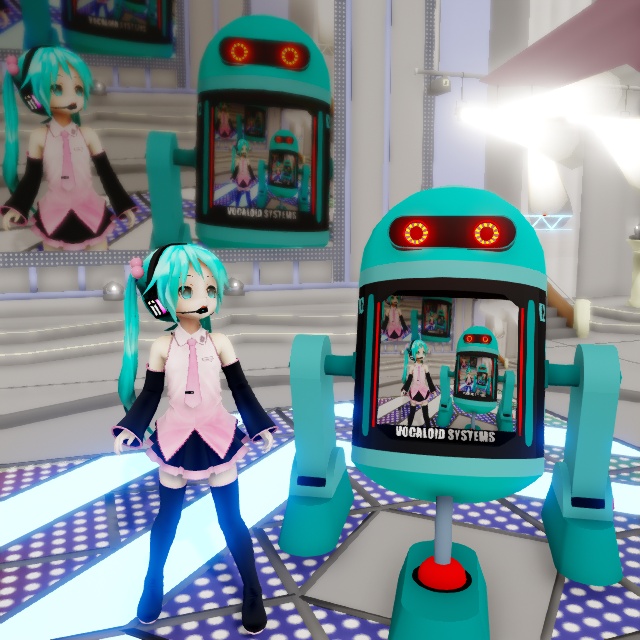
There is actually a fairly simple fix for this and that is to simply to add a sub-surface or emissive modifier to the screen material and it will brighten up fine. However, although it looks much better, it can be negatively impacted by the global lighting setting up. But, fortunately there is a fix for this issue too…
Ray-MMD offers a replacement screen capture widget
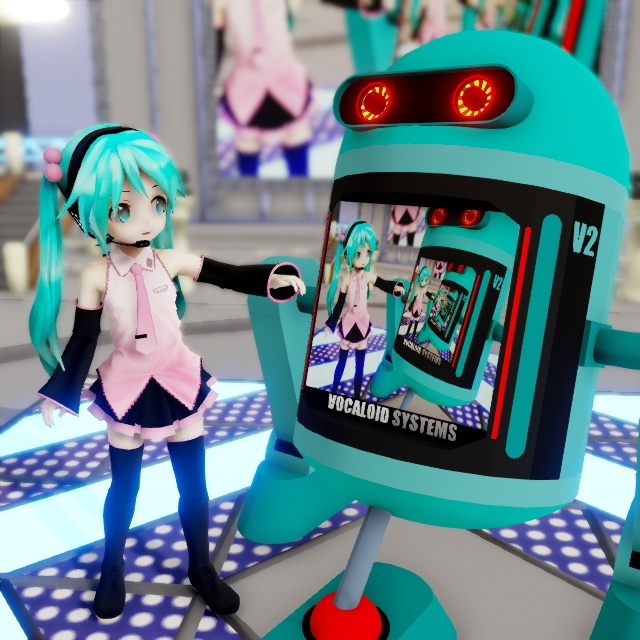
Inside the Lighting folder you will find LED.pmx. This is Ray-MMD’s own version of the screen capture widget and it is user configurable which makes it really useful. So Chibi Miku is going to demonstrate this on V2 version 2 which is also a PMX model. However, PMX models do not inherently have the ability to use the screen capture functions. This still requires a .X format screen; but Ray-MMD has a solution for that too.
To demonstrate the difference between the default widget and the Ray-MMD version; I’ll leave the stage to use the default and the V2 droid will use the new widget.

Step-By-Step
- Load LED.pmx
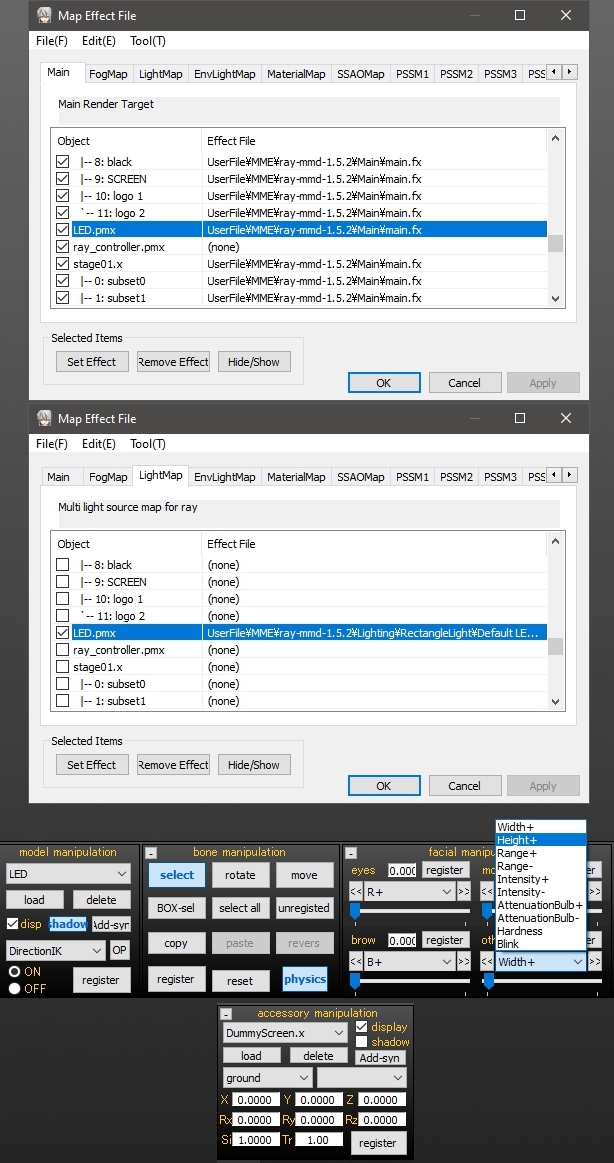
- Add main.fx to this model under the Main tab in the MME window. The widget will turn black.
- Under the LightMap tab, select a lighting regime for this widget. Eg. rectangle_lighting_with_shadow_medium.fx
- From the Ray-MMD Extensions>DummyScreen folder, load DummyScreen.x. If you have one of MMD’s screen capture modes active, the widget will immediately function. If not turn on one of the screen capture modes.
To fit the screen to the droid, these were the steps used. If you’re not using the droid, just extrapolate to fit your project.
- Attach the LED.pmx model to the droid model using the OP function. Use the center/root bones on both models.
- Move the LED.pmx screen into place on the droid.
- Use the height and width sliders to fit the widget into the space reserved for the screen on the droid. 0.028 were the values I used.
- Use the other sliders to configure the widget to suit your set up.
WARNING: The LED.pmx sliders can be buggy. If you run into issues, disable the RGB sliders by setting them to “0”.
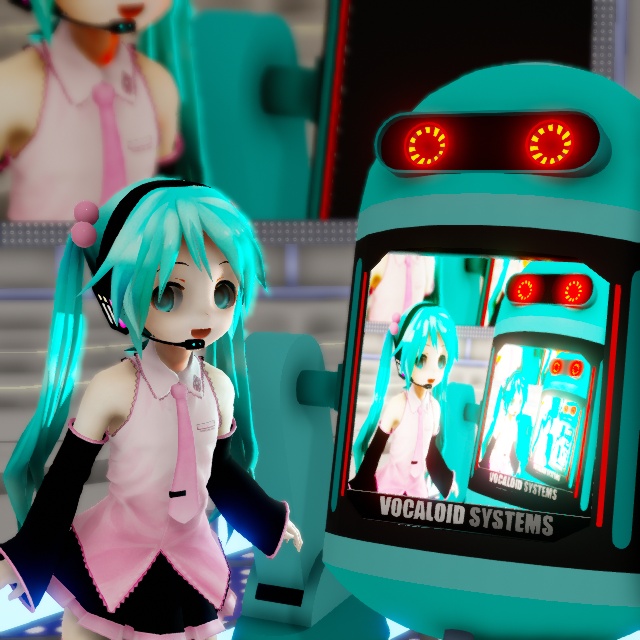
The neat thing about the Ray-MMD LED widget is that it is a light emissive object. It gives off light which makes this screen especially valuable in low lighting environments.
Will this widget play videos?
Absolutely it will but it defers this function to MMD so the some restrictions apply. Most AVI / MPEG video will not play. There are only two formats that seems to be supported.
Please read this tutorial for further info: MMD Video Playback
IMPORTANT: The tutorial linked above suggests that you can download FormatFactory to use as a format converter. DO NOT DOWNLOAD THIS SOFTWARE; it is now bundled with malware which is a real pain to remove.
CREDITS
Chibi Appearance Miku – Mamama / Ok_Ky
Miku Hatsune © Crypton Future Media Inc.
MMD 9.32
Ray-MMD 1.5.2
Default MMD stage
PMXeditor EN v2.0
Trimble SketchUp
GIMP 2.10.6
IrfanView64
VROID model download [ click here ]
– SEE BELOW for MORE MMD TUTORIALS…
— — —
– _ — –








Uh, question, has the FormatFactory software always carried malware?? Cause I’ve been using this for a long time now and didn’t have any problems. I downloaded my version a long time ago though. Also the article was very helpful, thank you.
Is not necessary to use a LED Screen. You can just play with the settings of the materials to have an emmisive texture that uses the dummy screen. The dull effect is because the material is using the dummy screen information as albedo, not emissive
hi can i be part of the mmd can you help me to work on my project so i can make my own motion i was trying to do the yandere simulator and myb own thing and black butler so i can be one of you
Thank you for the great tutorial as always! By the way, please take a look at my latest work in Ray-mmd.
https://i.ibb.co/ZL6xrQ5/Fuhrer-Bismarck-Uber-Alles.png
https://i.ibb.co/1Rsrsbt/Fur-Fuhrer-Bismarck-2.png
https://i.ibb.co/xHDz4BB/Nelson.png
https://www.youtube.com/watch?v=uU-tLfNMcKw