


How ![]() do I change my model mid-animation in MMD? How do I switch models in MikuMikuDance? How do I prevent the physics from glitching in MMD when I switch models? How do I swap models in MMD?
do I change my model mid-animation in MMD? How do I switch models in MikuMikuDance? How do I prevent the physics from glitching in MMD when I switch models? How do I swap models in MMD?
Switching models and prevent the physics from glitching.
Hello LearnMMD readers, it’s parkeerwacht with another tutorial.
To introduce this subject I would like to refer to this post made by Arizona:
https://learnmmd.com/http:/learnmmd.com/how-to-switch-models-and-stages-in-mikumikudance/
It explains the basics of what I am going to do in this tutorial, but I am going to tell you my method of this technique.
But let’s introduce it properly:
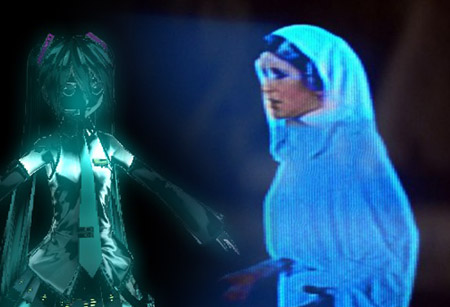
I am writing this because I had this issue myself, where I eventually just gave up on fixing it. I found a method to switch models without messing up their physical parts!
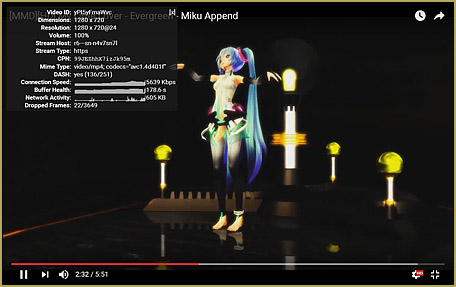
I have used this method in the following video:
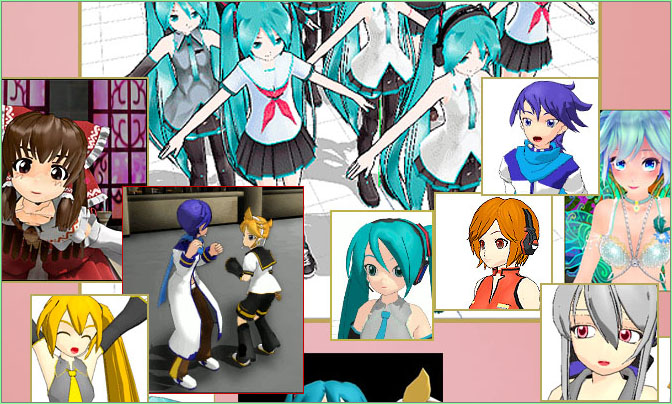
For this tutorial I am somewhat going to recreate that video to show you how. I will be using the Bad Apple!! Motion data and different models from the Touhou Project.
You can use the method from Arizona’s post, but you will have to turn the physics engine off or disable the model’s physical parts, It may work with physics but in my experience it doesn’t.
Not hating on Arizona of course but I have seen some readers (including myself) having issues with the physics when using that method. I want to show a solution to that problem in this post! I think the reason alot of people run into problems may be because that post is from 2012. By that time, the latest version of MMD was V7.39 and now we have V9.26. I know that there have been some changes to the way MMD handles the physics since then. His post actually inspired me to write this!
What you need to do is to turn off the physics of a model and move it out of the way. At the point where you want to switch models again, you can move them back into place and turn on the physics again.
Let’s get started:
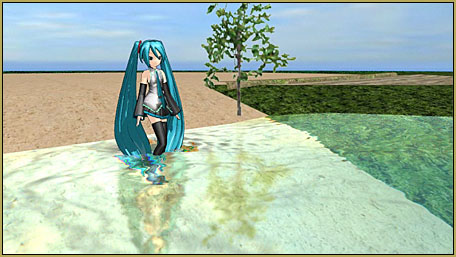
Step 1: Load your stage
Load the stage you want to use, can be anything. I used the Voile Library (The library of Patchouli Knowledge) to stay in the Touhou theme.

Just set up your stage like normal. For me, I moved it around a bit to a position where the models can move freely.
Step 2: load your first models and load your motion data
Now you load your models. Do not load them all yet. We will load them as we go on in our project.
So load the models you want to be shown at the beginning first! Make sure to load the motion data as well, right after loading a model. This will prevent the models from colliding. You should load your camera motion as well.
Note: Not all models will work with this method. So if your model starts moving all over the place, try another model!
For me it is Flandre Scarlet and Remillia Scarlet:

Step 3: Find a point where you want to switch models
Find the frame number of the point where you want to switch models.
For my animation it’s at frame 1300. The switching process will take 4 frames!
You can find the frame number at the the top of the frame manipulation panel:

Note this number somewhere so you don’t lose it. I suggest you write it down on a piece of paper because we will need this later.
If you want multiple switch points, now is a good time to make note of those frames, as well.
Step 4: Load your new models
Now go back to frame 0 and load your model as described in step 2
Don’t forget to load their motion data now, or they will be out of sync!
But you will notice this:
The models are glitching inside one-another. Were going to fix this in the next step.
Step 5: Moving, hiding and switching physics
Sooo we want to move the models out of each other. You also need to disable the model’s physics to prevent lag and glitches. You also need to hide them, of course.
Why you must do this is that when you make them invisible, the textures will be hidden but the actual model will still be there. Those hidden bones are the things that will cause the physics glitches.
So, first move your model out of the way by selecting it in the model manipulation panel, and select the motherbone or doing CTRL+A to select all bones. I recommend selecting all bones, since you do need to use that to disable physics
What you want to do is move your 2nd model away from the main scene. (Patchouli and Koakuma in this case) You can do that via the X, Y and Z arrows on the bottom right of your screen. DO NOT FORGET TO PRESS REGISTER IN THE BONE MANIPULATION PANEL FOR EACH MODEL!!!
Now you want to go to the Bone Manipulation Panel and click the Physics button:
Now click register in the same panel. You should see that more bones show up and are selected. These are your Physical bones turning into normal bones. (don’t worry, we are going to revert this later) You can find more information on switching the physics in this post by KillerBeer: https://learnmmd.com/http:/learnmmd.com/tame-unruly-skirts-fix-fluttering-parts-mmd-9-xx/
Now you want to go to the Model Manipulation Panel:

Untick the DISP box and press register. Your model should now be invisible: (the bones remain visible when you select the model)
Step 6: The switch!
Now we’re going to move to the frame where you want to switch models, You can enter the frame number in the box where it says the number, and press enter.
You must move back 2 frames from there (so for me I need to set it to frame 1298) Now select your previous models, in the Model Manipulation panel. Select all bones, and press register on the bone manipulation panel. MAKE SURE THE PHYSICS BUTTON IS ACTIVE! (The text must be blue), this will make sure the model position stays the same.
Now go to the next frame (1299), and do the following:
Move old models away so they won’t interfere with the new models. Use the same method as before. Make sure to turn physics off for this! (black text on the physics button.) Then press Register on the Bone Manipulation Panel.

Now make these models invisible as described in step 5
In the same frame (1299), you must register the current position of the new models as well. Select all bones and press register on the Bone Manipulation Panel, with the physics disabled.
Now at the next frame (1300). You make the new models visible again and move them to the position the original models were in.
Register the new position with physics disabled in the Bone Manipulation Panel.
Now enable the physics on both models. (click the physics button and the text should be blue, then press register on the bone manipulation panel)
Then you go to the physical operation tab, and click on initialize bodies position.
This should reset the position of the physical bones to the correct position. Don’t worry if there is some minor clipping, this can be fixed by adjusting the gravity settings and then setting it back. If not, you may need to edit the models. But the clipping as seen below isn’t that bad and should fix itself. It did so in my experiments. I did find a trick to solve it: you can shake the model around a bit and the bones may restore there position. Also press CTRL+Z afterwards to undo your movement, this won’t undo the new position of the physical bones. Best is to gently move them; this won’t let them glitch again.

Now turn the physics off again. This should prevent the physics from glitching when the switch is complete. ( I assume you now know how to switch the physics.)
Now go to the next frame (1301), and switch the physics again.
Now there should be one frame where the stage is empty, this will make sure no models collide with each other!
Now your swap is complete. Play the animation to see if it works
Stages and effects:
Below I will explain how to switch stages and effects:
To switch the stage, you can use the the disp button. My first stage is in 2 parts, one PMX and one .X. So I need to use both the display button in the Accessory Manipulation Panel and the Model Manipulation Panel. Now make the old stage invisible and the new stage visible. (Note: If your stage switch doesn’t work immediately, try switching to the camera and then back to the models. It is a bug in MMD where accessories won’t get updated if you have selected another model.)
I used the WorkingFloor effect in my video in the first 2 scenes, after the animation goes outside I turned it off. I did this by using the display button on the Accessory Manipulation Panel. So, this will be the new scene:

The next switch
In my video there are three points where I switch models. I am going over the steps one more time to show this method in a nutshell.
Loading the next models, moving them out of the way, making them invisible

Moving the old models away, switch the physics off and make them invisible

switch models:

Correcting the physics:

That’s it! That’s how you switch your models!
I did switch models at another point in my video but this post will get to long and it will be more of the same…
Let’s see the switches in action then!
I will do two videos: one where I switch models using the method described here, and one where I switch with the method described in Arizona’s post!
My method:
https://youtu.be/yw44OvX5UaI
Using Arizona’s method:
https://youtu.be/L9ED8RLpPM8
You can see that alot of physical parts are glitching in the last one. This is because we I haven’t moved the models away. (Especially on Patchouli’s clothes) For some reason Sakuya’s skirt didn’t glitch and her hair as well… I think Arlvit made some physics improvements in his latest version of these models. Meiling had some glitches. but yeah…. We don’t want glitches.
You can also watch the original video on my YT channel as well. That video has alot of glitches. Due to inexperience. (Read the description on my remake)
Notes/credits:
Why go through all these steps? Sure it can be a bit easier but this is the method I found that works!
Also note that you may notice lag when using this method. This is because even though your model is hidden it’s movements will still be calculated by the CPU! This can cause lag! The full project I used for the video runs at only about 10 FPS in MMD! (this is including the effects!)
If you have any questions or feedback, please leave a comment. We read all our comments on our pages! At least I read all comments on my posts! And if I can’t help you, I am sure other members of the team can!
Credits:
Models:
Flandre Scarlet and Remillia Scarlet by Moto
Patchouli Knowledge, Koakuma, Hong Meiling and Sakuya Izayoi by Arlvit
stages by フレスベルク (Furesuberuku)
Bad Apple!! Motion Data by ネイ (Ney) Camera by [H]estiaSama
– SEE BELOW for MORE MMD TUTORIALS…
— — —
– _ — –
![]()


parkeerwacht,
What was your computer specs at the time of writing the tutorial?
I sent Parkeerwacht a note… he may soon get back to you with a response!
Wow,this is really a great tutorial!Sankyu~
Is there a way to make the model switching smooth? LIke in this video, The person made the switch kinda fade in a way.The video will helo u understand what im trying to say. Thank you!
https://www.youtube.com/watch?v=VZyAhUkxQRY&index=1&list=FLVXZDCm7AC6cpjri19p_f_A
Well, the easiest way to figure out how exactly it’s done is by asking the creator him/herself :D
There are two possible way to do this. Pre-render or post-render.
Pre-render involves toying with MME such as Ghost effects and material sliders on the model. However, doing this is kinda tricky because often the models’ physics will clash at each other.
Post-render is easier, as it involves making identical copies of the same video with different models, and edit them together in a video editing software afterwards, adding the transitions along the way. This can be done easily in something as basic as Windows Movie Maker. Hope that helps!
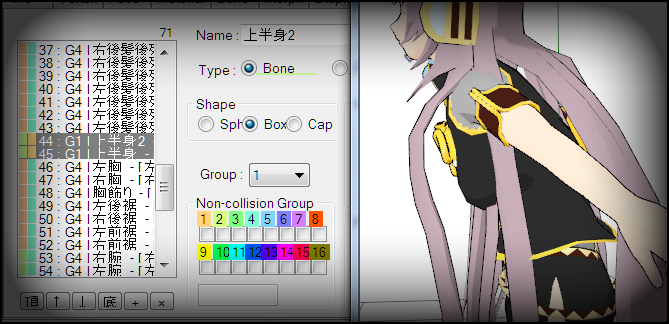
I have an important question. Like I made my own model and I checked every single part to make sure its clean, meaning that I loaded every single part of my model separately to check if there were hidden bones, and if there were, I’d delete them. Same with the… Hidden vercities I think it’s called? But yes. My model has no hidden bones. So doesn’t that mean it won’t glitch if I use Arizona’s way?
It’s not the bones. It’s the physics, in particular, the collision bodies. There are other ways around this– like only using collision groups 1-8 for one model, and 9-16 for the other, and making sure they don’t collide. But parkeerwacht’s solution is a good one.
That’s not to say you can’t do it the simpler way! If it works for you, that’s great. And with this article, you’ll have something to try if it ever looks wrong. But for sure, there’s no need to do the complicated stuff unless the simple stuff isn’t working for you!
Oh OK! Thank you a lot!