![]() How do I use the MMD Light Manipulation panel? Why would I use the Light Manipulation Panel? How do I adjust the lights in MikuMikuDance?
How do I use the MMD Light Manipulation panel? Why would I use the Light Manipulation Panel? How do I adjust the lights in MikuMikuDance?
The ‘Light Manipulation’ panel?
How do I use it?
 Hey!! I’m one of the newest article writers here. You can call me Yuuki if you’d like!
So anyways, I’ve heard that you newbies are getting used to MikuMikuDance. Well, that’s pretty good. I bet that you’ve opened up your MMD program and if you haven’t, do that now. I bet you haven’t messed with the light manipulation tab, am I right? Messing with this can add a ‘look’ or maybe some feeling to your photos or videos. It can also make them look pretty good, depending on how you use it. Today, I’m going to show you how it works!!
So… is this thing difficult to use?
 Nothing difficult at all! Once you understand how it works and how it can be used to make your MMD pics and videos spectacular and good looking, then you’ll find it SUPER easy! When you get the hang of things you’ll be thinking, “Why haven’t I messed with this sooner?”
Tell me, how does this help my videos/pictures?
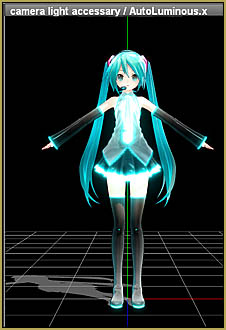
Well, it can definitely add some ’emotion’ to them. Also when adding certain effects (or too many), your picture can get pretty dark. We  don’t want that, huh? It can also help with bright effects on models, such as ObjectLuminous. I’m sure once I help explain this to you, you’ll be a pro in no time! Maybe you can help your other newbie companions as well. Also, adjusting the lighting can make your image look pretty even if you don’t have effects added.
Alright, enough with the blabbing! Tell me how it works?
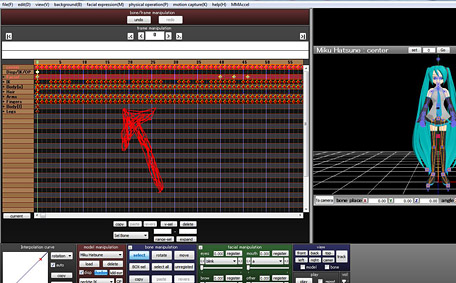
No need to be rude, jeez. Anyways, you see that tab down there? You know, the one next to the camera tab that says ‘Light Manipulation’? Yeah, that’s it. If it’s green, you’re on the right track. Make sure you load a model before messing with it however, so you can see how this tab affects things. Also a stage too, so you can see the color changes.
“Woah, that looks like a lot of stuff.” *gulp*
 No it’s fine, don’t worry about it! I promise it’s not that difficult. Let’s mess with the top three sliders first, the R, G, and B slides. They’re nothing that difficult, they just change the color of the place. R is for Red, G is for Green, and B is for Blue. See? It’s not that bad! It’s like mixing colors in some perspective. If you move the green tab all the way down, you’re left with a purple look on your screen! Just mess around with those for a few minutes and you’ll get the hang of it in no time. In your animation, you can register different positions in different frames and watch as the lights shift color when you push play!
If you move all of the sliders down to zero, it’s a dark look. It doesn’t make the screen completely black, but it does make it dark. If it’s moved to 255 (the limit) then it will be super bright. Messing around with it can give you a head start of how it works. Why not pose your model, make it strut it’s stuff, and we can get to the next part of the light tab yeah? Okay great :)
What’s this other stuff do? *pokes*
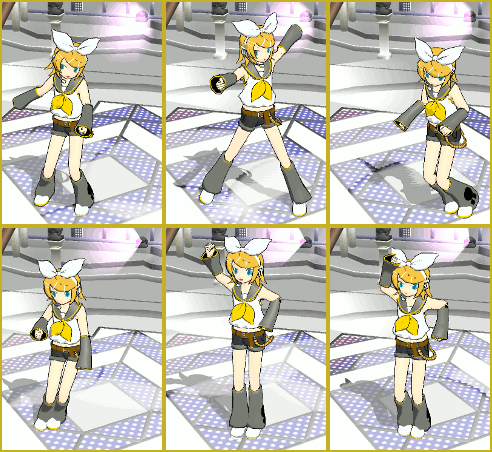
Well, it just changes the light direction. You control it the same way you control the camera or model bones. X represents which direction you want it to come from( left or right) Y is for the light coming from below or above, and Z is for in front of you and behind you. So, if I have my lighting settings like this from top to bottom; R: 86 G: 255 B: 86, and I change the XYZ settings, what will it look like? See for yourself ^-^

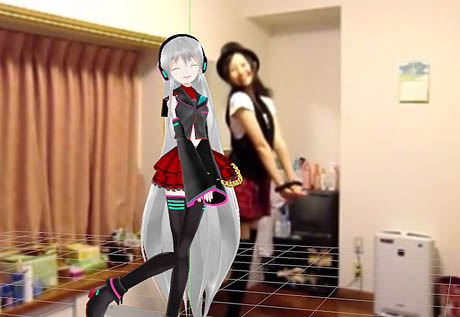
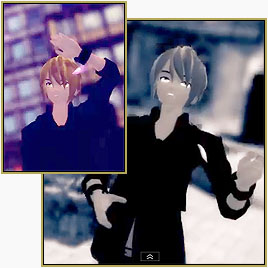
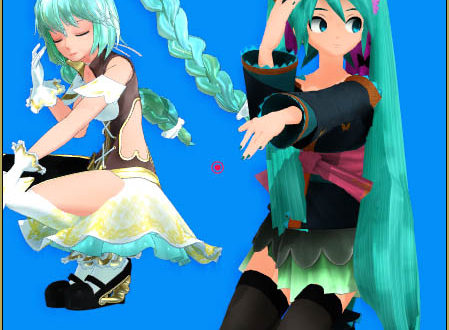
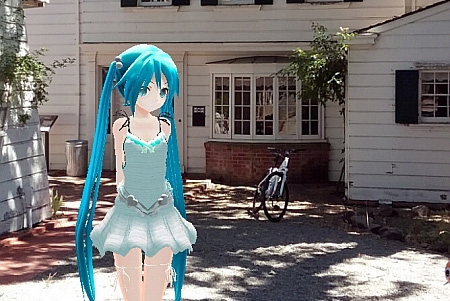
See what the light settings can do for your image? This is all with NO effects!! It can make your image beautiful!
That’s all for this article! Have any questions? Ask them and I’ll try my best to answer~ Yuuki
Credits:
Model: C.C by Wachi
– SEE BELOW for MORE MMD TUTORIALS…
— — —
– _ — –

