![]() How do you do a point of view POV camera shot in *newer* MMD? What cool new camera effects are made possible with it? How do you lock the camera’s POV in MMD?
How do you do a point of view POV camera shot in *newer* MMD? What cool new camera effects are made possible with it? How do you lock the camera’s POV in MMD?
Making POV Camera Shots in MikuMikuDance 8.03+
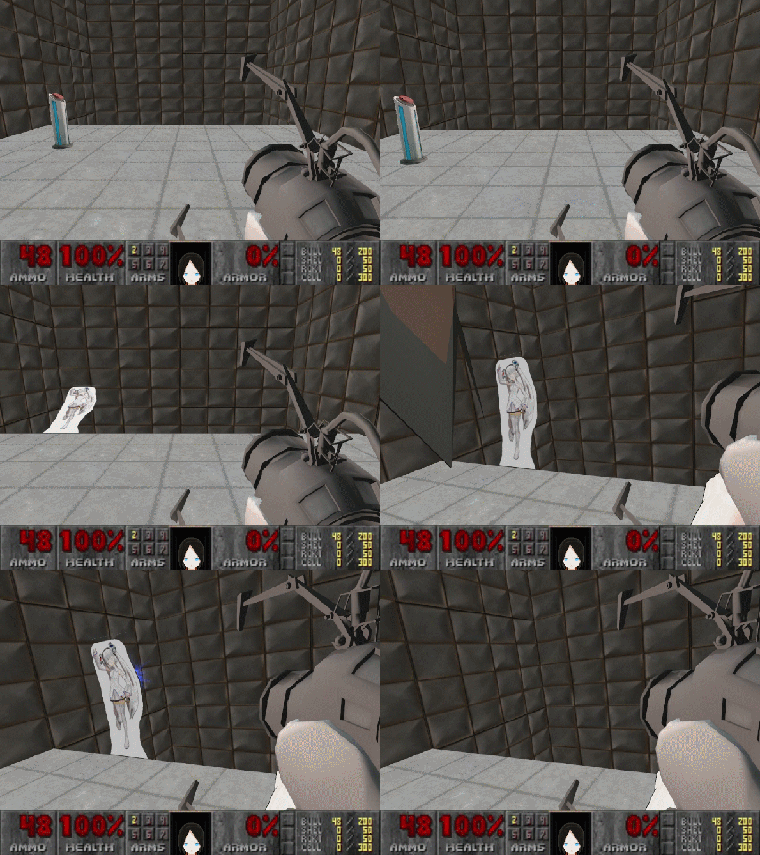
Last year, Arizona made a post about an amusing technique allowing to make the camera look through the eyes of your character. It could produce impressive results… but what was really impressive was the amount of shovelwork necessary to achieve something noteworthy. Even with extremely clear instructions outlined in that article, making the camera follow the character doing anything more complex than strolling from point A to point B meant some pretty heavy data crunching. In other words, exactly the kind of work that computers, not people, are meant for.
Then came MMD 8.03.
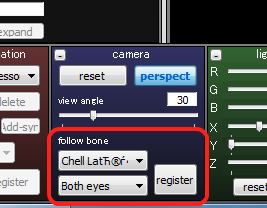
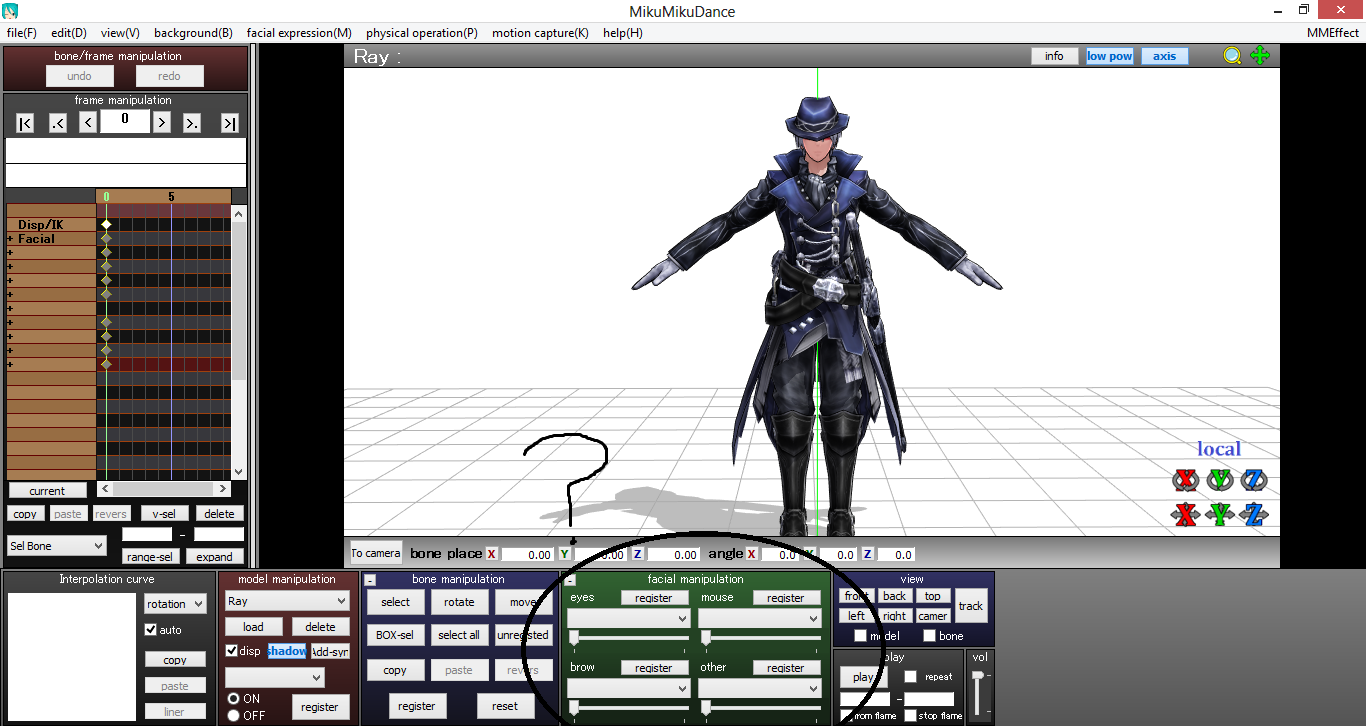
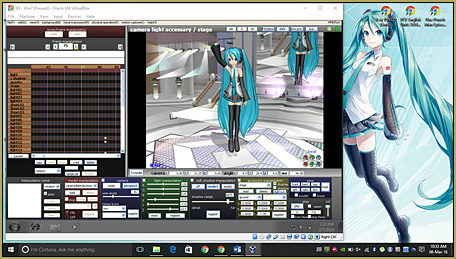
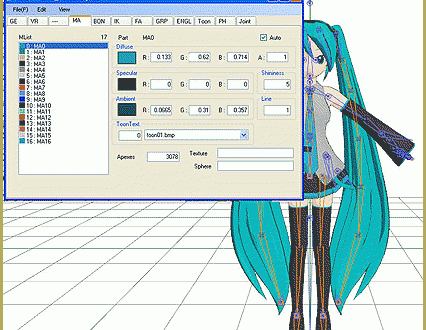
Starting from this version, the camera manipulation panel was updated with one more control – model/bone selector. Now you can assign the camera to any model’s bone – and the camera will follow it wherever you go! With this setting, making POV shots becomes a breeze.
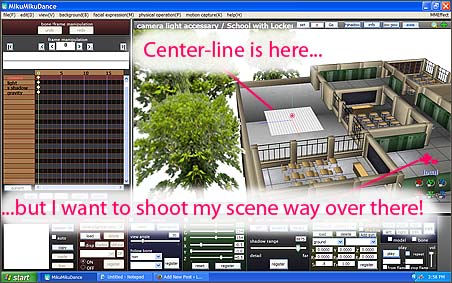
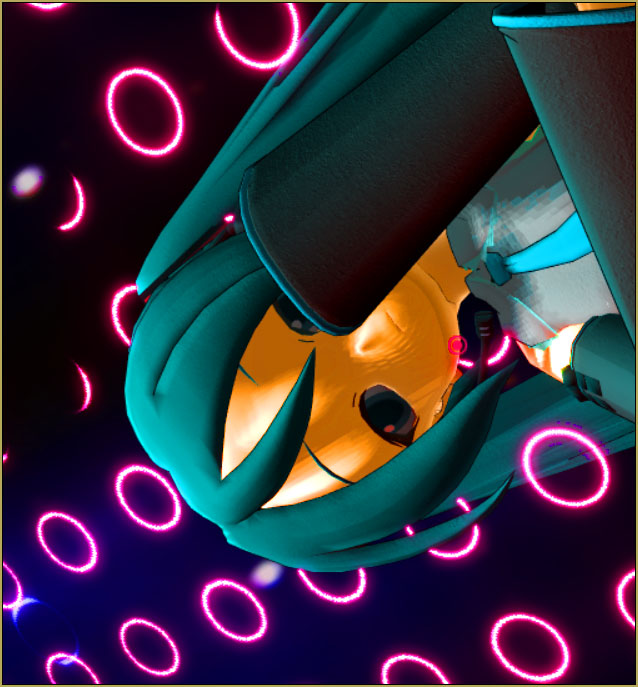
Just select a character you want to enliven and a bone – “both eyes” would be a logical choice. Wait… for some reason we’re looking backwards. No worries, you still can adjust camera’s position and angle and new numbers will stick as you move. Reverse the Y axis to 180° and place the camera slightly in front of the nose bridge using Camera Manipulation mode – and that’s all the setting up you really need to make your character go first-person. Walk, jump, crouch, bow, wave your hands – all that will be properly registered by the camera.
When working with this technique, you will appreciate the “View/Camera lightning tracking” menu option. With it, you can manipulate the model and at the same time see how it looks from the character’s POV – instant camera-view-in-model-mode. You can plan rather than guess your movements in full regard of how they will look in first person.
You also may consider playing with the view angle setting of the camera. By default, it is set for 30°. Most FPS games, though, use higher settings – 60-90 depending on monitor’s aspect ratio. Of course, FPS are also meant to play on full screen – if you don’t plan your video to be high-def, higher FOV settings would be meaningless.
Of course, you don’t have to limit yourselves to FPS genre with this technique. Place the camera behind character’s back instead of the nosebridge, and Doom just as easily becomes Tomb Raider. On the other hand, you can also place it on a Dummy Bone instead of the character, and plan camera’s movements seeing its supposed position while having your own “camera” completely separately. Ability to glue the camera to an arbitrary bone opens quite a new set of possibilities.
And… this is all, folks! It’s really *this* simple!
Sources:
Models used for the illustration: Chell and GLaDOS by MahosMMDaccount, environment by SKaa3w
– SEE BELOW for MORE MMD TUTORIALS…
— — —
– _ — –

