Skip to content
Learn MikuMikuDance – MMD Tutorials – Free 3D Animation Software

Learn MikuMikuDance – MMD Tutorials – Free 3D Animation Software

Download Free Animation Software – Let's Learn How to Do Everything!

  • Step-by-Step MMD instructions
  • DOWNLOADS
  • Troubleshoot, Fix MMD
  • Site Contents
  • Reggie Replies Q&A
  • Homework!
  • What IS MMD?
    • Download MikuMikuDance Newest Latest Version of MMD
  • “HOW TO”
    • Raycast RAY-MMD Effect Tutorials
  • BONUS PAGES
    • Why convert PMD models to PMX?
  • HALL of CHAMPIONS
  • Tutorial Categories
  • About
    • Privacy Policy
  • Toggle search form
  • Kaito Sees Rotating Stars Thanks to the Accessory Manipulation Panel.
    More on Accessory Manipulation in MikuMikuDance Accessory Manipulation/Adjust
  • Sweet MMD Meme “Hello_How Are You” MMD Memes
  • A girl named Miku Hatsune… Random Thoughts & Visions
  • Easily Create Walk-in-Place Motion in MMD Animation Shortcuts
  • MMD Bone Reference Charts make MMD Model-making Easier! Mae Blythe
  • Add a Motherbone for Easy Model Manipulation in MMD 7.39 Mother Bones
  • Create 450-Frame MMD Animation from scratch!
    Create 450-Frame MMD animation from scratch! "the making of" my video
  • Use YouTube Video Analytics to Attract and maintain viewers!
    Use YouTube Video Analytics Attract Maintain Viewers "the making of" my video

MME PowerShader effect rivals Ray-MMD Raycast image enhancements

Posted on October 11, 2019February 8, 2020 By Trackdancer No Comments on MME PowerShader effect rivals Ray-MMD Raycast image enhancements

PowerShader lets you adjust light and shadow for effects that get close to Ray-MMD and Raycast!

There is a MME shader available that can do some of the things that Ray-MMD can do but it is much easier to use. Known as PowerShader, this effect is ideal for bright daylight outdoor scenes. There are few little tricks to get the most out of it and these are easy to figure out.

The power of PowerShader!

You can download the effect here: PowerShader v3.2

Some things you need to know about the effect

  1. It works best for scenes that use back-lighting conditions. The default light set up in MMD has the light falling on the front of a model. However, PowerShader works best with the light set up to fall from behind a model.
  2. It works best supported by other MME effects.

Both these qualities are noted in the documentation accompanying the effect.

Getting ready to work with PowerShader

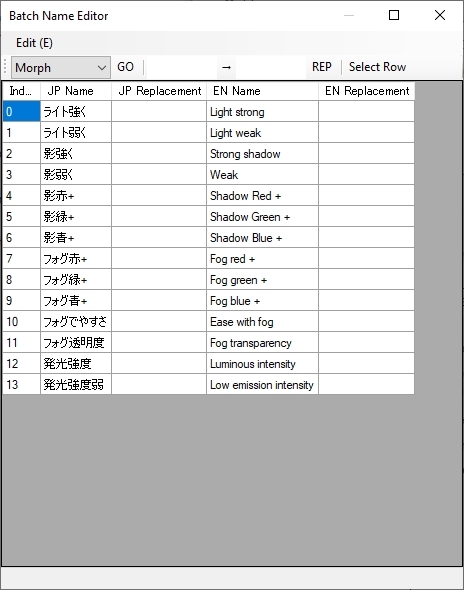
After the package is downloaded and unpacked look for the controller. The filename is: PScontroller.pmx. Make a back up copy of this file, maybe rename it as ORIG-PScontroller.pmx,  and keep it in a safe location; you will want to translate the original Japanese controller. It will be a lot easier to use the effect if the controls can be read in English.

You can load the model into PMXE and do your own translation… or you can download the Translated Controller which includes the Translated README file that Reggie has created for you.

To translate the controller yourself, open the model in the PMX Editor…

You will want to translate the PowerShader PScontroller.pmx model... be sure to save it with the same name!
Fill in at least the Name: field on the English side. This makes it easier to identify the controller in MMD.


Use the Batch Name Editor (N) to populate the EN side of the Facial name fields. You can use GOOGLE Translate to create the translations.

Save the model; making sure that it is saved to the original folder and using the same original filename.

Using the Effect

Scene Set Up

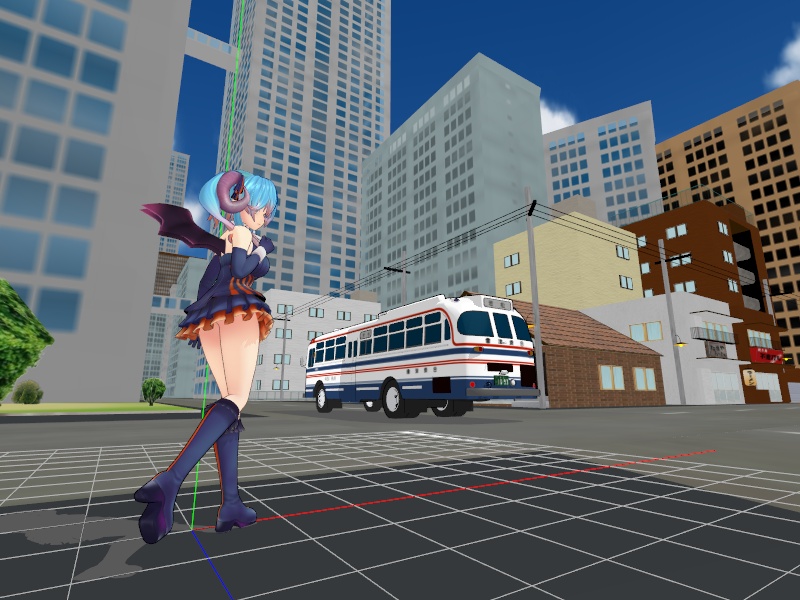
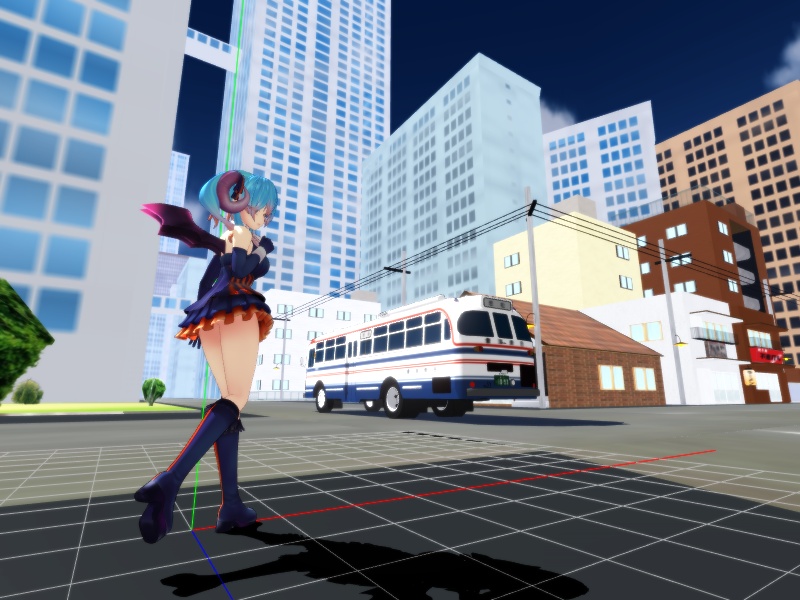
Set up the scene, ideally the scene should be comprise of a sky dome, a background stage and the performing model(s). The example scene that will be used in this article are shown below. It is comprised of the following elements:

  • A sky dome
  • An urban city stage
  • A bus
  • A cute demonic anime girl
  • The PScontroller model (which is invisible)
This image shows our basic set up using the default lighting direction. You can tell where the primary light source is coming from by looking at the shadows cast by the bus and girl models.

The model list above is also the draw order sort list. It is important to correctly sort the model draw order otherwise the MMD ground shadows will cut through the ground.

Applying the effect files

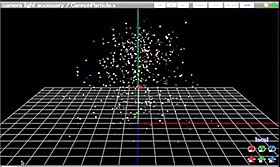
To apply the effect to the scene first load, in this order: AutoLuminousP.x and DiffusionP.x. Then open up the MME control panel and add the following shader files to the models as shown in the screen capture below:

MME Effect Mapping for the PowerShader effect.

The scene now looks as shown below:

This is how the scene looks with all the PowerShader elements loaded. Since the light is coming from the front of the scene, there is a lot of glare; bleaching out much of the details.

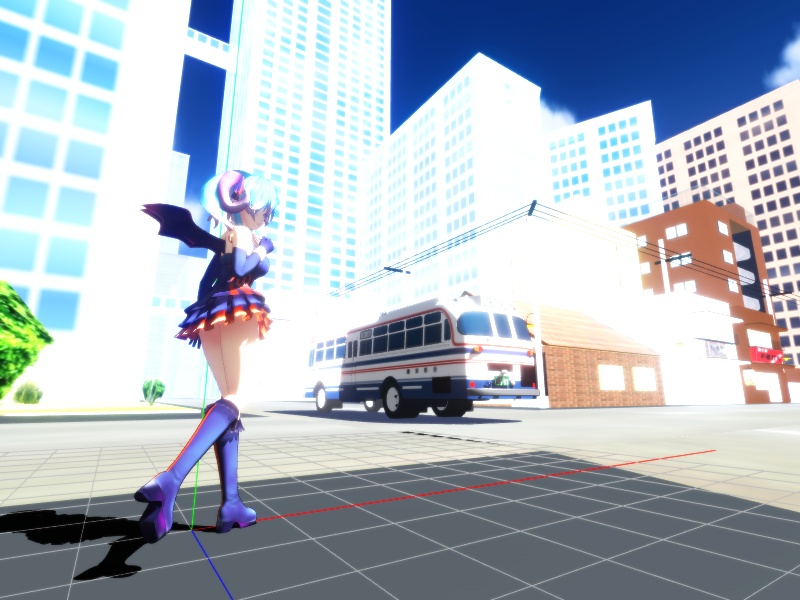
Adjusting the lighting

Since the effect is intended to be used with back lighting, use the MMD lighting controls to adjust the direction from which the light is coming from. In the image below, this was simply adjusted to have the light coming from the opposite direction.

With the light direction set up correctly, there is already some improvements to the definition of the different elements.


Usually, only adjustments to the X and Z axis values are needed to rotate the direction the light is coming from.

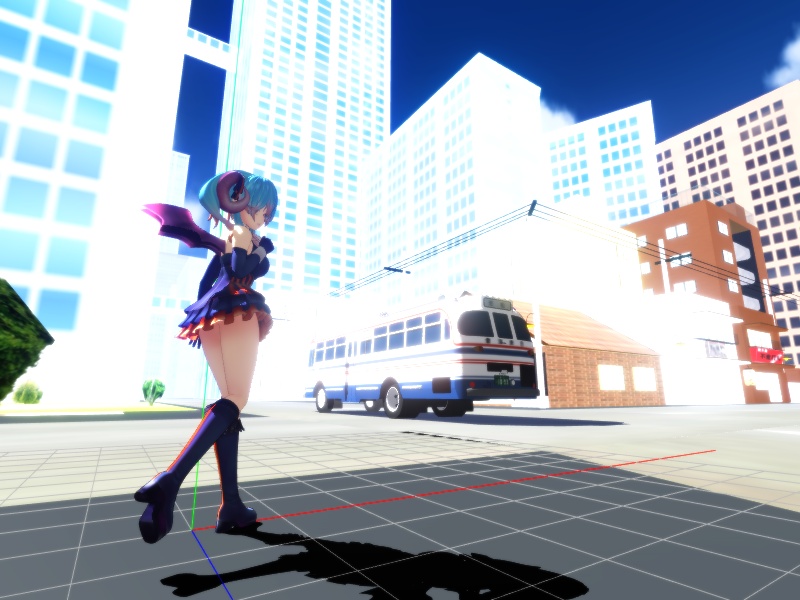
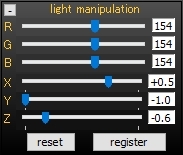
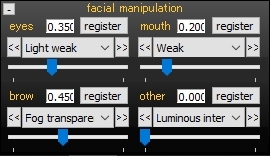
Fine Tuning the lighting

The lighting quality adjustments are all done using the PScontroller. The system is very flexible and allows for a wide range of lighting to conditions to be simulated.

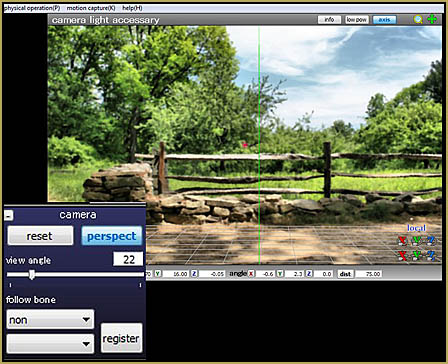
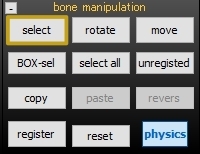
It is very important when working with the PScontroller (and other controllers of this type) that the “select” button in the bone manipulation panel is “OFF” and also that the “track” button in the view panel is “ON“. Done, this way you will be able to see changes made to the scene using the controller accurately without having to jump between model and camera views.

“select” must be “OFF”.


“track” must be “ON”

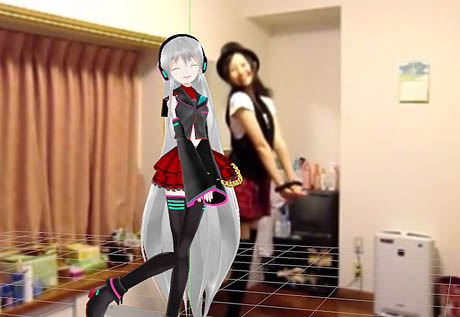
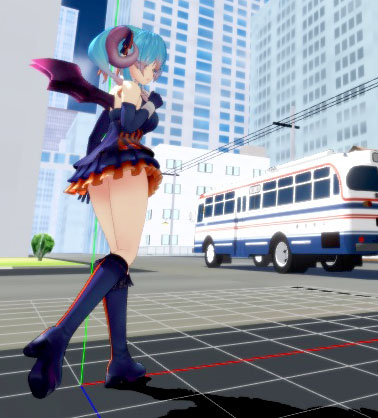
For this article, only conservative adjustments were used. The image below shows the end results:

Only minor tweaks were needed to make the scene look far more life like.


These were the only adjustments needed: Light weak 0.35 / Weak (shadows) 0.20 / Fog transparency 0.45

These are the basic steps required to correctly set up a scene using PowerShader. The rest of this article will show one method to get the most out of this system.
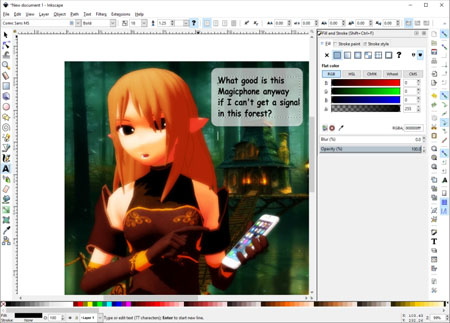
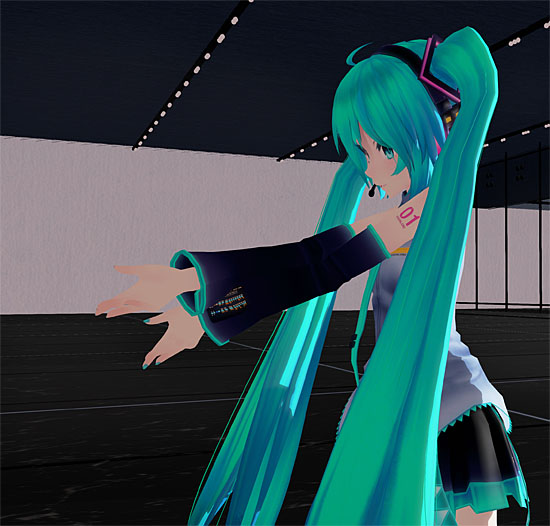
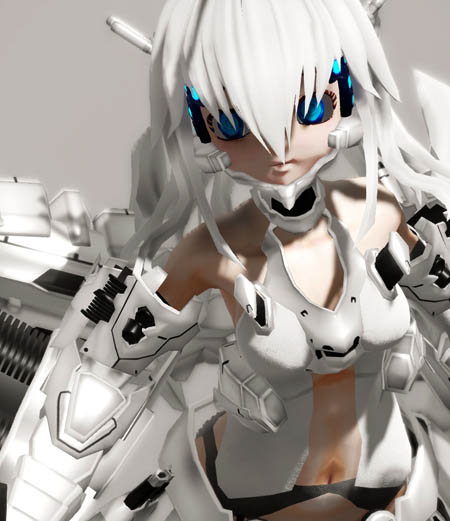
Enhancement

After the basic scene has been set up there is a lot of latitude to improve on the scene. There are numerous global shaders available that can be used to enhance a scene. To demonstrate what could be done, the camera was adjusted to show the anime girl much closer in order to better illustrate the unique characteristics of this suite of effects. The global lighting was also adjusted to increase the highlights reflecting off of the girl model. A by product of these adjustments is how the light plays on the bus and surrounding buildings.

Image with only PowerShader effects used.


Image after other effects were added.

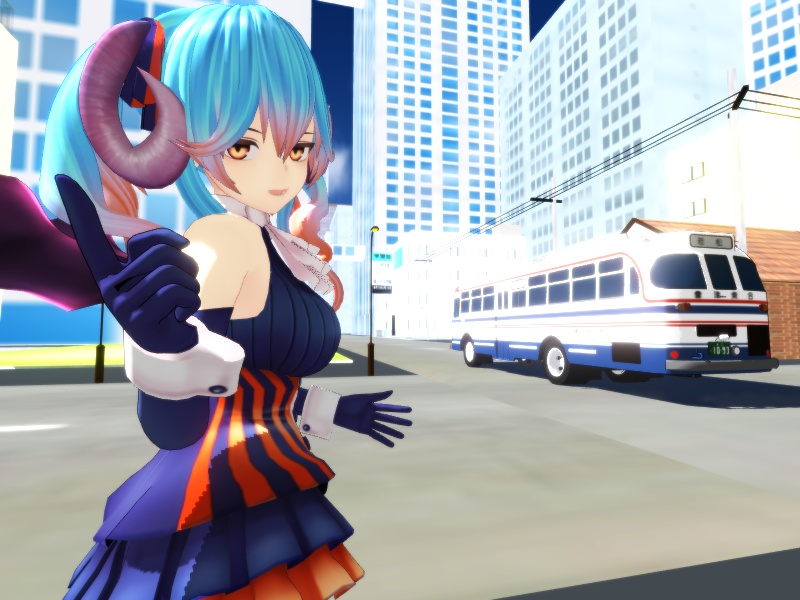
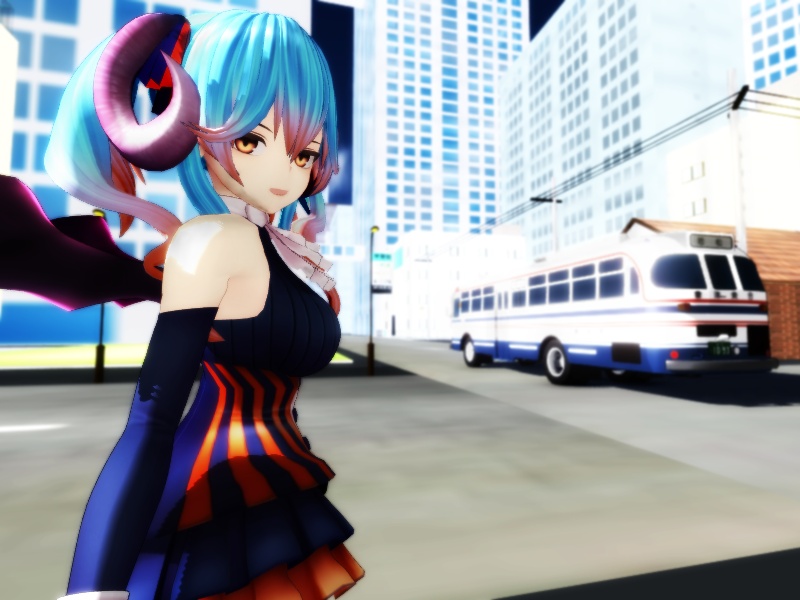
To implement the final image, only the following effects were added:

  • o_Bleach-bypass (Tr=0.3500)
  • o_SelfOverlay_soft (Tr=0.6500)
  • HgSSAO (Si=1.5000)
  • PowerDOF (Si=0.0125)

Types of lighting scenes that PowerShader is good for…

Because this is a rather specialized effect it is a good thing to bear in mind that this effect is not intended to accommodate all types of lighting environment. It is, however, a good choice to use in the following types of lighting situations:

  • Back lit scenes
  • Scenes requiring strong color saturation and contrast
  • Daylight scenes with bright sunlight
  • Sunset scenes
  • Scenes requiring strong shadow play

Hopefully, the information in this article has been helpful. Do not be afraid to experiment; the effect and its assets are extremely powerful and versatile, so just try different settings to see what works best for your project.


Credits:

Lapis (C) DMM – Millennium War Aigis
Town model – Ginsaji-P
Bus model – Kanobashi
Sky dome – SeasaltP

MMD 9.31
PMXe ver 0.2.5.4
IrfanView 64

PowerShader v3.2 – 角砂糖
Other MMEs used as listed in article above.


– SEE BELOW for MORE MMD TUTORIALS…


— — —


– _ — –


Visit the LearnMMD.com Homepage! Plenty of Mikumikudance instruction and info!

More MMD Tutorials...

Reader asks how to create MMD artwork... stuff like posing, camerawork?

A reader asks... Is there a tutorial on how to create MMD artwork, like those you ...read more

Learn MikuMikuDance in Small Steps! New LearnMMD Video Series

Learn MikuMikuDance in Small Steps. Where can I find easy-to-follow MMD instructions on YouTube? How ...read more

Apply Multiple Effects on an Entire MMD Model Using M4Layer Effect

How can I apply multiple effects to an MMD model? Can I use more than ...read more

MMD Plugin Manager... I Found a Treasure!

What sorts of MMD Plugins are there? MMD Plugin Manager? MMD Plugins. Plugin MMD. More ...read more

2023: Hatsune Miku is 16 Years Old by design and in reality!

Finally, in 2023, Hatsune Miku is 16 years old! When did Miku make her first ...read more

SEARCH LearnMMD.com... it's Easy!

Search LearnMMD.com to find your answers! With the posting of this article, LearnMMD.com has 758 tutorials ...read more

MMD Tutorials, MME Effects Tutorials, PowerShader v3.2

Post navigation

Previous Post: Video Dojo Expo 1 Winner: sociohat
Next Post: Video Dojo Expo 1 Winner: Miku Fantasy

Related Posts

  • Keep The Faith MMD
    MMD Models Rant Keep the Faith-MMD Credits/Sharing
  • Teto replies!
    Fixing white models and accessories that don’t follow in PMXE Bandages
  • Set MMD Widescreen Screen Size balance Size VS Quality MMD Basics
  • Make an MMD Music Video Bo Beep Bo Beep! "the making of" my video
  • Modifying model texture color compensates Raycast color desaturation MMD Tutorials
  • Using the right codec when Rendering to AVI in MMD HD Videos in MMD

More Related Articles

ShapeMosaic effect distorts naughty bits and faces. MME ShapeMosaic effect counters Wardrobe-malfunctions and more! MMD Tutorials
MME FireLight Effect adds spooky dancing firelight and shadows FireLight effect
Raycast / Ray-MMD First Steps MMD Tutorials
Miku Short Film Featured Anime Shorts – Five minutes worth of animation, maybe three! Animation Shortcuts
Using BeamMan’s fluid2D Creates Fabulous MMD Under Water Scenes BeamMan's fluid2D
Beginner’s Guide: Using Ray-MMD ver 1.5.0 – Latest version of Raycast MMD Tutorials

Leave a Reply Cancel reply

Your email address will not be published. Required fields are marked *

Download the latest version of MikuMikuDance!
See the MMD Step-by-Step instructions page!
Learn how to make your own MMD motions!
LearnMMD.com
  • Culling unseen MMD model parts optimises computer assets (PART 2) Chestnutscoop
  • Japanese Mode Opens Hidden Model Features in MMD 8.06 Japanese Mode
  • Raycast / Ray-MMD First Steps MMD Tutorials
  • Try Reggie’s Evil Eye Effect for an Anime-style effect MMD Tutorials
  • Breathing “SOUL” into MMD models and scenes using Fine Art Techniques Advanced Shader Technique
  • Export Import MMD Models Using Blender and PMXE Blender
  • RAY-MMD: Spruce up your videos with Dynamic Lighting MMD Tutorials
  • Making Smooth Motions with MMD Making Smooth Motions

Copyright © 2022 Learn MikuMikuDance – MMD Tutorials – Free 3D Animation Software and Instructions..

Powered by PressBook Premium theme

Go to mobile version