![]() What contests/challenges are there for MMD Modelers? How can I use photos to make textures for MikuMikuDance models? What is the Textures from Your Room Challenge?
What contests/challenges are there for MMD Modelers? How can I use photos to make textures for MikuMikuDance models? What is the Textures from Your Room Challenge?
There are a ton of fun artistic challenges floating around!
But there aren’t many of MikuMikuDance modelers!
Ever since I’ve traded in my artist hat for a modeler hat, I’ve been feeling like something is missing. With things like Inktober, The Teeny Weeny drawing challenge, and, well, half of the stuff Jazza does, floating around . . . I felt a little left out!
So I came up with my own challenge . . . The Textures from Your Room Challenge!
Instead of transcribing the video, I thought I’d explain the smaller details of the challenge.
The Rules of the Challenge
- Respect the rules of the people who made the models or parts!
- Only take pictures of things inside your house . . . preferably in your room!
- Taking pictures of pictures is cheating a tiny bit!
- Every material should have a texture . . . Even the inside of the mouth!
- While you can edit the textures, it’s a good idea to try to make them remain identifiable as objects you have lying around your house.
- Don’t take it too seriously!
- Bend the rules as much as you want!
- Make a video, blog post, or deviation to show off how crafty you were.
How can I do it?
First, you need to decide if you want to make a model from scratch, use a base, or recolor an existing model. Sadly, the majority of the resources on UV mapping tend to be for Blender . . . perhaps because UV mapping in Metasequoia looks extremely difficult! For that reason, I will suggest downloading Blender for at least this step if need be.
Below, I’m going to go over how to actually get the textures onto the model!
I’m making a model or parts from scratch!
For some odd reason, this method is just the easiest for me. You can use this to edit preexisting parts also.
There are quite a few resources for making and exporting UV maps on this very site! If you’re confused by one article, then perhaps another article would clear everything up. Bandages explains everything in amazing detail . . . whereas I openly summarized one of Bandages articles. As a note, you do not need to render an AO map for this! You just need to export the UV map and then export your model.
Once you have your UV map, you just need to paste your texture on top of it. Be careful, though! In lining up the UV map with the texture, I’ve left the UV map layer visible too many times to count . . . Whoops! If you don’t save backups of your textures with layers, that means that you either need to remake it or live with the UV map being on top of your texture!
I’m using a base or parts that come with textures!
While I love the control that making my own UV maps comes with, it is a lot easier to open up Photoshop, Gimp, or SAI and paste textures onto preexisting textures. Both bigperryman and I have touched briefly on the process.
An important thing to remember is that modelers that are better than me tend to put several unrelated textures in the same image. Even if the face and the eyes are on the same image, you don’t have to limit yourself to putting your eye texture and the face texture on the same image! All you need to do is save your textures as separate images and type the new names into the appropriate texture boxes in PMX or PMD editor.
I’m using a model or parts that didn’t come with textures!
When I’m starting out, I like to work with what I have out of the box. For that reason, when I first started trying to edit models . . . It didn’t work!
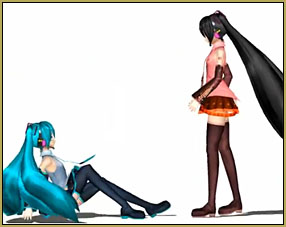
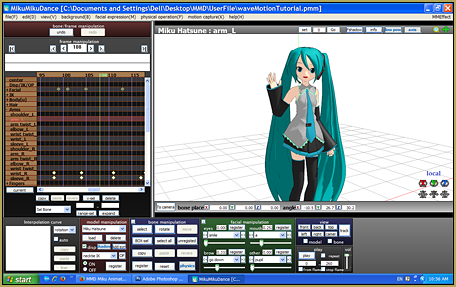
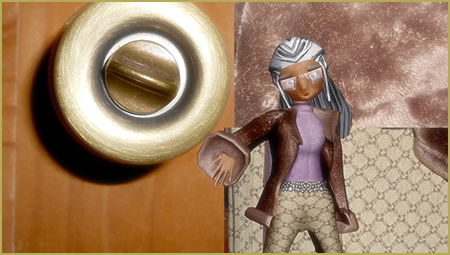
If you want to use a model that comes with MikuMikuDance, you’ll run into a strange problem when you apply textures. I wanted to change the default Miku’s skirt, so I loaded the texture I used for my model’s pants . . . This happened:

Oh no! It didn’t work . . . at all. To make it work, I had to create a UV map.
There are two different ways to make a UV map in Blender. The hard way, and the easy way. The easy way only requires a few clicks, but gives you a bit of a rough result. That method is the Smart UV Project. To use it, you should first separate your meshes by material using MMD_Tools. Then, select the part you want to UV Map by right clicking on it and switch to edit mode. Press A to select everything, then press U (for unwrap!) then choose Smart UV Project.

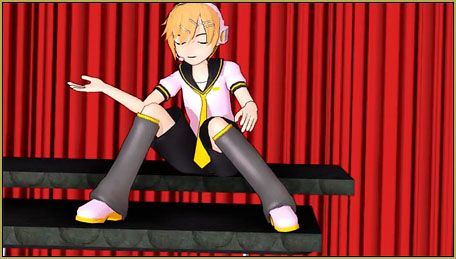
Doing so gives us a result that is a little less than optimal, sadly.

As you can see, the textures don’t line up. This is due to the fact that Smart UV Project is a little random with where it plops down the parts of the UV map. If you are not happy with that result, then you need to make all new UV maps.
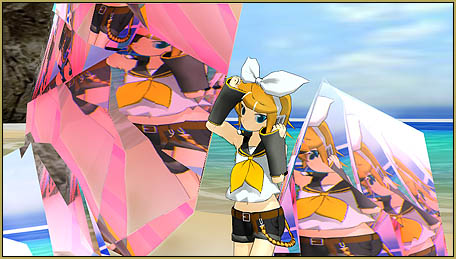
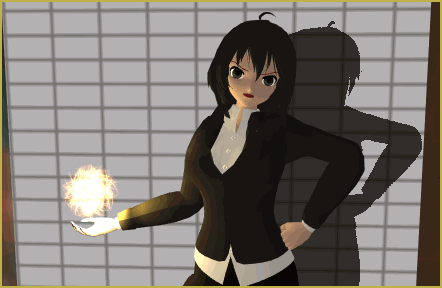
While the result of making your own UV maps is pretty cool . . .

. . . it requires you to make your own UV maps as if you were making your own model from scratch. If you don’t like the results of the UV projection and you don’t want to make your own UV maps, you just need to find a different model that does come with textures for you to paste your textures on top of. If you don’t mind making your own UV maps, scroll up to the “I’m making a model from scratch!” section to find resources to help you make your UV maps!
Now that you know what to do . . .
Get to modeling! When your challenge model is complete, please come back and add a Comment to this article, here, on LearnMMD. Give us a YouTube link to your video or a dA page link where we can all marvel at your wonderful creation. Be sure to write a nice description on your YouTube video or dA page to tell us all about the textures you used. … Most of all… have FUN with the “Textures from your Room Challenge!”
– SEE BELOW for MORE MMD TUTORIALS…
— — —
– _ — –
![]()