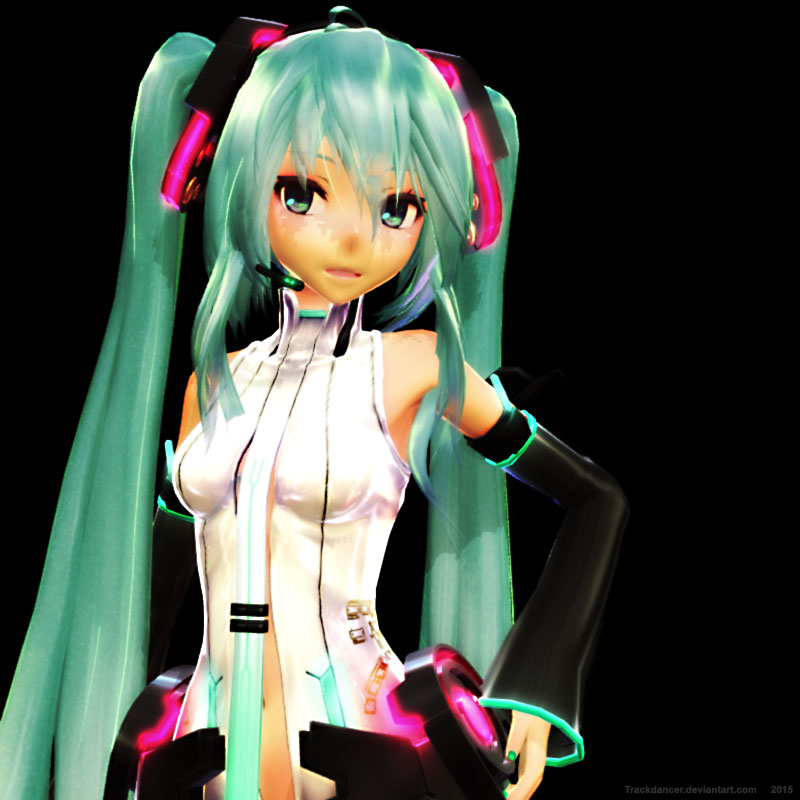
 In the course of a private discussion the crew of LearnMMD were having in the background, “someone” wrote the following comment:
hell no im not using jpg that format is horible because it doesent render the image in full quality … sic … AND DONT MAKE ME USE JPG
Making MMD Pictures:
JPG vs PNG – which is better?
JPG images are just fine, but in this article, we will prove my claim definitively as well as giving some tips on how to get the best results for your MMD pictures. To do this, I took Miku and Neru to one of the local parks and took some pictures with my tablet.
The reason for this is to show definitively how well JPG images display both real world imagery as well as computer rendered imagery, specifically in our case, MMD models. The first set of images shows Miku taking a stroll along the embankment. The real world picture was taken using the camera on my tablet which produces 1280×800 PNG images natively. This was then combined with the MMD model of Miku using the Mikuture AR app.
The two images were reduced to fit the format of this page. Specifically, I reduced them to be 450 pixels wide. Nothing else was done to the images.
The top image is a JPG, the one below it is the PNG version. Can you spot any differences in the quality of the images?
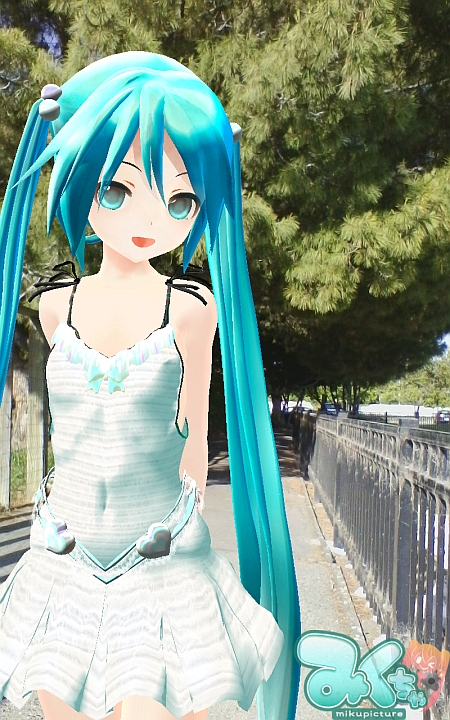
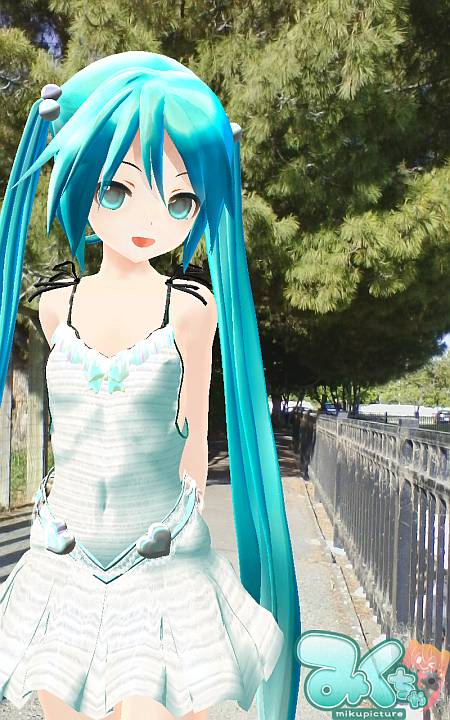
Perceptively, I don’t think anyone can spot any differences.
However, the JPG image is only 297 kb as opposed to the PNG image which weighs in at 632 kb. The original 1280×800 image is 1.29 mb!
Use JPG for most images intended for viewing on the web!
What this all means is that for web viewing (and even printing), properly processed JPG images can hold their own in terms of quality even though there is always some degree of compression. When making MMD pictures for display on the web, the fast-loading, smaller file size of JPGs is a big “plus!”
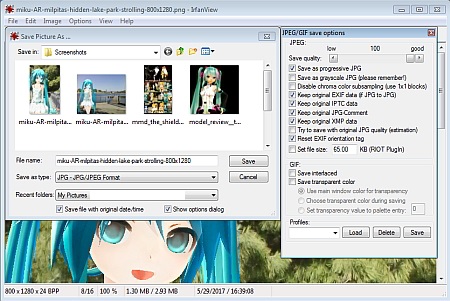
I used Irfanview to reduce the images to the size I needed to use on this page, but to retain maximum quality, I specified the minimum amount of compression. The screenshot below shows the settings I used. Just click on the image to see the full size image so that you can read the text.
 Some limitations of JPG
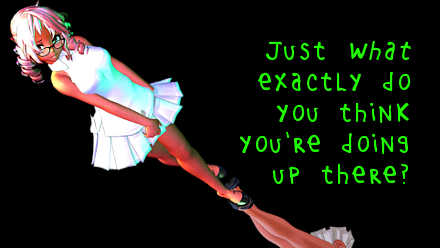
Which brings us to our next point – where JPGs are bad! For anything that has text, JPGs may not be the format of choice. So if you do images for web comics and the like, stick with PNG. All my comic style tutorials hosted on DeviantArt are done as PNG images to retain clarity of the text.
Also for things like logos or a lot of flat colors, you will generally get better results using PNG.
Here are some basic best practices:
- JPG work best for photographs and illustrations.
- Use PNG for generally anything that has text in it or a lot of solid blocks of color.
- Where applicable, produce your images at a larger size and reduce them to the desired size.
- Try not to enlarge an image regardless of format; this generally leads to poor results.
- If an image is to be heavily edited, use PNG
- Try not to save over the same JPG multiple times; this can lead to degradation.
- If you are editing a JPG image, work on a copy. Keep the original as a backup.
But what about JPG and PNG images produced natively in MMD?
PNGs produced by MMD are like any other PNG image – lossless. However, JPGs produced by MMD are output at 75% quality. So there can be some degree of image degradation. Usually it is not that noticeable, but if it bothers you there is a trick.
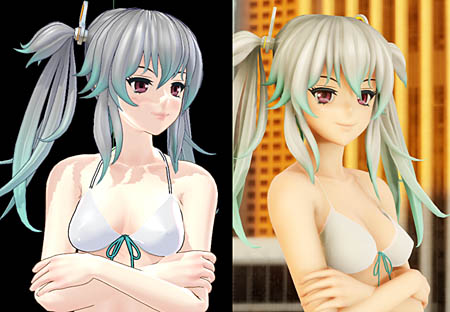
Produce the image at a larger size using either the BMP or PNG format. Then reduce it using an external application like Irfanview (note that images intended for full screen viewing do not need to be reduced). This usually leads to better results. The two images of Neru below were done exactly by using this method. As above, the top image is a JPG and the bottom one is a PNG. Both images were done in MMD and processed in Irfanview using a netbook with a very pedestrian graphic card. No MMEs were used and only a slight blur was applied to each image to smooth them slightly. The original images were rendered at 800×600 pixels and reduced to fit the width of a column on this page.
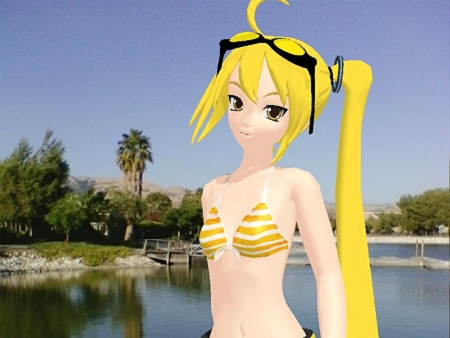
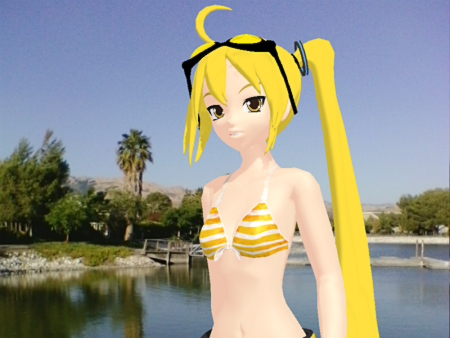
Once again, we challenge anyone to be able to say that one is better than the other.
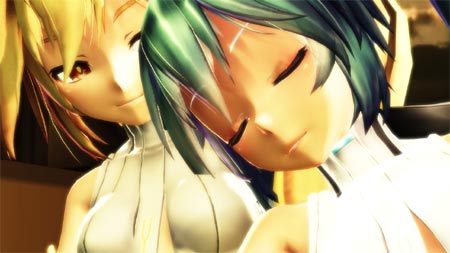
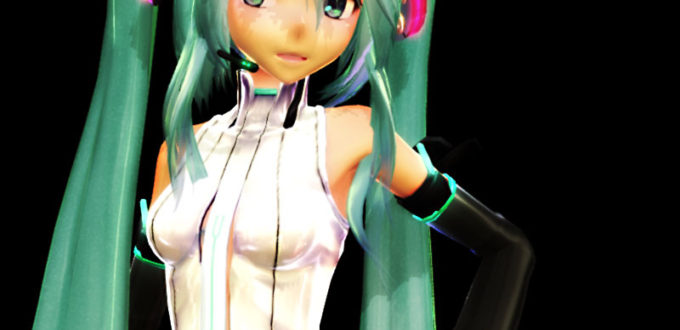
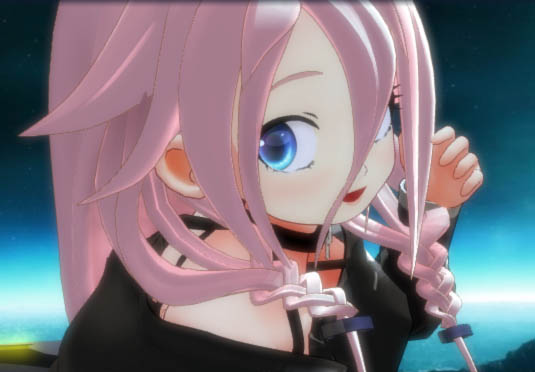
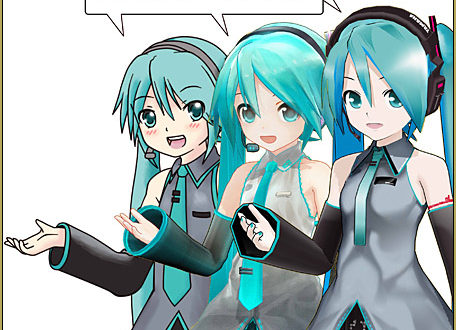
Can you now tell what format was used for the Miku Append image at the top of this article?
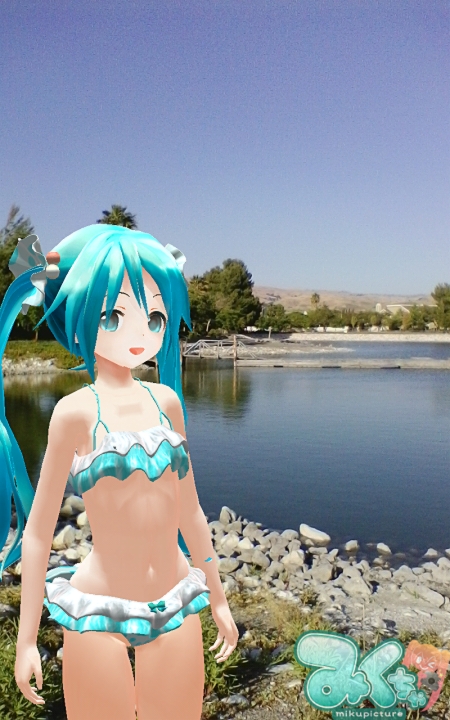
The final image is just for fun, mainly because Miku wanted to show off her new swimsuit. The original image (PNG) was produced in Mikuture and reduced to fit this page (JPG) using Irfanview.
JPG in real world applications:
- JPG is used by most professional photographers in their work. Their images are generally “cropped in camera” and with the camera set to optimize the compression settings.
- JPG images are used extensively in print magazines and are sometimes used for images that fit into a two page spread.
- JPG images can be used on images big enough to fit the side of a commercial truck. Professionally, I have used JPG images on panels that measured as large as 8×4 feet.
Thanks for reading.
CREDITS
Appearance Miku models by Mamama
Miku Append version 2.0 model by Tda and edited by Maddoktor2
Akita Neru model by Nakao
The park is called Hidden Lake Park located in the City of Milpitas in California. Click here to see an animated GIF showing how beautiful this small park really is (and how well the 256 colors only GIF format has held out after all this time).
Miku Hatsune © Crypton Future Media, Inc.
Akita Neru © Smith Hioka
Sofware used: MMD 9.26, Mikuture AR app by Sorasu Software, Irfanview.
– SEE BELOW for MORE MMD TUTORIALS…
— — —
– _ — –





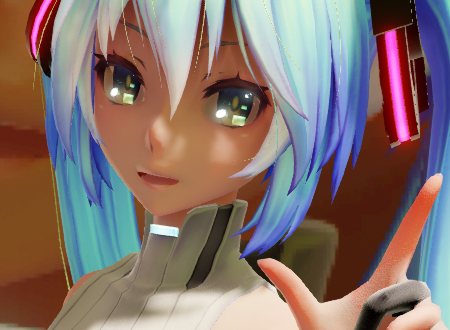
jpg can cause noticeable banding on a blue background with slight gradation even at 100% quality.
it also doesn’t use transparency, and isn’t good at sharp lines, which are common in computer-generated imagery. The bpg format fixes these issues, but no one uses it. My computer can’t open bpg images with any program. https://bellard.org/bpg/