![]() How do I make my own MikuMikuDance animations? What can I do with MMD? How do I start an animation from scratch?
How do I make my own MikuMikuDance animations? What can I do with MMD? How do I start an animation from scratch?
Cheese?
“Behind the Scenes” of
My Miku Likes Cheese Video!
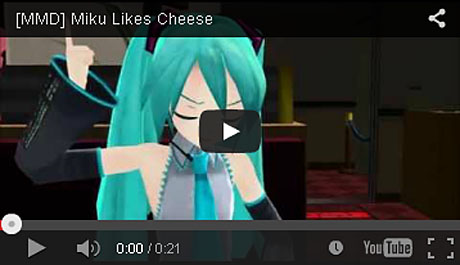
Hello everybody! WAAYYY back in January I completed my “Miku Likes Cheese” video, and put on YouTube. It was a blast to make since it was basically the first mini-project that I got around to actually finishing, and the fact that it was based around the show “Foster’s Home for Imaginary Friends,” the quirky show I always had fun watching when it was airing.
So…. First things first!
Sometimes you just have to feel a bit spontaneous when thinking of an idea. I thought I could try something different for a change when I saw a lot of MMDers taking clips from shows and adapting them into MMDs. It just so happened that I caught myself thinking of the character Cheese and searched YouTube for clips from the show.
Found Something!
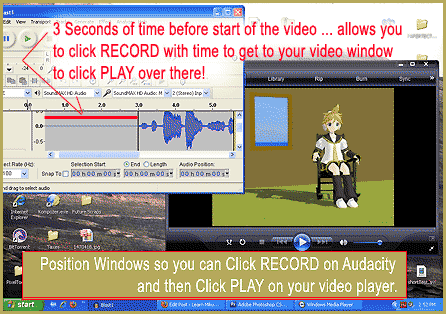
I got a clip and was ready to use audacity to record the audio as a WAV file for MMD to use.
Casting the Roles
Many of my model collection had tried out for the parts, but only a mere three were selected after all the anxiety that came with trying out. 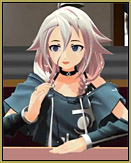 IA was to be Mac because she looks very composed and inquiring (and I just wanted to use her again, too). Bloo acts like a primadonna sometimes, so he was to be played by Miku (and because of her color scheme). And, alas, the true role, Cheese, was to be played by the adorable Teto (my first time featuring her in a video, in fact). A pretty good way to debut, if I do say so myself.
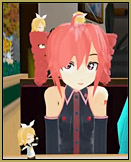
….And Rin….she has those ribbons on her head…so *squeak squeak!* But she obviously doesn’t come in such a puny size! I’ll get to that later.
So far as I can tell, everyone’s relatively part of the same “species.” Well except for Miku. She still has a toony look to her and similar shading to the XS models, so I thought it would be fine. It’s a personal preference, really, but I thought the video would lose its charm if it suffered from “same face syndrome”.
The Animating!
Sheesh! About time!
First thing I did was pick out a setting. I mainly wanted to focus on the audio, so I figured having everyone at a nice restaurant table just sitting down would fit the audio nicely.
Then I posed everyone at the table, using some default hand positions from MMD and making small 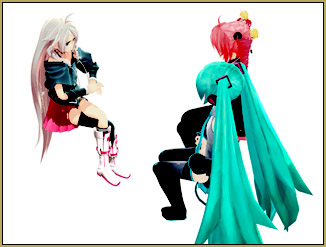 changes to them so it wouldn’t look that obvious. If you saw the video, you can see that it was a waste of time to pose their feet because it’s mostly upper body shots. hehe
Next step was the lip- synching. Just remember that the mouth completely closes for any b, m, or p sounds, and you’re well on your way. I even threw in some breathing motion at the start of some sentences to give it more life.
Facials and the rest of the animating were done simultaneously. I go a few frames forward to move Miku’s arm, then listen to the tap tap tap of me hitting the arrows backwards to do the facials. Making facial expressions is actually my favorite part- I have too much fun with all facial sliders! And it’s here I learned that I like to make the pupils smaller while lowering the the eyelids and eyebrows for a sharper look. :O
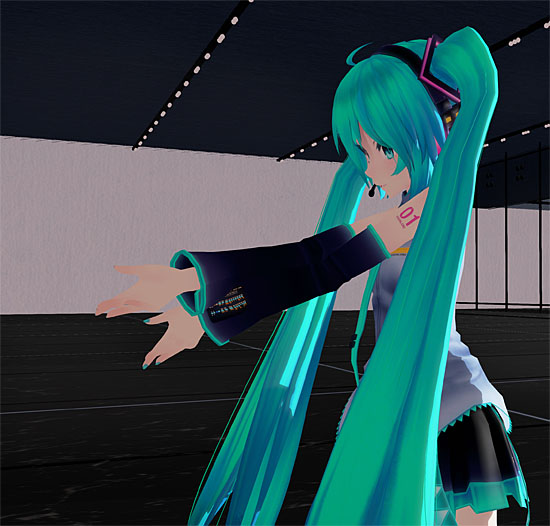
Now to make things more realistic I made small movements with the upper body-bone ( like when Miku throws her head down). But I’m not perfect, so you can see how weird it looks when I make her head go to the right and her body to the left when she points in the air. There is no “flow” in the movement, so 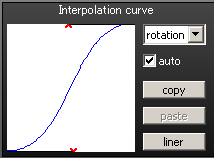 learn from my mistake!
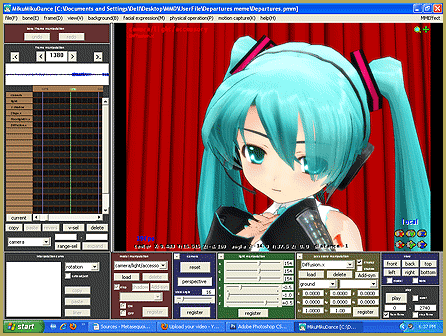
And the interpolation curve! How underused is the state of this fine line at the bottom left of the screen! The basic goal is to make it into a basic “s” shape and build off from that. Or just make one shape and copy-paste it onto every movement you register. Now you’ve got yourself a fine animation indeed!
Resizing
Before I even opened PMD editor I searched for Rin online to see that the rules give the OK for editing her. It’s just being polite to the modeler.
Alrighty! I saw it was fine to edit Nano Rin, so I pulled her into PMD editor. Apparently I used the “safe” way to resize her, but I have nothing to compare it to since I never use PMD editor.
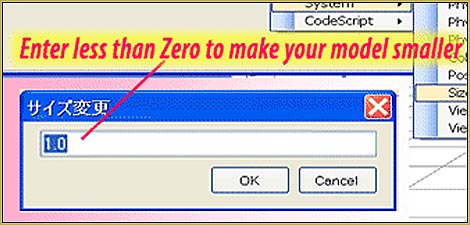
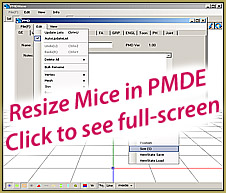 I have the English version of PMD editor, so after opening the model file I went over to the “edit” tab and went all the way to the bottom where it says “plugins.” Then system>Size(s).
Now we can get SUPER technical here!
Just kidding!
In the pop-up just enter the number size you want you’re model to be (i.e. .5 for half the size or 2 to double…I think I put in .8 or something like that).
And that’s all there was there was too it!
I then took a screen shot of that panning shot in the beginning and used the “zoom” option in Windows Live Movie Maker, so you can tell I didn’t go too crazy with editing. Just be careful though. Maybe it just happens to me, but whenever I put a large recorded AVI with audio into Windows, it becomes corrupt as the audio doesn’t play and clips the video. So if that ever happens simply put in the AVI and the audio separately.
So there you have it! My MMD “process!” Hopefully you learned something from my short video.
– SEE BELOW for MORE MMD TUTORIALS…
— — —
– _ — –


