Skip to content
Learn MikuMikuDance – MMD Tutorials – Free 3D Animation Software

Learn MikuMikuDance – MMD Tutorials – Free 3D Animation Software

Download Free Animation Software – Let's Learn How to Do Everything!

  • Step-by-Step MMD instructions
  • DOWNLOADS
  • Troubleshoot, Fix MMD
  • Site Contents
  • Reggie Replies Q&A
  • Homework!
  • What IS MMD?
    • Download MikuMikuDance Newest Latest Version of MMD
  • “HOW TO”
    • Raycast RAY-MMD Effect Tutorials
  • BONUS PAGES
    • Why convert PMD models to PMX?
  • HALL of CHAMPIONS
  • Tutorial Categories
  • About
    • Privacy Policy
  • Toggle search form
  • Re-size PMD Models and Keep the Bones and Physics! Adjust PMD Model Size
  • Who knew Ash was so short?? Get Ash Ketchum - Click this picture!
    Ripped Models in MMD: An Explanation NOKO2
  • MME FishEye Lens effect also gives nice scene transitions!
    MMD MME Fisheye Lens effect offers Scene Transitions & Cropping Fisheye Lens effect
  • Creating Spooky Scenes with MMD Animation Shortcuts
  • Making Smooth Motions with MMD Making Smooth Motions
  • Open MikuMikuDance and enjoy it for the fun of it!
    Open MikuMikuDance… just for the fun of it! MMD Basics
  • Advanced subtitles for MMD: Using MikuTelopE KillerBeer
  • MikuMikuDance Home Page VPVP is worth a visit! Intro to MikuMikuDance

Making POV Camera Shots in MikuMikuDance 8.03+

Posted on February 18, 2014July 30, 2015 By KillerBeer No Comments on Making POV Camera Shots in MikuMikuDance 8.03+

A feature article by KillerBeer ... a New Author on LearnMMD.com!How do you do a point of view POV camera shot in *newer* MMD? What cool new camera effects are made possible with it? How do you lock the camera’s POV in MMD?

 Making POV Camera Shots in MikuMikuDance 8.03+

Newer versions of MikuMikuDance allow you to easily make POV camera shots.  LearnMMD.com MMD
It’s *personal* for me… FIRST-personal!

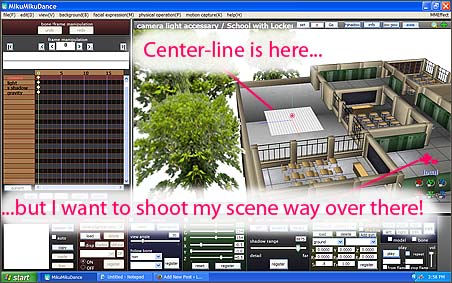
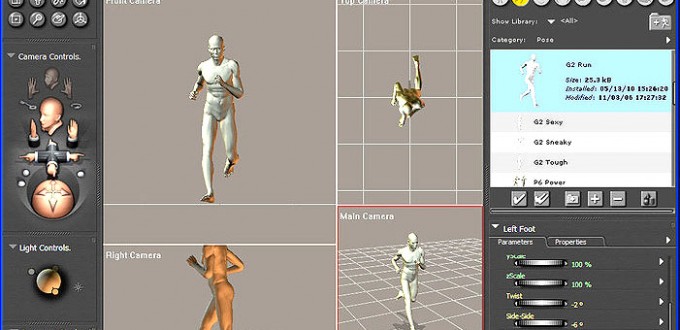
Last year, Arizona made a post about an amusing technique allowing to make the camera look through the eyes of your character. It could produce impressive results… but what was really impressive was the amount of shovelwork necessary to achieve something noteworthy. Even with extremely clear instructions outlined in that article, making the camera follow the character doing anything more complex than strolling from point A to point B meant some pretty heavy data crunching. In other words, exactly the kind of work that computers, not people, are meant for.

Then came MMD 8.03.

Use the Model/Bone selector and rotate the Y camera axis 180-degrees.
A new setting

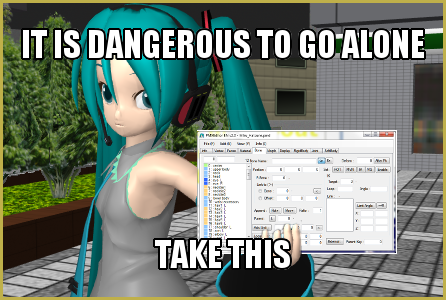
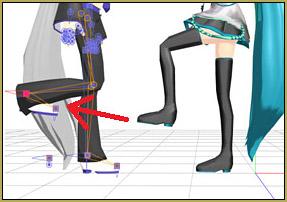
Starting from this version, the camera manipulation panel was updated with one more control – model/bone selector. Now you can assign the camera to any model’s bone – and the camera will follow it wherever you go! With this setting, making POV shots becomes a breeze.

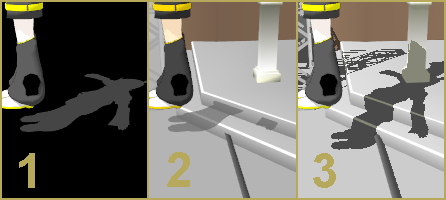
Just select a character you want to enliven and a bone – “both eyes” would be a logical choice. Wait… for some reason we’re looking backwards. No worries, you still can adjust camera’s position and angle and new numbers will stick as you move. Reverse the Y axis to 180° and place the camera slightly in front of the nose bridge using Camera Manipulation mode – and that’s all the setting up you really need to make your character go first-person. Walk, jump, crouch, bow, wave your hands – all that will be properly registered by the camera.

When working with this technique, you will appreciate the “View/Camera lightning tracking” menu option. With it, you can manipulate the model and at the same time see how it looks from the character’s POV – instant camera-view-in-model-mode. You can plan rather than guess your movements in full regard of how they will look in first person.

You also may consider playing with the view angle setting of the camera. By default, it is set for 30°. Most FPS games, though, use higher settings – 60-90 depending on monitor’s aspect ratio. Of course, FPS are also meant to play on full screen – if you don’t plan your video to be high-def, higher FOV settings would be meaningless.

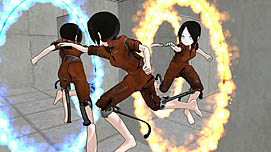
Of course, you don’t have to limit yourselves to FPS genre with this technique. Place the camera behind character’s back instead of the nosebridge, and Doom just as easily becomes Tomb Raider. On the other hand, you can also place it on a Dummy Bone instead of the character, and plan camera’s movements seeing its supposed position while having your own “camera” completely separately. Ability to glue the camera to an arbitrary bone opens quite a new set of possibilities.

And… this is all, folks! It’s really *this* simple!

Sources:

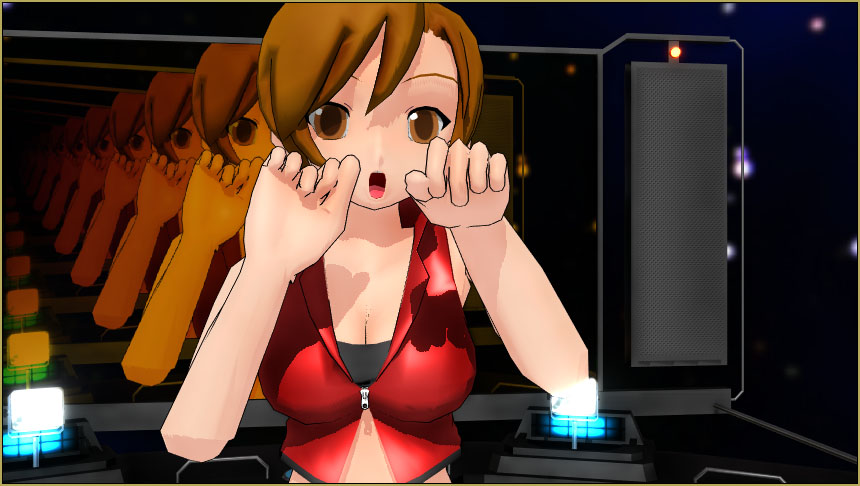
Models used for the illustration: Chell and GLaDOS by MahosMMDaccount, environment by SKaa3w


– SEE BELOW for MORE MMD TUTORIALS…


— — —


– _ — –


Visit the LearnMMD.com Homepage! Plenty of Mikumikudance instruction and info!

More MMD Tutorials...

No more boring MMD Camerawork - Keep it moving!

MMD Camerawork can be so boring. How can I add life to my MMD animations? ...read more

MMD Camera Work made the motion fit the song!

Can I use MMD camera work to make my motion file look better? How can ...read more

MMD Camerawork sets mood enhances animation showcases models

What can I do with MMD camerawork to improve my videos? How does camerawork affect ...read more

PMXE 0254f a Newer PMXE in English - More Complete Translation - Tools Reconfigured

What's the deal with the new PMXE 0254f? I can no longer do this and ...read more

The making of: "Bang Bang" Portal video

What did I just see, who are these people, and why should I care? (Oh, ...read more

Position stage near MMD coordinate axis center-line

How can I move the coordinate axis center-line into the part of the stage where ...read more

Camera Motion, Follow Bone, KillerBeer

Post navigation

Previous Post: How to make multi-part videos in MikuMikuDance
Next Post: MikuMikuDance turns Six.

Related Posts

  • Using Beamman’s SoftSmoke Effect Beamman's Soft Smoke
  • PMXE 0254f a Newer PMXE in English – More Complete Translation – Tools Reconfigured KillerBeer
  • Learn to translate models from Japanese with LearnMMD.com!
    Translate Japanese Models to English in PMDE… with Excel! Fixing Broken Models
  • Zooming Out of MMD City Stage.
    Working with Large Stages In MikuMikuDance ARIZONA
  • Editing Model Materials in PMDE for MikuMikuDance PMD and PMX Models Fixing Broken Models
  • Position stage near MMD coordinate axis center-line Accessory Manipulation/Adjust

More Related Articles

MMD Outside Parent Setting Enables Bone Connecting Animation Shortcuts
Editing Model Materials in PMDE for MikuMikuDance PMD and PMX Models Fixing Broken Models
How to make a Portal in MMD: blast a hole in the wall! Customize MME effects
Pose characters in PMX Editor and export as OBJs for Poser .OBJ Object Files
Adjust the Shadows in MikuMikuDance KillerBeer
MMD Camerawork sets the mood, enhances the animation, and showcases your models! MMD Camerawork sets mood enhances animation showcases models "the making of" my video

Leave a Reply Cancel reply

Your email address will not be published. Required fields are marked *

Download the latest version of MikuMikuDance!
See the MMD Step-by-Step instructions page!
Learn how to make your own MMD motions!
LearnMMD.com
  • An MMD town stage: Making Kerorin Town Great Again – Part 2 MMD Stages
  • ‘PROJECT: MikuMiku Movie!’ part 01: prepare the first scene! Fia Phoenix
  • Make an MMD Music Video Bo Beep Bo Beep! "the making of" my video
  • Customize the MMD interface: Change the colors of the GUI Fia Phoenix
  • The story of Portal Turret "Bang Bang" video
    The making of: “Bang Bang” Portal video "the making of" my video
  • Use PMDE to Switch On the MME AutoLuminous effect in MMD AutoLuminous MME / PMDE
  • Squash and Stretch Ball
    The 12 Principles of Animation for MikuMikuDance. ARIZONA
  • UTAU Splash Screen
    Making VSQ Files Without VOCALOID Using UTAU Mae Blythe

Copyright © 2022 Learn MikuMikuDance – MMD Tutorials – Free 3D Animation Software and Instructions..

Powered by PressBook Premium theme

Go to mobile version