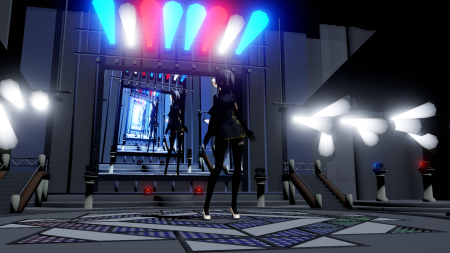
 How do you use the Digital Ripple effect in MMD? What is the Digital Ripple effect in MMD? LearnMMD MME Tutorials. Where do you download the Digital Ripple effect for MMD or MME?
Using the Beamman’s Digital Ripple Effect
You can download the Digital Ripple effect from http://www43.atwiki.jp/beamman/
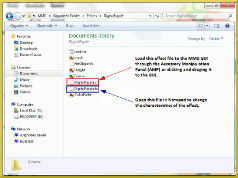
Note: Digital Ripple works best with either a stage loaded through the accessory manipulation panel or a black background. If a stage is to be loaded, the Digital Ripple effect should come last (or as least after the stage) in the loaded accessory list. To change the order of the list click, Background>accessories edit (A)
Adding Digital Ripple to your video.
 After loading your choice of model and motion, load the effect “DigitalRipple.x”, either through the Accessory Manipulation Panel or click and drag the the effect from the file to the GUI.
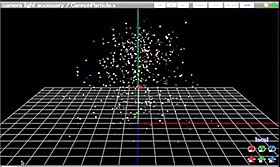
Once you have loaded the effect, change the location values in the Accessory Manipulation Panel. Start with these values: Si = 5, Rx = 90, y = 0.8. Be sure you register your values. Play your video and change any of the values.
Changing the Characteristics of Digital Ripple.
Now, this is where it gets fun! Open the DigitalRipple.fx file using Windows Notepad (found under Accessories in the Start Menu of your Windows OS). This is where you can change the characteristics of the effect by changing the values of each options.
- WireScale sets the dots of the ripple of the effect. The higher the value the more dots. Thus making the effect appear more smooth. Think of it like pixels.
- WavePow sets the size of the wave. The higher the value the bigger the ripple.
- WaveSpeed sets the speed of the wave. The higher the value the faster the ripple will move.
- LightPow sets the light intensity of the wave. The higher the value the brighter the wave.
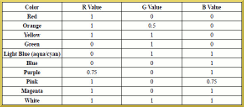
- LightColor sets the color of the wave. The values represents {R, G, B}, from 0 (lowest value) to 1 (highest value). See below table for examples of R,G,B values for various colors.
Save the file. Once the values are saved the characteristics takes effect. Test play your video.
Continue manipulating the values of the Accessory Manipulation Panel and the values of the .fx file until you get the desired effect and location.
Enjoy and make it your own!
Sources:
– SEE BELOW for MORE MMD TUTORIALS…
— — —
– _ — –









Hi!
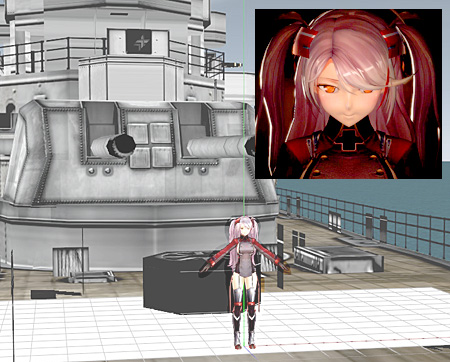
So, i did everything in this tutorial but I still don’t see it. I altered it and put it so my model will cause the ripple effect but, nothing happens. I only put it on my model because leaving it set on the ground wasn’t working.
Am I doing something wrong?