Are there any keyboard shortcuts? How can I rotate my model? How can I select groups of diamonds? How do you use the Box-Sel button? What are those Model and Bone check boxes in the View Menu?![]()
Having to push the mouse to every button and arrow can really slow you down. The controls for MMD are spread all over the screen.
There are a few keyboard shortcuts that will speed you up:
- As you manipulate a bone, hover your other hand over the Enter key. ENTER will register that bone’s position.
- Use the left and right arrows to move the Frame Counter.
- DELETE will delete a Diamond. Use the mouse to highlight that diamond, or a group of Diamonds, and then push delete.
- SOMETIMES Control-Z will undo a move. I haven’t figured out why it doesn’t UnDo it every time!
SEE the KEYBOARD SHORTCUTS category for a list of ALL the keyboard shortcuts articles!
Some of the main Menu options are available as single key strokes:
From the EDIT Menu:
- i … Insert Frame Line (Bone)
- k … Delete Frame Line (Bone)
- u … Insert Frame Line (Facial)
- j … Delete Frame Line (Facial)
From the VIEW Menu:
- v … Character Transparent Mode
- Alt-Enter … Full Screen Mode
From the FACIAL EXPRESSION Menu:
- h … Register All Facial Frame
See the MENU OPTION DESCRIPTIONS section under CONTENTS for a description of these commands.
—
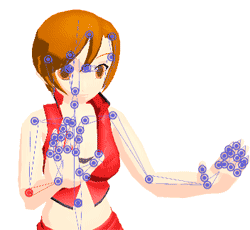
Another shortcut allows you to select groups of diamonds by simply click-and-dragging a box around them. Then you may Copy or Delete them.
—
One of the best MMD tricks is an easy way to change your view of the Model. Just put your cursor a couple of inches away from the model and hold a Right Click and drag the image to where you want it. This is a super fast way to rotate your model so that you can adjust your latest bone and see it from all points of view. I have gotten carried away and lost sight of my model … lost it somewhere on the screen … and had to use the magnifying glass to back way out of the scene until I found her again.
That “Right Click and drag” on the screen also works in Camera Mode. You can quickly move the camera to a new position with better control than when using the XYZ Rollers. Remember to Register your movements.
—
Take a look at the Play Button area. Under Play are two check boxes. They are “From Flame” and “Stop Flame” (o:” … of course they mean Frame … “:o) These boxes refer to the current Frame Counter Setting. Set the Frame Counter to 100 and Check the “From Flame” box. Push Play and the animation starts from frame 100. I have not yet figured out how to use the “Stop Flame” box. You can adjust the values in the Play range windows above the check boxes to get the same results.
—
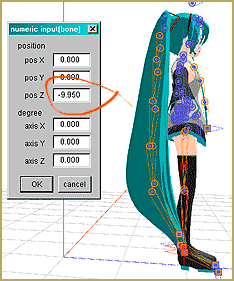
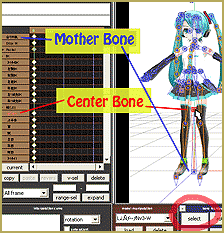
Use the Box-Sel button to Select an entire model. Click the Center bone of the model. Click Box-Sel and drag a box around the model. You will know when you have done it properly … the XYZ Rollers will light up. You may then reposition the model in any attitude anywhere on the stage. Go ahead … flip her around!
—
At the far right is the dark blue VIEW panel. It has two check boxes: Model and Bone. If, while in the Model Mode (not the Camera Mode) you check one of those boxes, the screen’s view will stay on either the Model or the Bone as the animation is played. As you get more advanced with Miku Miku Dance, this will become more valuable. As a beginner, your model is probably riveted to the center spot on the stage. As you begin to learn to move the model around the stage, the Model Check Box becomes an invaluable aid. It let’s you play the animation keeping your model centered in the window. That is the method I used as I captured the frames for my Animated GIF that you will find on the Make Miku Walk page. If I didn’t have that tool, my model would have walked out of my view!
—
That’s what I know, so far … I will update this Post as I get more details. Check back often! keep Practicing!
– SEE BELOW for MORE MMD TUTORIALS…
— — —
– _ — –

