![]() How can I make my own customized skydome? How can I animate a skydome? Can I change the size of my customized skydome? How do I make a skydome seem to fade away?
How can I make my own customized skydome? How can I animate a skydome? Can I change the size of my customized skydome? How do I make a skydome seem to fade away?
Customized Skydomes replace stages…
…and can enhance MMD animations
As my video entry into LearnMMD’s “Video Dojo Expo 2”, this last December, I created an animation without using a stage. I used, instead, a set of customized skydomes that I created just for the project. I learned a lot about skydomes as I put the animation together. See the video, here… and watch how the backgrounds spin and fade. In that video, there is one model, one “Ho! Ho! Ho!” background image, a couple of Beamman’s Nameplate images that I fade-in and fade-out… and FIVE customized skydomes.
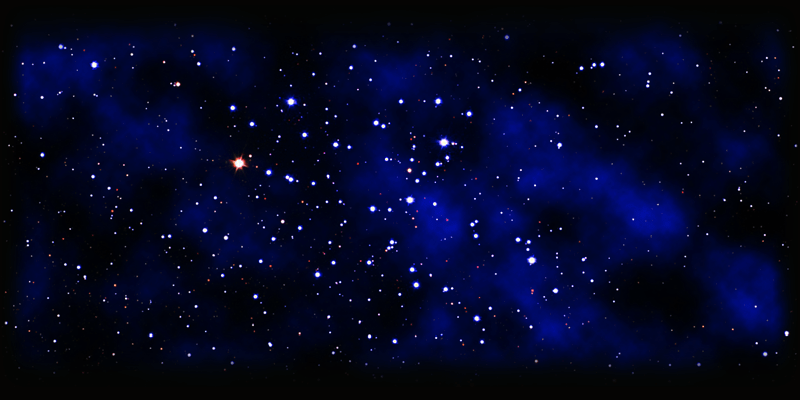
The skydome I customized was the one included in the Trackdancer/LearnMMD Stage… “Space Dome”. That dome has a single .PNG image… starfield.png… sized at 1400 x 700 pixels.
I started my customization by Google searching CHRISTMAS WRAPPING… and  I found quite a few “wrappings” with a repetitive pattern allowing me to tile-together the entire “starfield.png” background image. My “Merry Christmas Baby” project needed a Christmas theme… and that texture image was “just the one” I wanted. I opened Photoshop and opened the starfield.png file and created my Christmas tree “starfield”.
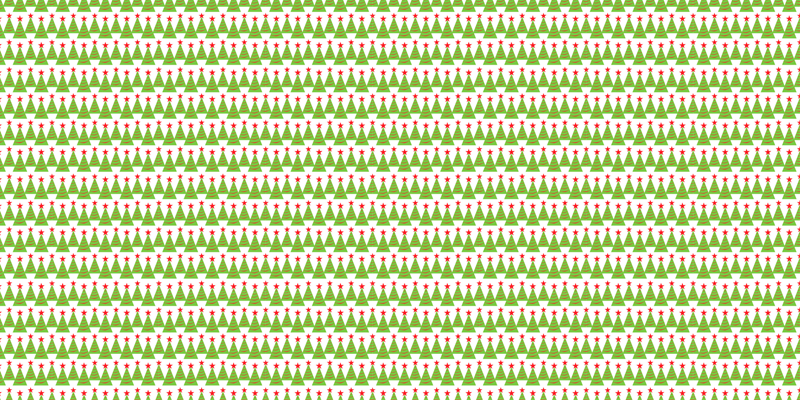
I SAVED that texture as the original file name, starfield.png so that the skydome would work as before but with this image instead of the old “stars” image.
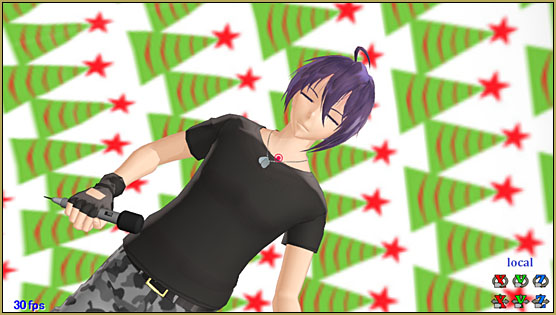
I opened MMD, loaded my model and I loaded that new Space_Dome.x skydome… and with only rolling my camera, I found this image… sweet!
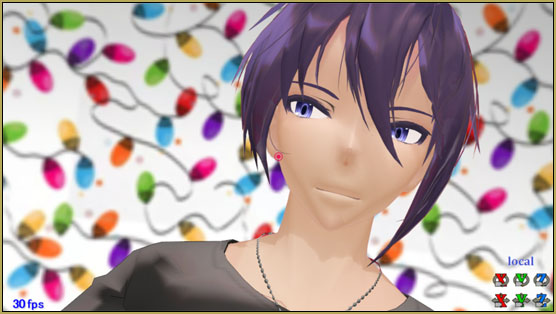
I copied that Space Dome folder and renamed the copy Xmas Lights… and then I went through the above process to create a Christmas Lights starfield.png … and it looked like this! … I found that if I adjusted MMD’s main light positions, I could illuminate those darker, shaded areas of the skydome.
PNG files allow you to save
images that have Transparent areas…
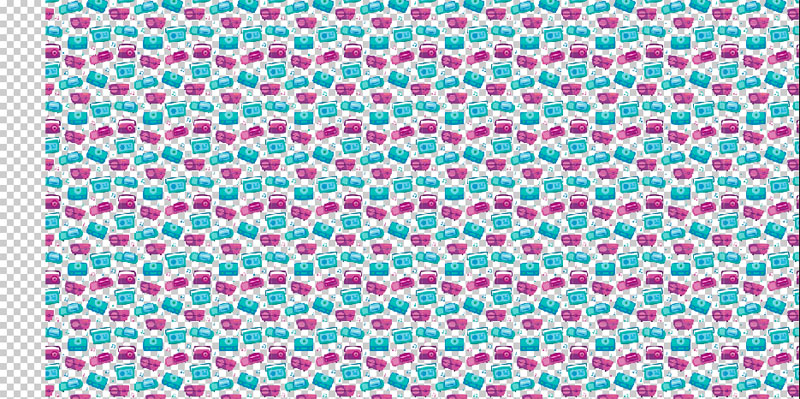
For my NEXT trick, I wanted a new dome with images of old-time radios that would seem to fade-in and fade-out in front of my Christmas lights. … Knowing that I could save a PNG with the background knocked-out to transparent, I created THIS “starfield.png”… with that transparent background.
Si SIZE Adjustment of the Space_Dome.x model…
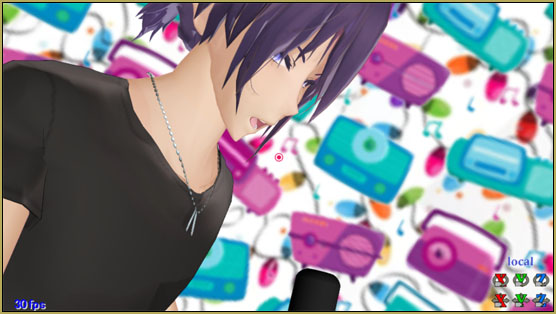
When I attempted to use that new space dome at the same time while the old Christmas Lights dome was visible, the two images crashed together/overlapped… so I used Si size adjustment on the Radio-dome, setting it to 80% size (0.80)… and was surprised to see that now the Radios were clearly visible against the “Lights” background dome… but the apparent “size” of the image was still the same. … The images on my dome did not reduce in size as I decreased the size of the dome… but the dome, itself, now fit inside of the larger dome without conflict.
How much of the “dome” are we seeing?
NOW I wanted to “do” like the radio dome only with a few, selected images of Miku. I created a starfield.png of a whole bunch of little Miku images… and that’s what I got… a whole bunch of little Mikus in soft-focuse, like those Christmas lights and radios. … So, I decided to include only a few large images of Miku, large enough so that only a few would fill our view. … AND I wanted to control their position when I used that dome. I needed to know just what part of the dome I was seeing so as to know just which area was to be filled with Miku images.
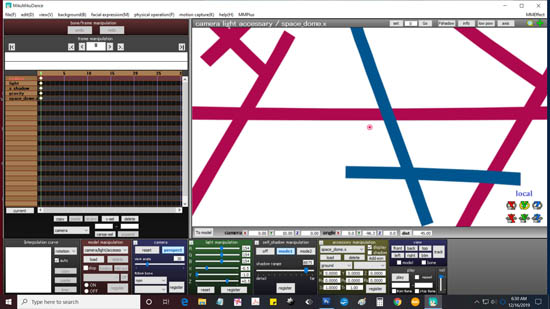
I made a “test pattern” and tried it out in MMD…
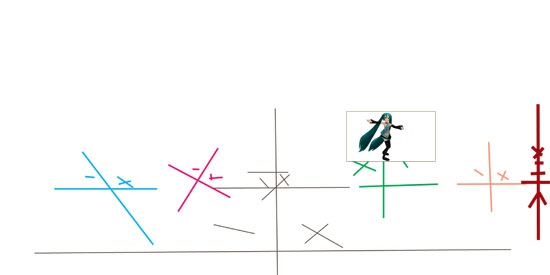
… and after a couple of false starts, I came up with THIS grid to help zero-in on the viewable zone.
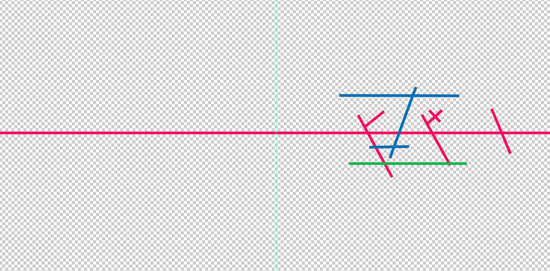
Success!
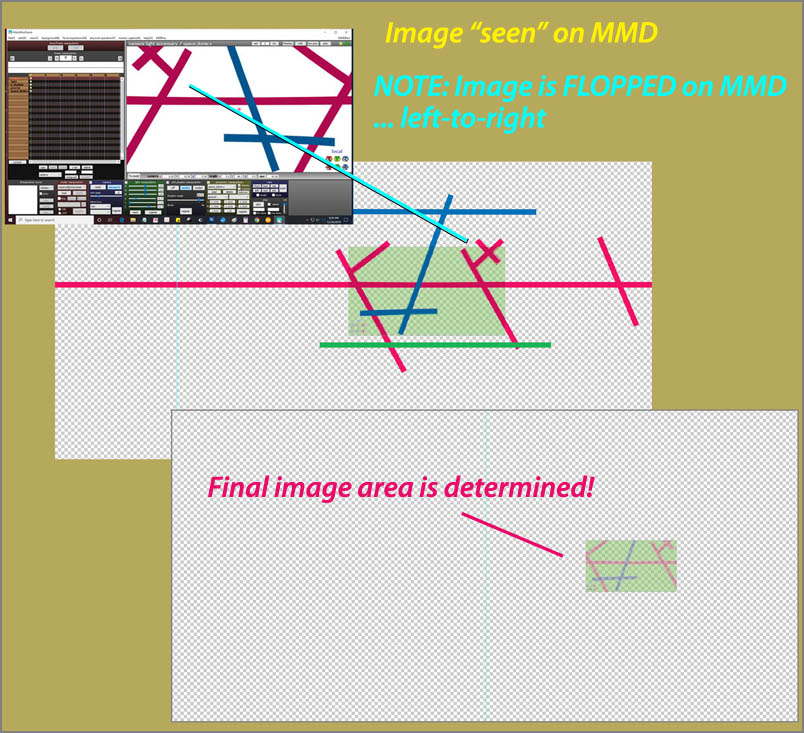
I now had the exact window that MMD would see…
NOW I could MAP the viewable area onto my Dome Template…
CHANGE the FILE NAMES…
I was starting to get MANY skydome folders… one in each folder because I was always using the same file names… Space_Dome.x and starfield.png.
I opened Space_Dome.x in Notepad++ and looked through its text to see if I could find a reference to the name of the image file that this .x was looking for… and WAY DOWN THERE, almost the bottom line in that file was what I was looking for…
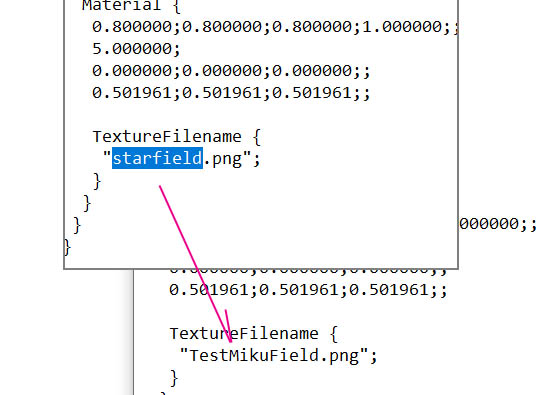
and to test it, I replaced that required image with the name of a new image I had just created: TestMikuField.png
Then I did a SAVE AS to save that .x file as TestMikuField.x … … and…
IT WORKED!
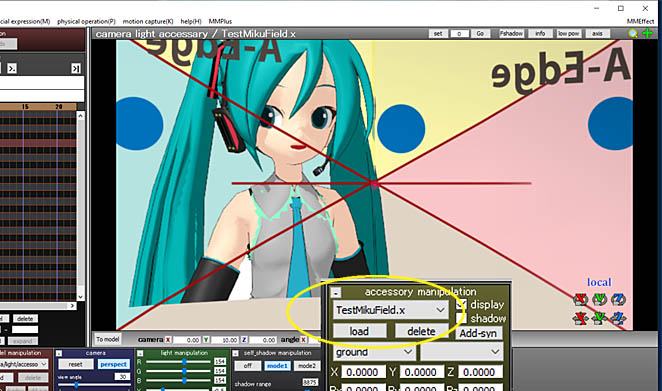
I had been able to change the targeted image AND the name of the .x file… so NOW I could put several skydomes and their associated .x and .png files into the same folder, side-by-side. Awesome!
Customized Skydome IMAGE RESOLUTION…
… was my next goal. I had the position, now I needed my Miku images… NOTE that the images we see of the skydome on MMD is FLOPPED from your original art… as if the image is plastered onto the OUTSIDE of the dome and we are looking through from the INSIDE… I had to flop my Miku images, left/right, so they’d be correct when viewed in my animation.
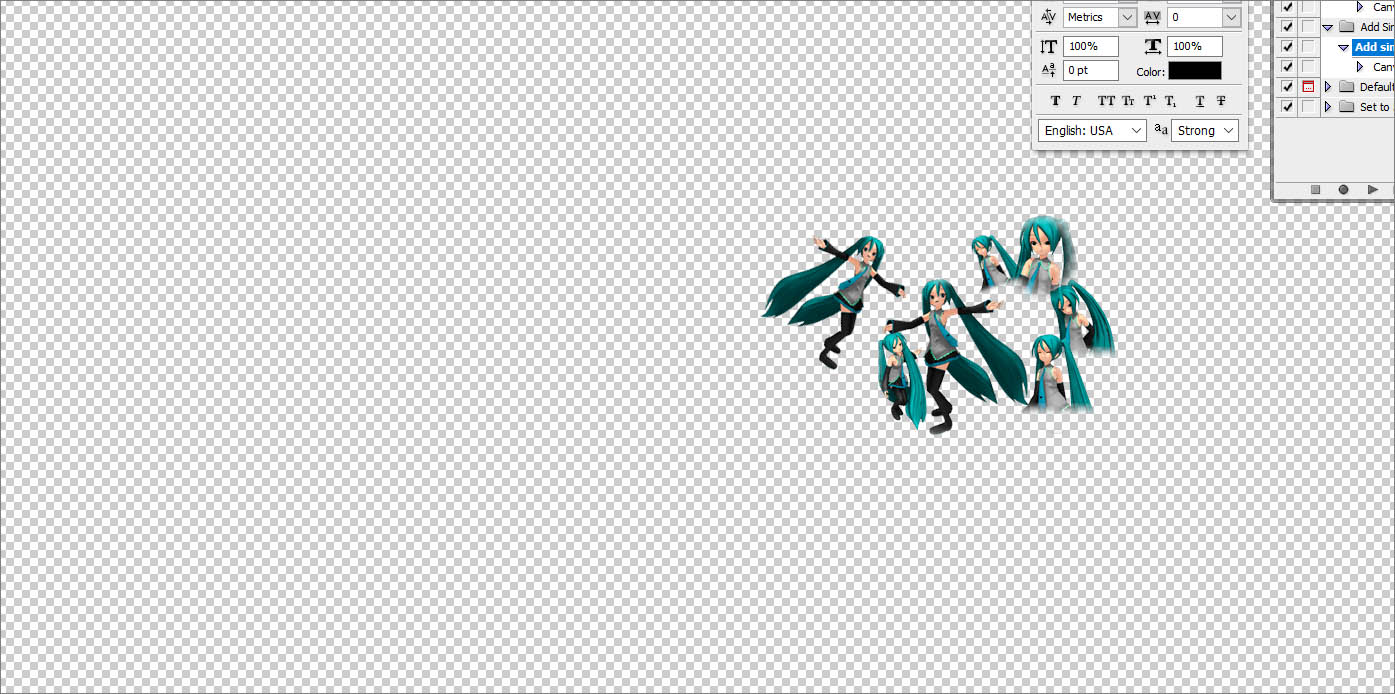
They looked pretty good on my computer monitor… and all was done at 72-dpi as per that original starfield.png…
BUT…
When seen in MMD, the images were very soft… unacceptable! Those images were as soft as those Christmas Lights…too soft.
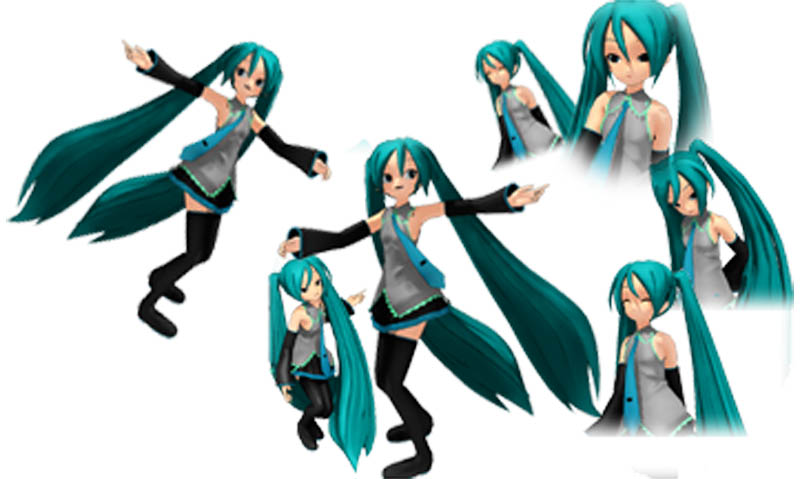
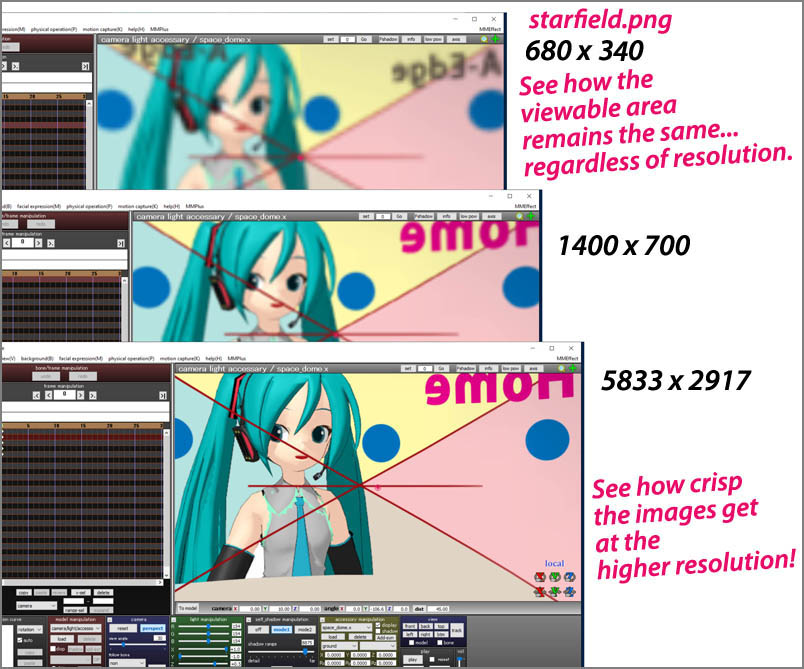
So… I experimented with resolution and found that REGARDLESS OF THE PNG RESOLUTION, the target image area remained the same… I was able to to make my starfield.png be HUGE… like 5833 pixels wide and all I got was BETTER Resolution within that same little window.
The image got better at higher resolution and viewable window stayed the same!
So… when I used that huge 5833 pixel-wide starfield.png… my Miku images looked GREAT!
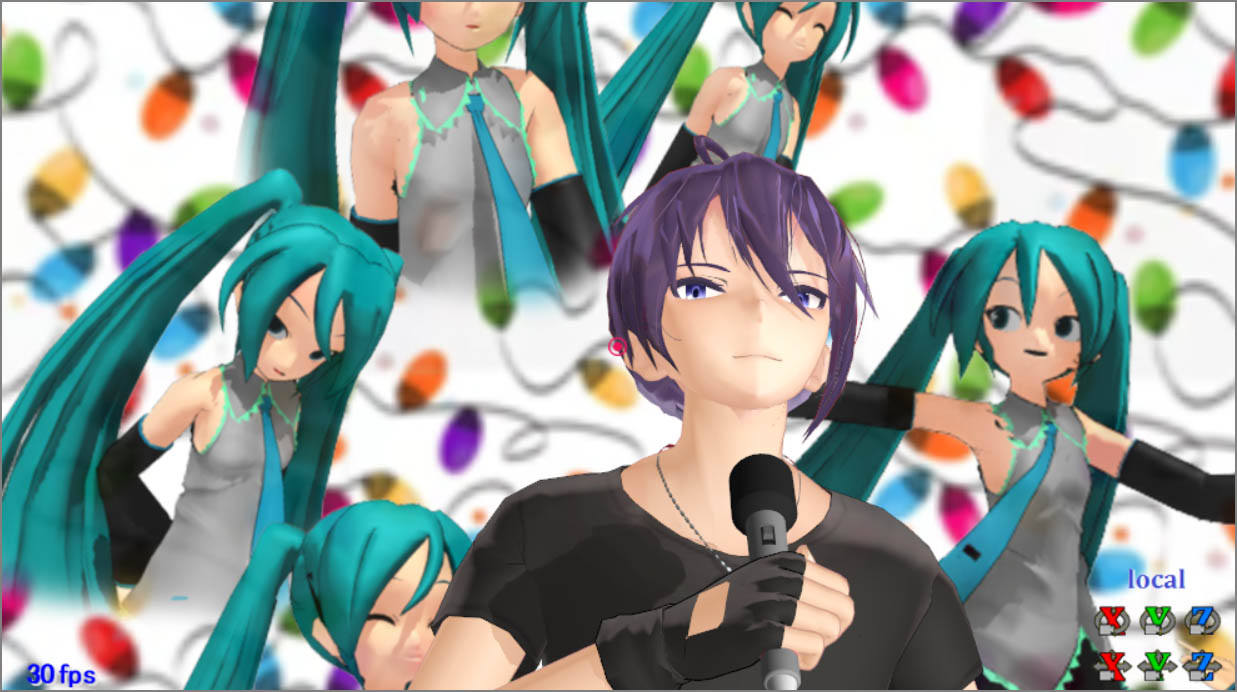
I was JAZZED… and I finished my animation.
Dummy Bones work with ’em too!
After finishing my Merry Christmas Baby animation, I still played with the skydomes for awhile.
I found that they do NOT animate if you use accessory mode to manipulate them. … YES, you CAN rotate them… and you can use Transparency Tr, but they do not act like a bone and smoothly rotate between key frames. They simply SNAP from one position into another. A little experimenting showed me that you CAN ATTACH THEM to DUMMY-BONES… and those dummy-bones WILL rotate smoothly between keyframes… so you CAN animate the skydomes.
I made this little Test Video to show you that without moving the camera, I was able to animate those skydomes by attaching them to dummy-bones, like any other accessory, and then animate those dummy-bones. No camera motion… just skydomes in motion:
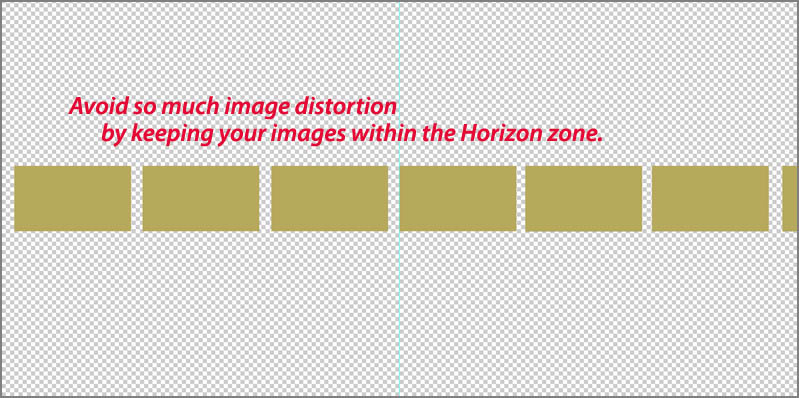
Spherical Image Distortions… stay on the Horizon-line…
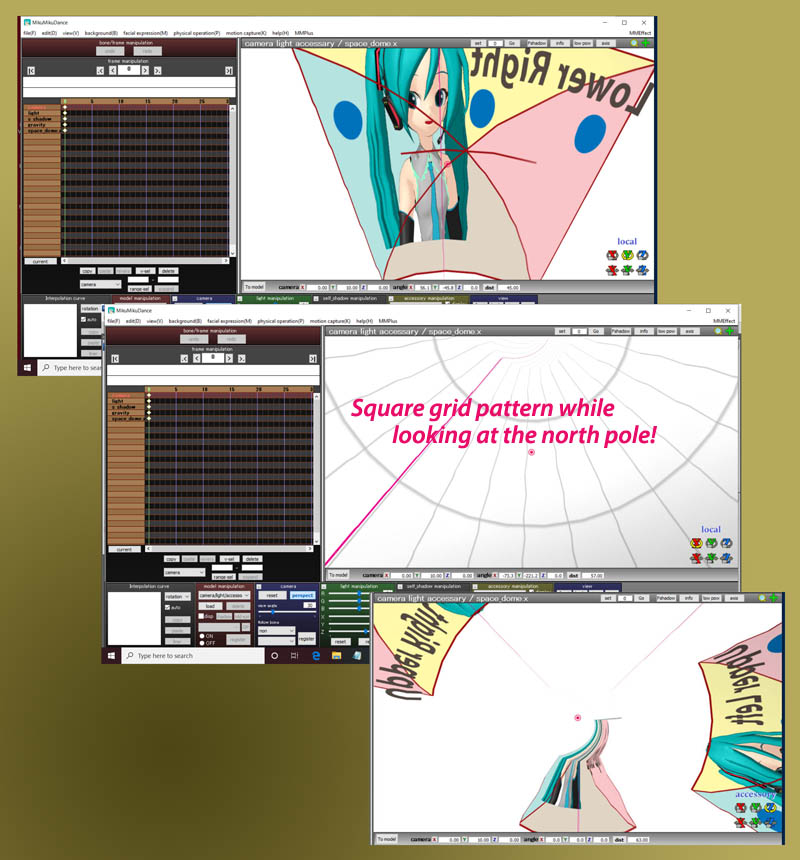
I got to play with the possible image distortions available… that Skydome is actually a sphere… and our camera is at the center… If you pan up or down, you will see the curvature.
That’s it… enjoy your custom skydomes!
Have fun with MikuMikuDance!
– SEE BELOW for MORE MMD TUTORIALS…
— — —
– _ — –


