 Download NCHLShader2. How do I use NCHL Shader? How can I make my MMD models look more realistic? What shaders should I use? How do I use MME shaders?
How to use NCHLShader2
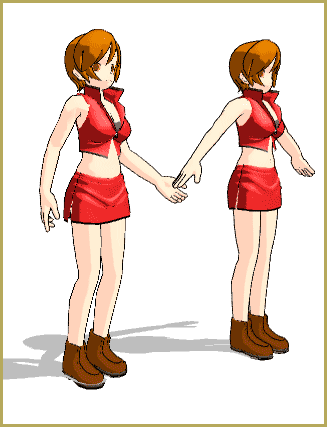
NCHL Shader by nil is a very fun shader to use. The possibilities with it are endless; you can mix and match shaders, tweak the lighting source here and there, edit .fx files and create new ones… And, you get very nice results. With a little bit more editing, it could even look almost… Realistic.But back to the tutorial. My helper for today is ISAO’s Ponytail Sora Amaha. Hi, Sora! Doesn’t she look cute? As you can see, Sora has the NCHL Shader on; she looks great, doesn’t she? Her hair is shiny, her skin is properly shaded, and different parts of her have different levels of shine. Plus, none of her colours look faded or oversaturated.How do we use NCHL Shader?First, load up your model and adjust the lighting. I always leave it at [X: +0.0, Y: -0.2/-0.3].
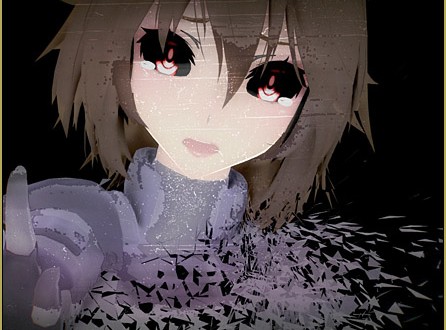
 Sora, please behave… You’ll be cute again, I promise.Remove any spheres…You have to make sure that your model does not use any sphere maps. This is extremely important, because NCHL Shader seems to be allergic to them. Once it picks up a sphere map, it will freak out and make the polygons of the model more pronounced. As you can see in Sora’s hair, the shinier the shader used, the more obvious the polygons.
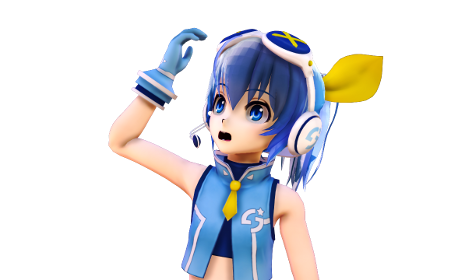 Calm down, will you? This was an example.
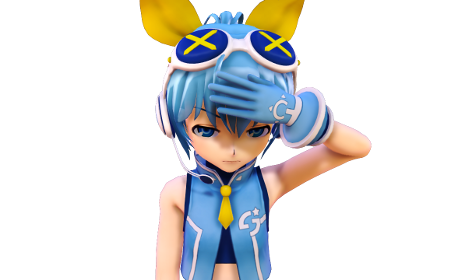 Ah, she’s angry. I’m sorry.This problem is easily solved by either opening up the model in PMDe/PMXe and deleting all the sphere map text, or making a copy of the model’s folder (maybe rename it so it’s easier to see the difference), and delete the sphere map files. Try not to lose the original model files.Load the shader…Next, load the shader itself. You can also go into the [Others] folder and find various customized shaders; Basic for basic shading (slightly lighter than NCHLShader outside the folder), Glossy for glossy materials (such as plastic, rubber), Hair, Metallic, Metallic2, Skin (for face and bodies), and Velvety (for cloth).
Feel free to mix and match shaders; you can even edit them by editing the values in the .fx files and saving them as a whole new shader. As for how they’re editable, I’ll leave it to you since they’re easier to be understood if you tried it yourself by changing the numbers here and there, while MMD is open so it’s easy to see what’s changed.Back on topic, she should look like this now.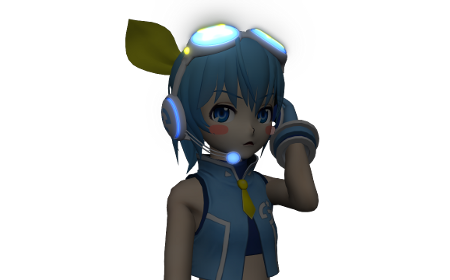
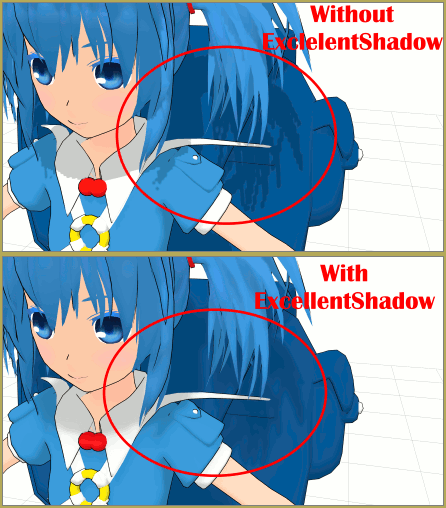
Yeah, I know it’s dark, we haven’t put in a light source yet… but first. Shadows.ExcellentShadow2…Right now Sora looks rather 3D and all, but there’s a distinct lack of self-shading… We’ll fix that by opening ExcellentShadow2 provided in the effect folder.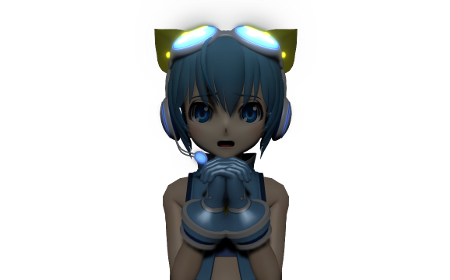 Just a little bit more, Sora. As you can see, there’s now self-shading on Sora; and the shadows aren’t too clear or aren’t too blurry either, though you can easily tweak by adjusting the Si of ExcellentShadow. You can also adjust how dark or light self-shading is by altering the Tr, though I’d rather wait until a light source is added, to see results better. Then, open up HgSAO in the HgSAO folder. There’s not much of a difference now so there isn’t an image, but it’ll be obvious later.
And that primary light source comes in the form of AmbientController.AmbientController…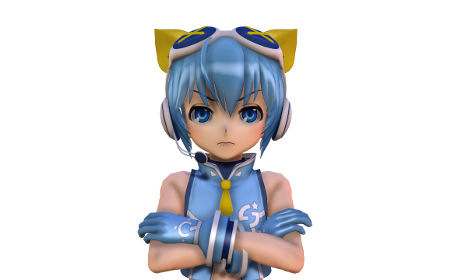 Come ooon, there’s light now!It’s not bright enough, but that’s because we still have several light sources more to add! The main point of AmbientController is to be a primary light source, and it also dictates the colour the main lighting should be. Of course, the model can still be affected by normal MMD colour lighting, but still…
For AmbientController, X/Rx both represent red lighting, Y/Ry green lighting, and Z/Rz blue lighting. Minimum is a 0 and maximum is a 100, for each box. Si determines how bright the light source is. So feel free to go wild. My personal settings are [X:90, Y: 90, Z: 100, Rx: 90, Ry: 80, Rz: 100, Si: 5], but of course, you can change the settings as you like, since different lighting settings work differently for various models.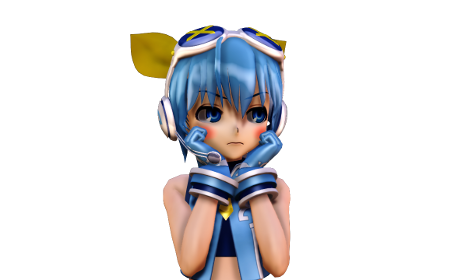 SoftLightA/B works similarly, if not the same as SSAO+Tonemap; notice how the shadows are now darker and more defined, and the colours now seem more vibrant than before! It can be adjusted via Si; increase the value to make the shadows lighter, and vice versa. I normally load both, and leave it A at Si: 2.5, and B at Si: 1.Oh man, I almost forgot Backlight Controller.Backlight Controller
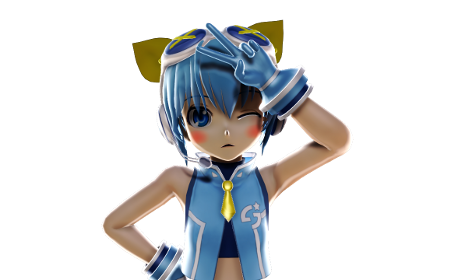 For giving you that extra ‘oomph’ in your pictures, you need a back lighting source! Similar to Ambient Controller, X,Y, and Z are R, G, and B respectively with minimum value being 0 and maximum being 100, and Si determines how bright the source is; but the similarities stop there. Backlight Controller shines in the opposite direction of the main light source (Ambient Controller), so unless you want mismatched shadow directions, Backlight Controller is mostly for brightly lit/luminous areas, or simply for the cool factor.We’ve done it!
 And that’s it for my tutorial! Thanks for reading, and cheers!– SEE BELOW for MORE MMD TUTORIALS…— — — _ — –
![]()








Help. When I use this shader & render the video using UtVideo YUV420 BT.709 DMO (haven’t try other video compressor), my screen went flickering & my second monitor got disconnected. When I checked the device manager I noticed my Nvidia display adapter disappeared and my main display said there’s an error code 43. Resetting my PC fixed the screen issue, but everytime I rendered using NCHLShader it keeps doing the same error
Wow! … That is a new issue that I have not seen before. I have no answer for you… maybe search online forums for answers… perhaps google the individual elements of your error codes to see if anyone has had similar problems… maybe it’s a Nvidia issue?? … Sorry, I am no help, I have no idea.
— Reggie
Is there a video tutorial?
Hello! … A video tutorial about NCHLShader2? … Nope… not by us.
But I DID just check YouTube and : Yes… there are several:
https://www.youtube.com/results?search_query=MME+NCHLShader2
— Reggie