


RAY-MMD and the original Miku Append…
A RAY-MMD demonstration featuring texture and environmental lighting
 Nowadays, we can see plenty of Tda style edits rendered beautifully in videos on YouTube and NicoNico using RAY-MMD, but you hardly ever see the original Miku Append model treated in a similar manner. Well, that is understandable since that model has been around for awhile and has been used in
  countless MMD videos.
All that said, in this article, we will be giving the original Tda Miku Append a total Ray-MMD makeover and see how it turns out. You can follow along and duplicate the process if you like but just be warned that the copy of the model that we used here has been edited so somethings here may be different from what you may see on your copy.
PLEASE NOTE: This demonstration assumes you have already had some success with Raycast RAY-MMD and that you know how to apply and where to look to find the various elements and screens shown in this demonstration. LearnMMD.com offers several “beginner-level” Raycast tutorials, please click the link in the box, above, to see our many Raycast tutorials. If you ARE a beginner: enjoy what we are doing here, see the beautiful results… and don’t sweat the details. As you become a better Raycast user, come back and give this tutorial a try!
THE ORIGINAL DEAL…
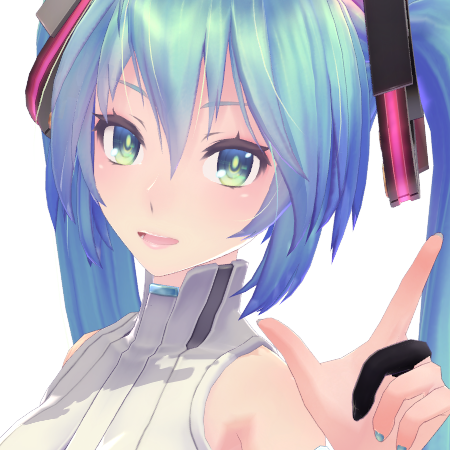
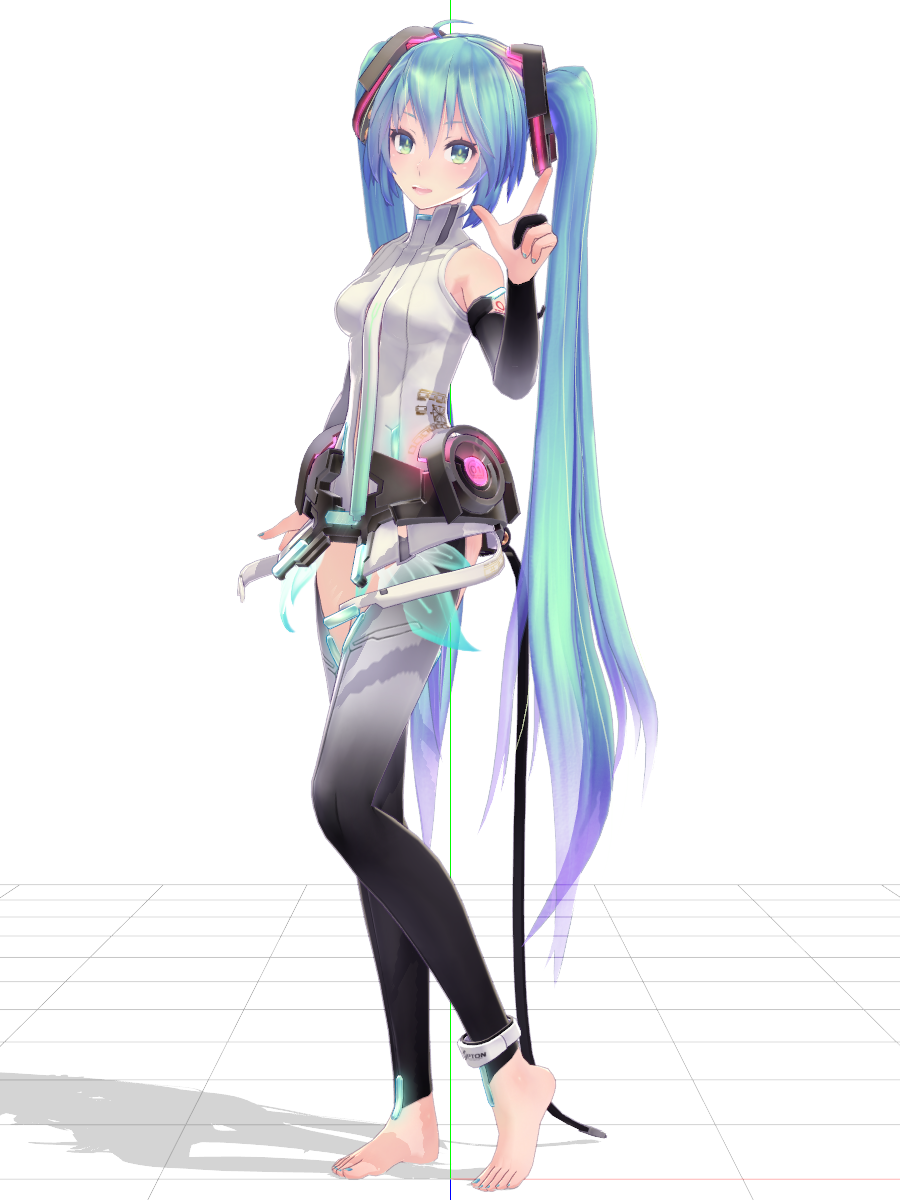
Anyway here she is in MMD ready for her makeover and if you want this pose, you can get it here. As always, many of the images used in this article were rendered full size and if you want to see them in full detail, simply click on the images in this article. All images are presented straight from MMD with no enhancements.
THE BASIC SET UP
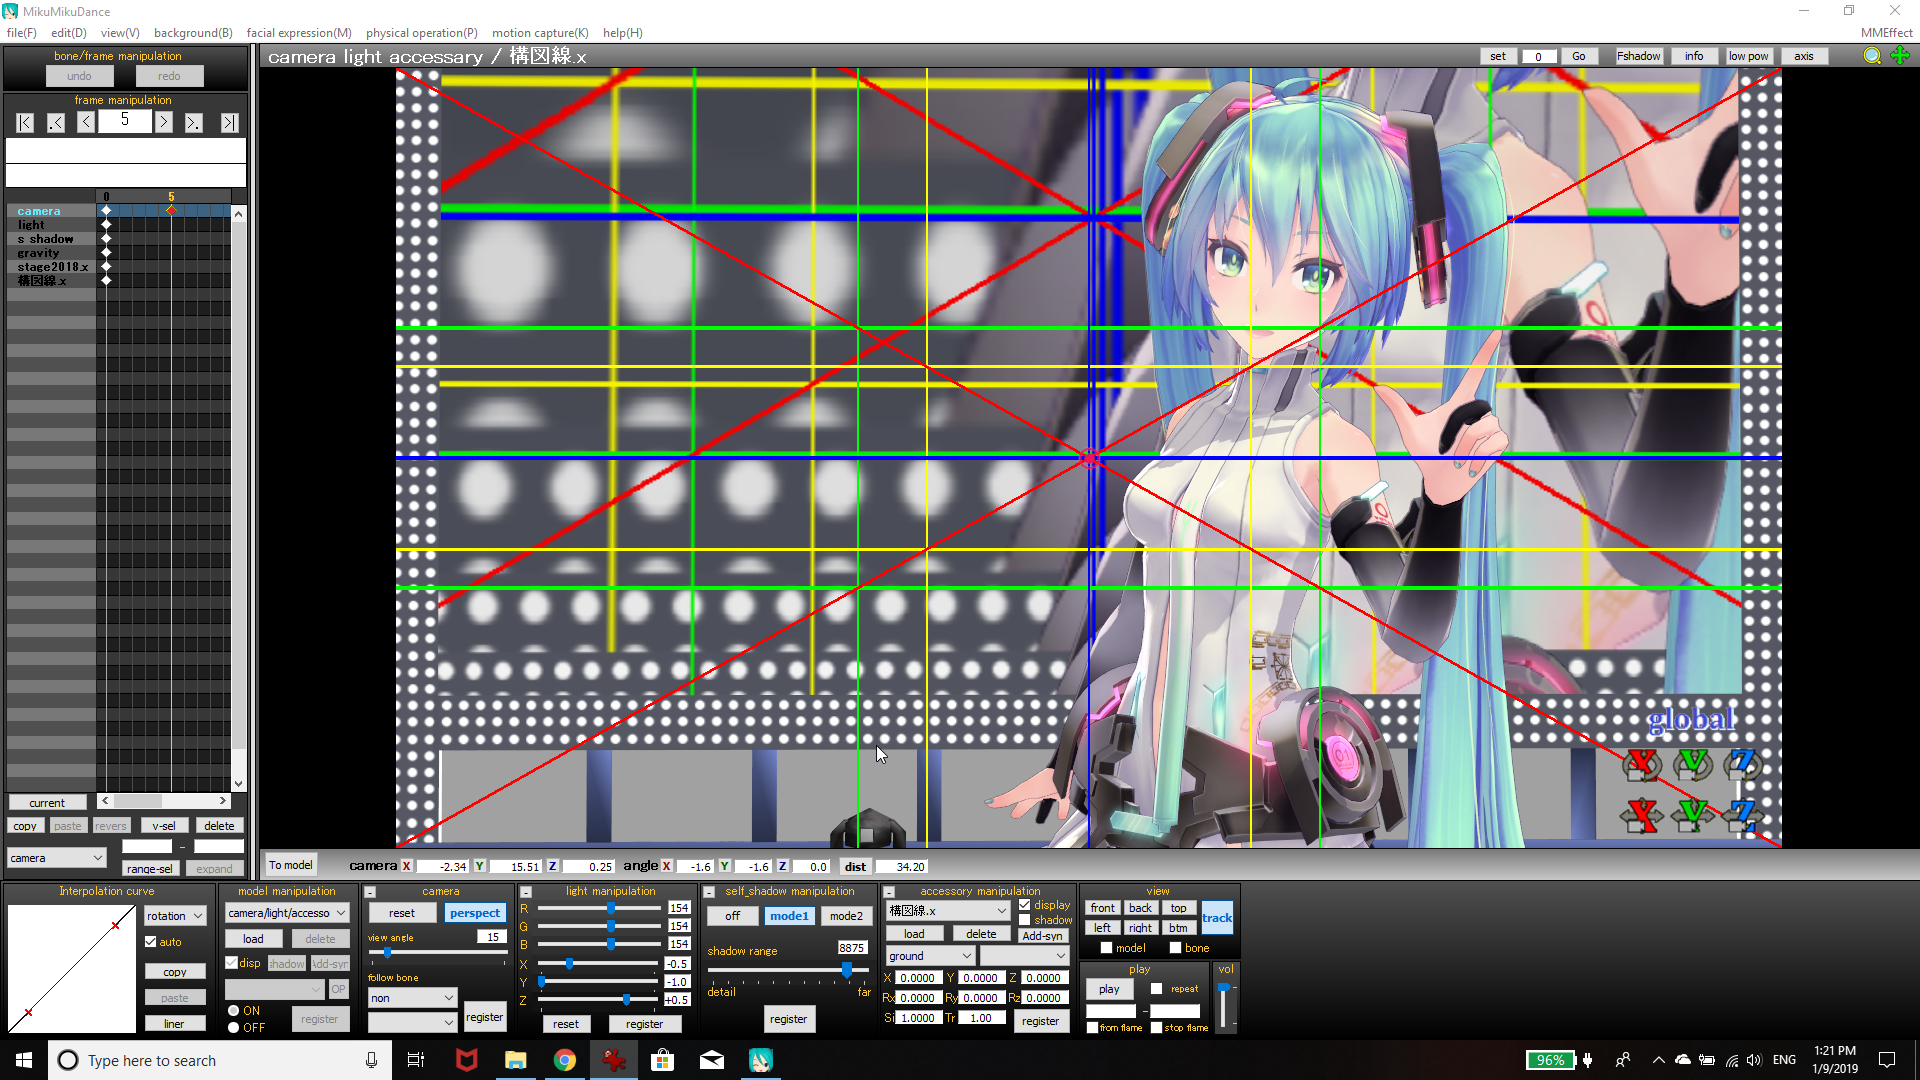
Nothing complicated here. We are just using a slightly upgraded version of the default stage which you can download here if you want it; in this application; the original will work just as well. I am using KOZU to help frame my shot and using a zoom lens on my MMD camera. My screen is set to 1920 x 1080 which is the maximum recommended size for my LENOVO Legion Y530.
RAY-MMD SET UP
We are using the Sky Night sky box and of course also adding the ray_controller.pmx widget and ray.x. We sorted out the draw order; primarily making sure that the sky box is drawn before Miku since we loaded her first.
Base materials set up is as follows:
- Main tab: main.fx added to the Miku model and the stage
- EnvLightMap tab: Sky with Lighting added to the sky box
- MaterialMap tab: material_2.0.fx added to the stage model
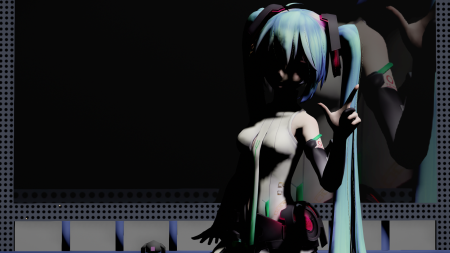
For the lighting direction set up we are using the default MMD setting and after all this we get this interesting image on our screen:
SHADING OUR DIVA
Right, now for the fun part and the reasoning for this article. Let’s really see what RAY-MMD can do with this model…
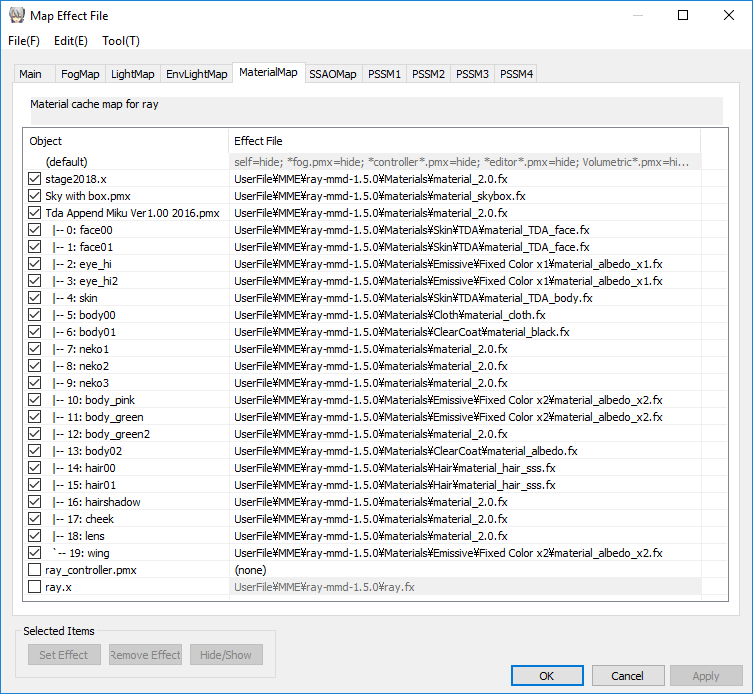
Here’s what we applied to Miku in terms of materials; it is a rather conservative approach, but it should be fine for our initial set up.
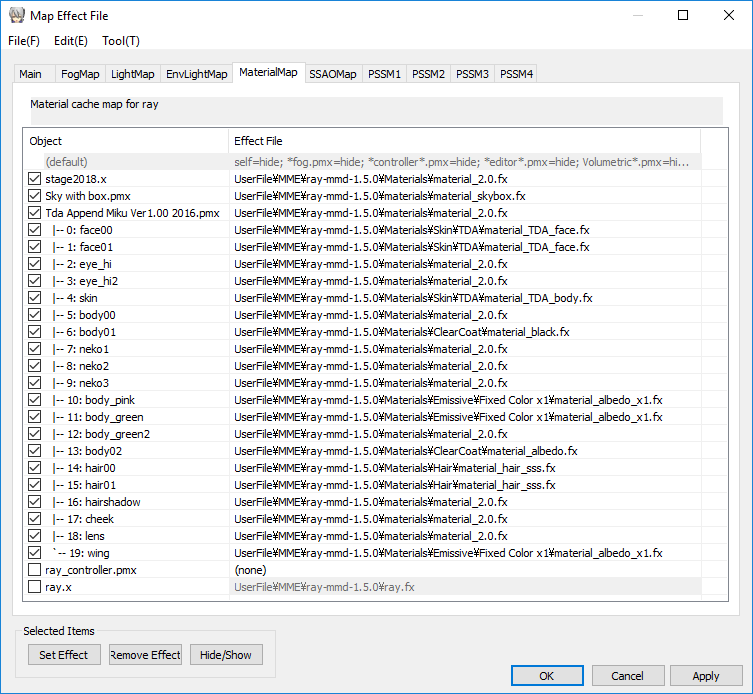
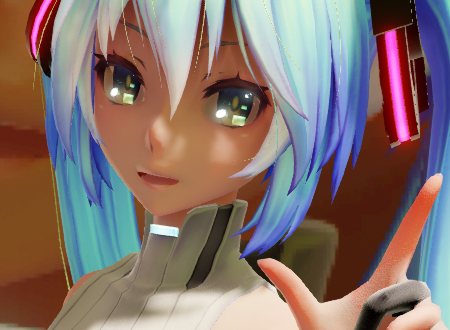
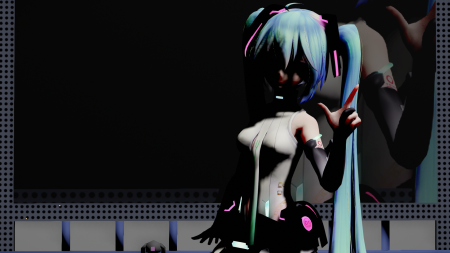
And the resultant effect can be seen below. Not much different from the last image, but the emissive effects have lit up her lights; that’s a good sign.
RAY-MMD CONFIGURATION
Honestly, the way this scene is set up was doing things the hard way, but fortunately, RAY-MMD’s flexibility allows for this kind of approach. Since there is no gain without pain, the final results will be well worth the extra effort; so please bear with us.
To fix the mess above we needed to swap out some of the material maps specified for Miku, plus we needed to use many of the controls on both the sky box and the ray_controller. So let us show you what needs to be done and in the order that it was done.
Do note that the actual work flow was not linear; often I had to change one thing here and then jump elsewhere to change something else. All of these controls are interlinked and this exercise really demonstrates how closely they are really meshed.
It is important to note that I retained the default MMD light settings. Light positioning and characteristics were achieved only using the RAY-MMD controls. Plus no fill lights were planned for nor used which leads to interesting challenges with shadows.
ray_controller settings
These set up the general lighting environment.
- SunLight+ : 0.10
- SunLight- : 0.50
- SunShadowV- : 0.15
- MultiLight+ : 0.45
- SSAO- : 0.25
- SSDO+ : 0.25
- SSSS+ : 0.55
- Saturation+ : 0.15
- Temperature+ : 0.30
- BalanceR+ : 0.40
- BalanceG+ : 0.35
- BalanceB+ : 0.30
EXPLANATION: There is a red bias in the lighting and this is done deliberately to create warmth in the overall color temperature creating a overall more comfortable, homely type of lighting environment. The SunLight+/- settings ensures a more even distribution of light and shadow play, specifically it down plays the shadows. The SSSS+ setting helps to bring some luster to her hair which has materials which enhances this type of setting. We wanted her hair to look natural; the other hair materials will work too, but are a little too glossy for the kind of look we were trying to attain.
Skybox settings
These set up the specific lighting characteristics.
- TopH+ : 0.30
- TopS+ : 0.05
- TopV+ : 0.50
- TopExponent- : 0.50
- MediumH+ : 0.05
- MediumS+ : 0.05
- MediumV+ : 0.30
- BottomH+ : 0.25
- BottomS+: 0.15
- BottomV+ : 0.35
- EnvDiffLight+ : 0.25
- EnvDiffLight- : 0.65
- EnvSpecLight+ : 0.15
- EnvSpecLight- : 0.50
- EnvSSSSLight+ : 0.55
- EnvRotateX : 0.35
- EnvRotateY : 0.65
- EnvRotateZ : 0.35
EXPLANATION: Top values governs light coming from above; Medium values light that bounces about; Bottom values govern light coming up from the ground. So as you can see, RAY-MMD has contingencies to accommodate light coming from all directions and how these interact with the materials on the model as well as its form. Note that these variables have a major effect on the color of both lights and shadows; as well as their intensity.
The EnvLight variables determines how the lighting environment behaves and is closely linked to the settings made using the ray_controller. Specifically here, we added more control as to how the light is being absorbed or reflected by the model’s material and factors in also what is happening in the background. Reflected light is being muted but not eliminated by these settings. This helps Miku look more natural and realistic as she has a lot on her that can really be too shiny. You want this sometimes but in the application here, we wanted a more subtle approach.
The EnvRotate values governs the reflected light directions and has a bias for lights coming from the front ground area with the settings used here. This serves as a reflected fill light to offset otherwise harsh shadows as the main lighting is coming from above and from the right, which is the default light setting for MMD. The whole objective is to even out the overall light distribution in a natural manner. It softens some of the shadows and makes areas that would otherwise be dark, much brighter.
Amended Material Specifications
Some materials on Miku were swapped out and others added to take full advantage of the new lighting environment.
AND FINALLY THE END RESULT
After all of that, how did our Miku fare? This is shown below and it is rather different…

The approach we took here was to use pure natural lighting with no requirement to add additional fill lighting. Also, we wanted to maintain her original characteristics without using heavy duty materials maps that can overwrite the base values. So for example, with the dark housing for her equipment, we chose a material map that enhances them visually and also to make them look like shiny plastic, which is what I have always assumed that they have been made from. Her lights glow naturally and does not overwhelm her as can happen with AutoLuminous. The rest of her looks natural and realistic, even her eyes with their android like features. Plus the overall look is soft even without the use of a filter; and the warm colors makes her comfortable to look at; she almost looks like a real “person”.
Hopefully, you have found this article useful. By no means is the method used here to shade Miku Append using Ray-MMD the definitive version. This MME package is very flexible and allows for multiple approaches to the same model. So always feel free to experiment and develop your own shading style.

CREDITS
- Miku Append: TDA
- Default stage (edited)
- MMD 9.31
- RAY-MMD 1.5.0
- IrfanView
– SEE BELOW for MORE MMD TUTORIALS…
— — —
– _ — –





Ray-MMD 1.5.0 – 11.1.2018.
Ray-MMD 1.5.2 – 13.3.2018.
To be honest the non-Raycast Miku looks better here. Raycast deserves its reputation for being difficult to use. With default shader, Miku’s hair is darker than her face; with the Raycast settings here, it’s lighter, and it looks bad especially because the shine on the hair isn’t visible to demonstrate its curves. (Maybe it’s from spheres and they aren’t used in Ray-MMD? I don’t know.)
Then, at least with the small-resolution image before you click on it where it’s blurred together, the bottom part of Miku’s eyes is too bright. It’s supposed to be a reflection and therefore proportional on the part of her face around her eyes, but it’s brighter than that so it looks like unnaturally bright tears.
Too much of a contrast between ‘direct light’ and shadowed areas. In amateur footage it can look like that, but people try to avoid it; multiple exposures for ‘high dynamic range’, and the reflector panels that are held up outside of a camera’s range to help make sunlight, or other bright lights, less harsh.
Still a very useful article.
Two reasons AutoLuminous can look bad, I think, are its lack of awareness of gamma and the fact that it’s basically a blur of a strong light, which washes out small light sources and means that it quickly becomes pure white if the camera approaches. Another, somewhat less obvious problem is that it’s too much affected by shadows and direct light, when you wouldn’t expect something that glows to be affected. (Also, people may not know how to use its different options, to change strength and add rays of light.)
I think this version of AutoLuminous should look better: https://pastebin.com/NWWZTMYQ
As for “non-Raycast Miku looks better here”, keep in mind that there are various materials for Ray-MMD, and some can look better than others in particular situations. Specifically, I see that for the hair slot there’s a TDA variety, while screenshots in the article view that a regular one was used. I don’t use Ray-MMD myself, but I wonder whether it would look better if that one was used instead.
Hello,
I’m beginner in using Raycast shader and when I want to render picture is black. The video render is OK.
Thank you
Not enough info to help you. Please start at the beginning like you were describing the event to someone who has no idea what you are talking about, over the phone… what do you do, what happens, what do you see when what happens… describe in great detail what you did, what you see.
Sorry, but I found out that is not fault of raycast shader. My MMD render every picture as black or blank. The problem is probably somewhere else. So, this post is irelevant. Sorry for touble.
Every picture black… I hope someone has an answer for that… one of those things that shouldn’t be an issue.
When I try to render an image that’s too large to a picture file, the render fails partway through. (I’m on GNU/Linux, using Wine.) If it’s quite large, then it’s completely black; if it’s smaller, maybe it’ll have some elements, but models or effects will be missing.
I can actually get a larger image by telling it to output to video. Although it fails because “it couldn’t find a muxer”, it still shows the first frame or rather the current scene, and I can screenshot that.
This is almost certainly related to video card memory size and running out of it.
Try not to set your screen-size larger than your monitor’s resolution. MMD doesn’t want to Render to Picture for an image larger than your screen.