.SPH and .SPA Files Add Sparkle!
Ever feel like a model is too plain? Ever wish you could give her hair a realistic shine, or make her shoes look like shiny leather? Well, you can! It’s easy! Just use .sph and .spa files!
.sph and .spa files, also known as “Sphere textures”, are very much what their name implies. They are textures applied to a spherical map, and they move when you move the camera or model.
Sound a bit confusing?
It’s not. Let’s look at some examples:

In The Legend of Zelda: Ocarina of Time, if you look at a heart container, you’ll notice it shines as it spins. In Sonic Adventure and Sonic Adventure 2, jewel Chao have sparkly appearances. And in Pokemon Battle Revolution, furry Pokemon like the Eeveelutions often have a bit of a shine, giving them a realistic fur look that looks well-groomed and healthy …
… these are all essentially what .sph and .spa files are.
You might be wondering what the difference between .sph and .spa files is. Well, the difference is simple, but important: The textures for .spa files are usually black and white, and the black will appear transparent. The darker an area is, the more transparent it will be. .sph files are often colored, and do not have the same transparency factor as .spa files do, and so usually appear darker. Both files will look different on different color materials, so … change the colors to make it look better if you need to.
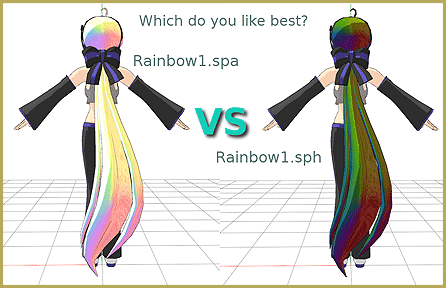
Now, let’s get to the good part:
Adding the textures to the models!
First, you’ll need some .sph or .spa files. MMD comes with one by default: metal.sph. This is a simple metal sphere, as shown on Animasa’s Metal Miku model. However, it’s only one file. A good place to look for more spheres is DeviantArt. The user MoonTheBlueNeko has lots of good sphere packs. There are others, too. Some models also come with sphere files. Be sure to look up the modeler’s rules first, before you use them. I’m not sure if using textures is not allowed, but generally it is a good rule of thumb to assume that if you are not allowed to use parts from a model, you shouldn’t use spheres from it either.
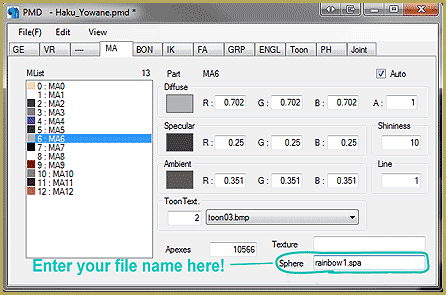
Now that you have your files, you can add them to a model. To do this, open your model in PMD Editor. (See my article about Downloading PMDE in English.) Remember the tabs? Find the materials tab and switch to it. Find the material you want to apply the .sph or .spa file to. Make sure those files are in the same folder as the model. At the bottom left corner of the window, you should see two text fields: “Texture” and “Sphere”. In “Sphere”, type in the name of your sphere file. For example, if you want to apply metal.sph, you would type “metal.sph”. Capitalization doesn’t matter as long as the spelling is the same.
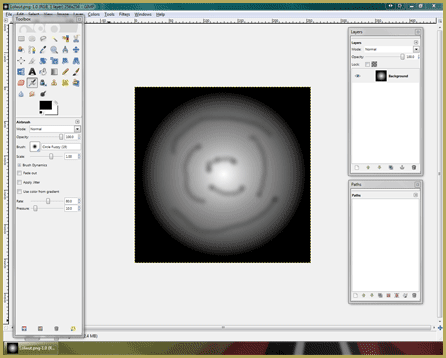
You can make your own sphere files, too! Use an image editing program (I recommend GIMP) to make them. Make sure the image size is 256 x 256 pixels. Draw your texture however you like. It won’t look the same once sphereized (Is that a real word? xD), so consider that and experiment. Once finished, save it as any image type. Then change it to a .sph or .spa by renaming the file, and changing the .___ part of the name to .sph or .spa. There should be a pop-up saying something about how changing a file extension may make a file unusable, etc. Click OK. Now you have a sphere! :3
That’s all there is to it, really. Use your own discretion when adding spheres. Although they can make a model look great, too many obvious spheres can look overdone. Models with lots of fancy spheres have been given the nasty nickname of “spa whores” by some of the MMD community. Don’t be discouraged! What really matters is if you like the model. If you think adding lots of spheres makes it look good, then go for it! It’s all up to you. Never let anything someone else says stop you.
– SEE BELOW for MORE MMD TUTORIALS…
— — —
– _ — –


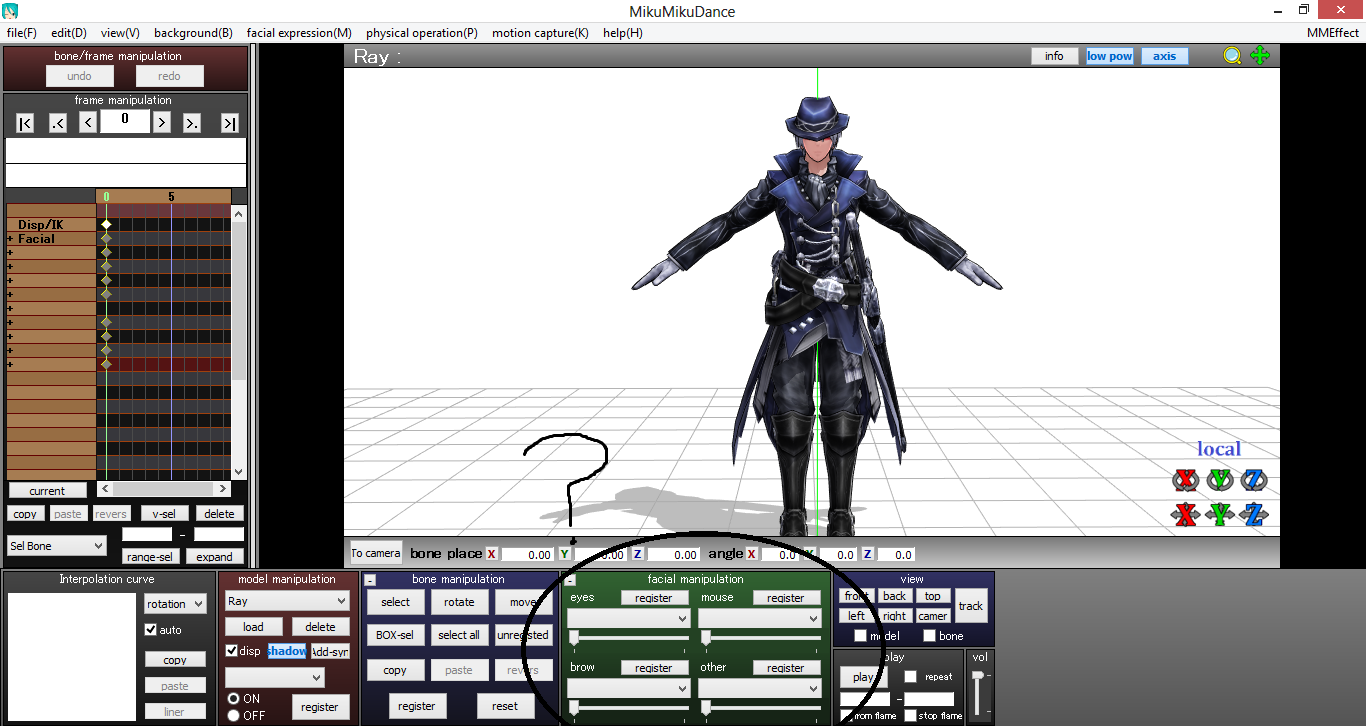
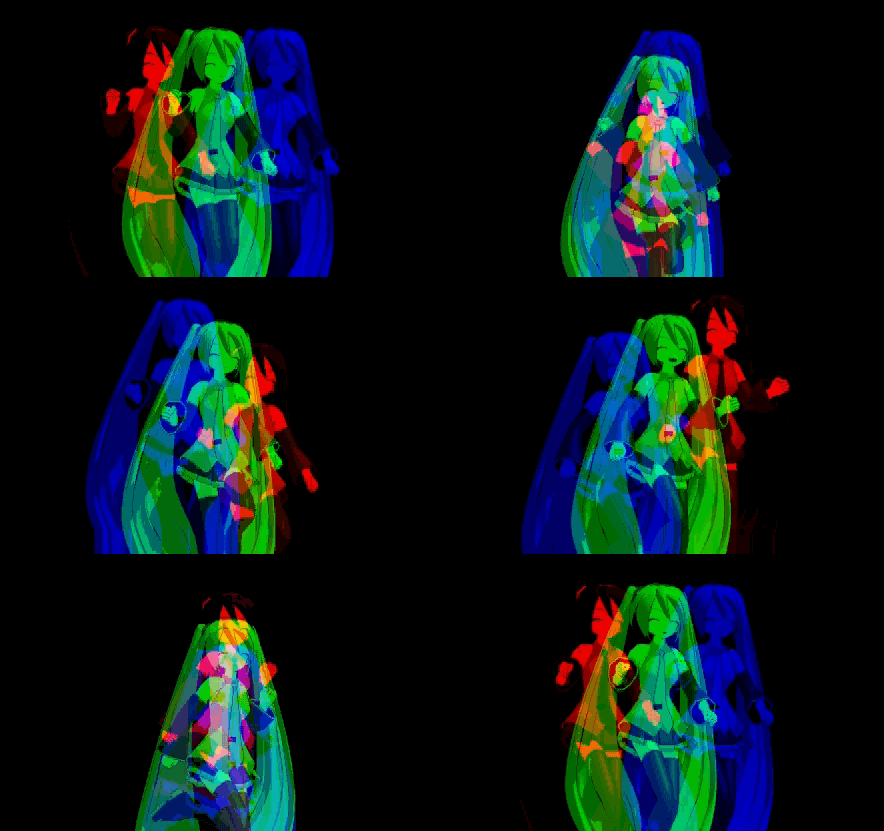

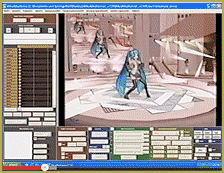



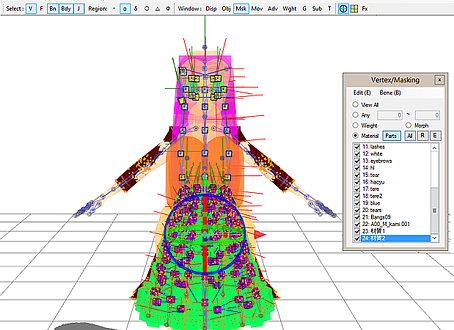
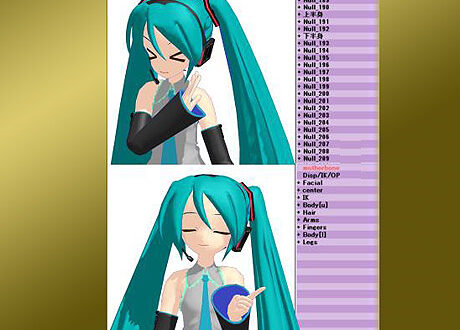

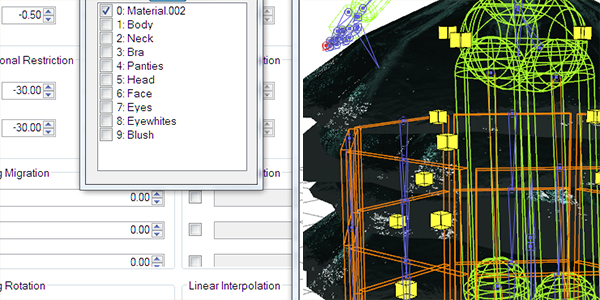

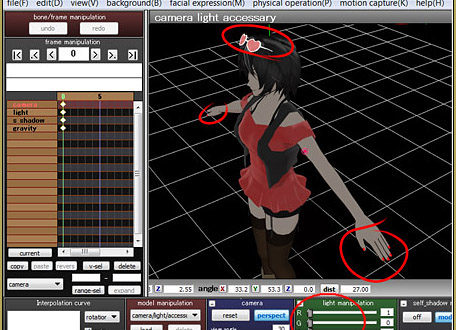
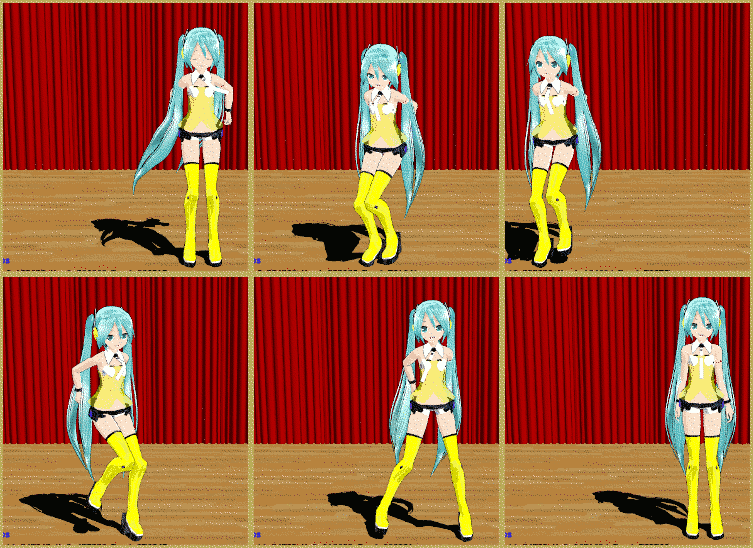
There are actually two different kinds of sphere files, depending on how they’re attached to the model. You can check this on the materials tab in PMXE.
Multiplicative sphere maps make things darker. They do this by multiplying color values– so for instance, if your skin is RGB 0.9,0.9,0.9 and your sphere map lookup gives a 0.1,0.1,0.1 pixel, you multiply those values and see RGB 0.09 all. Which is indeed very dark.
Additive sphere maps handle this differently. In the same situation as above, you’d add the two values, and end up with RGB 1.0 all. Which is as bright as it gets– well, as bright as it gets without an additive texture blend like this.
Additive sphere maps tend to function as if additional light from the environment is reflecting off of the material’s surface. This extra light takes the surface past the brightness limit it could get from the main light alone. You could say that it goes to 11. This makes things brighter, and IIRC, it interacts with effects like Autoluminous, creating light bloom even in the absence of specially designed emitters.
I really can’t imagine what you’d use a multiplicative sphere map for. It’s a wierd technique.
Just to clarify, the difference between additive and multiplicative spheres lies not in .spa/sph files themselves, but in a way they are opened. PMXE has a switch next to the sphere filename field, deciding whether it is to be used in multiplicative, additive, or subtractive mode, whereas more older PMDE (which some people still prefer for its simplicity) only can do additive maps.
(Still hoping you’d eventually share your knowledge with LearnMMD)
Hi, do you know how can I achieve the same effect of spa in blender with its original nodes?
Sorry… the answer to that question is above my pay-grade… I have no idea.
— Reggie
I need help! Niether PMX editor nor PMD editor opens at all! I’ve used tutorial videos and fixing shortcuts but still nothing. Not only that, but I have no idea where to download the basic models, accesories, etc. Can you help me?
I am sending you and email … let’s get you going!
When editing .spa/.sph files in GIMP, an error message always comes up saying “The given filename does not have a known extension. Please enter a known file extension…”
What do I do about this?
You are correct. You have to change the file extension to .bmp so that GIMP will see the file. Open that .bmp … make your changes … Save it … go back and change the extension to the .spa or .sph that you wanted.
awww…I’m confused after *Open that .bmp … make your changes … Save it … go back and change the extension to the .spa or .sph that you wanted.* I’ve to open its in gimp,right? then how to change the extension to the .spa or .sph
Simply change the extension on the file name… instead of sphereImage.bmp, for example… go into the folder and rename it sphereImage.sph
The sphere image is just a bitmap image file … but renamimg it as a .sph or as a .spa makes it become a sphere file.
https://learnmmd.com/http:/learnmmd.com/alter-sphere-files-for-a-quick-color-change-in-mmd-7-39/
STELLA!!! Missed you on these pages! Wow! do you just hit the ground running! Nice piece!
I’ve mentioned .SPH files in another article. I totally missed the .spa files though Thanks!