What’s involved in an MMD animation? How can I personalize a pre-made animation? What’s it like to make an MMD video?
![]() Hi! Reggie’s been bothering us to write making of articles. I don’t normally make a lot of animations– I’m usually more interested in making models, effects, and other tools– but I was recently inspired to create a video. Of course, I have to make Reggie happy! Otherwise, he doesn’t feed me or let me enjoy any sunshine.
Hi! Reggie’s been bothering us to write making of articles. I don’t normally make a lot of animations– I’m usually more interested in making models, effects, and other tools– but I was recently inspired to create a video. Of course, I have to make Reggie happy! Otherwise, he doesn’t feed me or let me enjoy any sunshine.
Inspiration
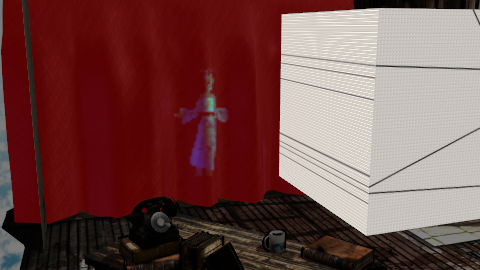
I wasn’t looking to make a video. I know how much work they are, and I often spread myself thin. But inspiration struck without warning and I had to detour.
In this case, I was working on making an effect, testing it in a scene full of random models. I realized that the combination of what I was looking at and listening to was affecting me emotionally. I put the song and animation on repeat. Yup, that definitely did something. Time to make a video.
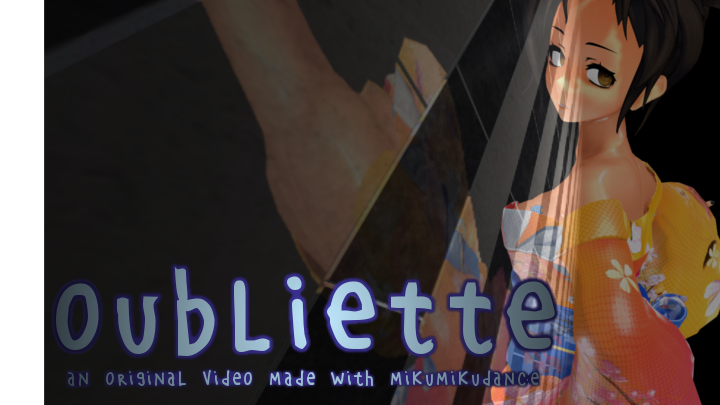
That combination alone wasn’t enough to get me through the project. I thought about a title. A unique title is a good way to distinguish a video from other content. It’s also a good way to flesh out a theme. The song I planned to use, Machines by Dolly, was French, so I translated the lyrics with Google Translate, but nothing grabbed my attention. Wrapped in my thoughts, I enjoyed a late night walk through my neighborhood and remembered a different old French pop song, Je t’Oublierai, and a word came to me. Oubliette means prison. But its root is French, from oublier, which means to forget. So an oubliette is a prison, but also a place to forget, or maybe, to be forgotten. Now I had enough theme to see me through.
Even though the lyrics didn’t help me pick a title, I had to look at them anyways. I don’t like to get very dance-the-words with my videos, but if I’m creating ironic juxtaposition, I’d rather know about it beforehand. In this case, there didn’t seem to be any disconnect between what I wanted to show and what Dolly was singing about.
One vow before I begin
 Almost ready to begin. Just one more thing.
I start a lot of projects that I don’t finish. That’s because I get to a point where everything I’ve done so far starts to look bad to me. I come face to face with my limits and keep trying to break past them until I’m totally sick of whatever I’m working on.
That’s not a good way to get anything made. It might not even be a good way to learn, because people learn much more from finishing something than they do from starting it. At least, I do.
So I made a vow to myself. I would pound this out. I wouldn’t give myself a chance to get sick of it. If it wasn’t good enough, okay then. I would still make it, and I would still publish it. I wouldn’t get lost in the maze of trying to make everything perfect.
Resources
With that promise made, I started looking for resources. I convert, edit, and create models, so I have a lot of my own stuff on my hard drive. It’s not nearly as good as the stuff that professional modellers make, because I’m still just learning. But my models mean something to me and I like to use them even if they’re not as good.
So first I dug through my collection and pulled out anything that I might use. I had a chair, a table, a curtain, a female model, a simple head I’d recently made, and a special dummy bone to which to attach the camera. I needed more models. Mostly, I needed a stage.
I thought it would be fun to orbit two towers with a character in each. But I couldn’t find any stages that would work. I looked at some sites for free models and examined a few meshes, but they’d all need a lot of work to do what I wanted. I remembered what I’d told myself earlier about just pounding this out and scratched the tower idea.
Instead, I made a floor. I’d live without much of a stage. That’s fine, the stage wouldn’t be the focal point of my video anyways. Sometimes simpler is better.
I found a few other models. Didn’t have a texture? No worries. Iconic is okay. That meant that I was using some good models alongside some very primitive-looking models, but the alternative was spending so much time on the details that I lost sight of the project and why I was doing it. I was willing to use incongruous models if it meant that I was still happy when I finished.
Preparing
I had a specific song, one for which no motions have been made. But I wasn’t prepared to create an original animation. I’d recently found Psy’s Double Lariat motion on my hard drive (how’d that get there?) and was impressed by its quality. I checked the length of the animation– longer than my song. So far, so good.
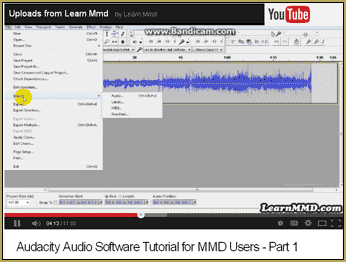
But the tempo was different. Changing the tempo of a motion isn’t easy. Instead, I changed the tempo of the song, using Audacity, to match the tempo of the motion.
I loaded the motion onto my model and the song to my scene and took a look-listen. Not bad! The slow parts and the fast parts didn’t match up, so I figured out the frames where the song’s energy changed and used the bone-multiply function of MMD to make some broad-stroke changes. I reduced the movement of IK bones and the center bone and reduced the arm angles during the lower energy parts of the song. It worked pretty well, but I needed to clean up a few bones afterwards. What about the end? The animation was a lot longer than my song. So I just deleted everything after the end. Problem solved!
Swing low…
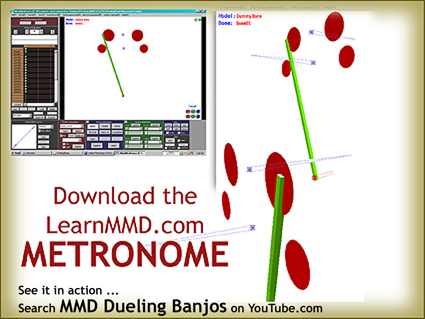
After that, I needed a camera. I loaded my dummy bone and set a few parameters, doing some math to get the rotations on the beats. Looked pretty good! Using a special dummy bone for my camera let me make a smoother camera without as much work, just through the natural math of bones.
Next I needed to tune the head, neck and eyes. It adds so much to a video when models pay attention to the camera. I didn’t want my model staring whichever way with no regard for the camera. I stepped through the motion, stopping at each head and neck registration, and made small edits to bring her attention to the viewer. Thankfully, the Double Lariat motion was well made, and there weren’t a ton of redundant registrations.
Then, I started a new scene for the same movie. And promptly saved over my first scene. I had to recreate it entirely from scratch. Oh well. I’m not so good that I can’t benefit from the repetition.
Four videos in one?
There were a few different things I wanted to do. And with the movie projector effect that inspired the project, I needed a video to make a video. So I created a few other scenes. Mostly, these were simple. That doesn’t mean easy. Sometimes what I wanted to do didn’t work out, and I had to try a new technique or a new model. The spinning floor video stream looks simple and abstract, but it turns out that there are a lot of ways to get it wrong, and I think I explored most of them. I recycled as much as I could– models, motions, camera. It saved me time, and consistency is always good.
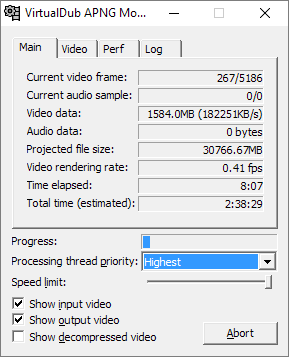
Once I had all my scenes, I rendered them to video, and then started slowly converting them to animated PNGs for use in the other scenes, using VirtualDub APNG Mod. A slow, dreary process, but one that gave me plenty of time to meticulously review my sources and who I would need to credit, and even some time to get started on a Making Of article….
At this point, I had four different videos to composite into a single, final video. I know that software exists to do this. But I don’t know how to use that software. I decided that it would be faster to make my own tool to do it inside of MMD. And once I had made the tool, I knew I could adjust it to do other things if I needed– and not discover that those features are limited in the trial version.
One video to rule them all
This tool made, I loaded all of my videos and stepped through the scene, picking streams, cuts, and dissolves. Here’s where having four videos payed off. If anything looked bad, I could just dissolve to a different stream. And even without much of a stage, with four videos layered over each other, there was never any shortage of visual material.
At this point, the video began making itself. The dissolves revealed interactions between the streams that I hadn’t realized existed. Some of my accidents looked good, so I left them. The story started to come together on its own, like it didn’t care about what I had intended. Good thing that we were mostly in agreement.
Good enough, git ‘er done!
Almost done! I loaded Excellent Shadow and SvSSAO (I save frame rate hog effects for the very end, to save myself editing frustration.) I rendered a quick test. Which crashed my machine halfway through the render. Good thing I always save my scenes before rendering.
A restart later and I believed that I had my final video, rendered in 1080p, with the UTVideo YUV420 BT.709 VCM codec. I rendered in 30 fps, because that seemed sufficient, but also because the dummy bone I’m using has the potential to create black frames when MMD’s IK solver craps out, and at 60fps, that could happen between frames, where I wouldn’t know without seeing the final video. UT doesn’t destroy my audio, unlike Lagarith codec, saving me a step, and is lossless, so I won’t get any weird artifacts between MMD and what I send to Youtube.
But on reviewing my video, there were still a few things I needed to tweak. Just a few more edits, always a few more edits…. Finally, I was happy with a render. I ran an internet speed test to see whether I should risk recompression and decided against it. I’d done a lot of work, and I could afford to wait for the upload, rather than risk the artifacts I feared recompression might introduce. Let Youtube handle that; they know how to do it best.
Reflection
I don’t want to stand still. I want to grow. That means that every time I make something, I don’t know what it will be beforehand, because I’m trying new things every single time. And so it’s always worth thinking, not just about what I’m going to do next, but about what I’ve done.
In Oubliette, I try a lot of new things. New models, new techniques, new effects. Does it work? How do the many elements interact with the fast cameras that I prefer? Does the contrast, or lack thereof, between the black models and the black background dull the scene, or does it accentuate the focal points? Should I have taken the time to improve the resolution of the video streams I integrated, or does their low resolution act to make them even more unreal in contrast to the main scene?
Those are the questions I ask myself. But I don’t know the answers yet. They’re questions without black-and-white answers; they’re balances, and they’re subjective. And I’m still too close to what I’ve made to be able to see the whole thing for what it is. But finding the answers isn’t as important as asking the questions.
If history is any guide, in a month I will watch this and hang my head in shame, and in a year I will watch this again with fresh eyes, and say to myself, “You know, that’s actually pretty cool.” I’ll just have to wait and see. All I know right now is that the video means something to me. That’s why I made it. I’m glad that I did. And proud of myself as well.
Okay, enough already! Here it is!
Keep the Faith and credit your sources! I used Re:Ya*Ma‘s Teto Kasane Tda Edit to spice up this article! The tower is Daniel74’s Fantasy Tower! For a full list of resources used in Oubliette, including the sources for Sydney, check out the blurb on the full Youtube page for the video!
![]()
– SEE BELOW for MORE MMD TUTORIALS…
— — —
– _ — –






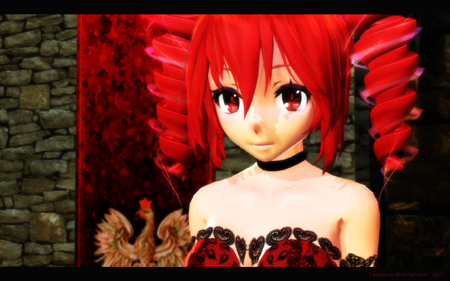


I know you didn’t spend much time on how you edited the video clips together, but the editing really makes this video something special, even without the sound playing. It all flows together so well.
Thank you, that’s good to hear.
I did spend plenty of time on the video editing– a day, but a short one, I guess– but it was different than the other time that I spent, in the way that it flowed. The “cut” is probably the element I’m happiest with. But if you haven’t already, I would recommend it with the sound; it’s designed to work in concert with the song. Assuming the song doesn’t make you vomit or something, I know we all have different taste in music :)
The music is fine. I was just in public without headphones. :)