


![]() How do I use the AuraParticle Effect? How do I set up the Beamman particle-style effects? Why doesn’t the Beamman BeamCharge Effect work?
How do I use the AuraParticle Effect? How do I set up the Beamman particle-style effects? Why doesn’t the Beamman BeamCharge Effect work?
Does anybody else have trouble
with some effects from Beamman?
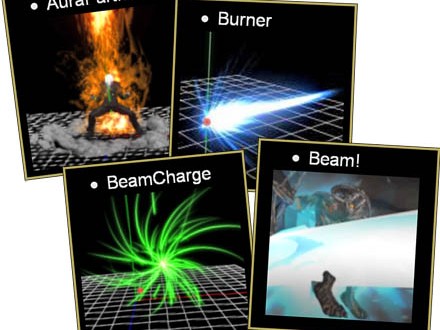
Using Beamman Particle-style Effects
Well, not to worry… here I am with steps for

-
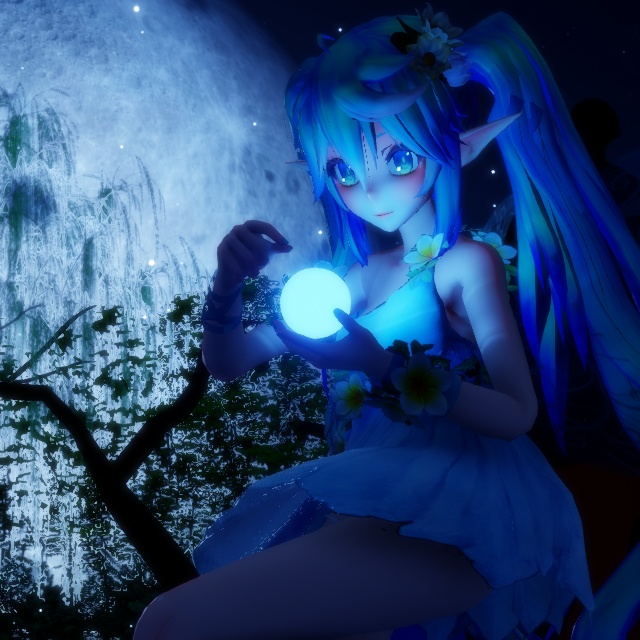
AuraParticle effect
-
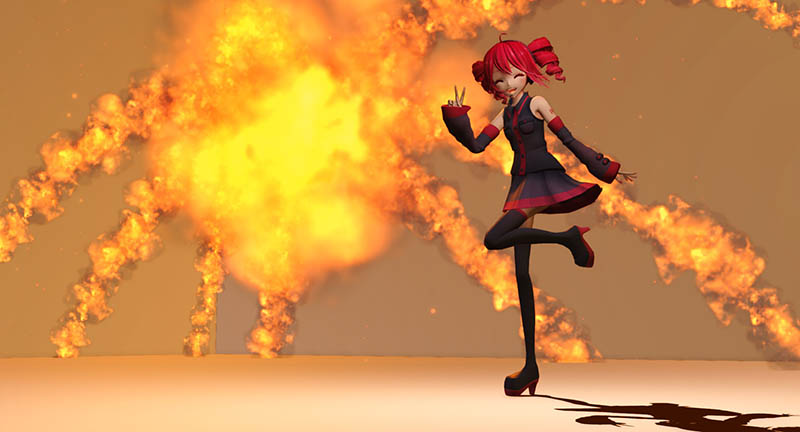
Burner effect
-
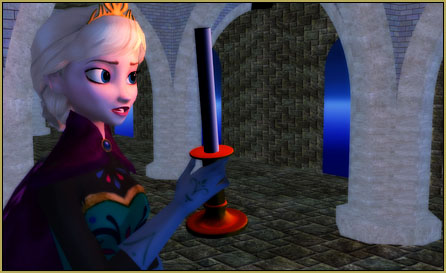
BeamCharge effect
-
Beam effect
Step 0 – Download effect from Beamman’s effects page and drop all files into your Effects folder in MMD. See how to navigate Beamman’s page!
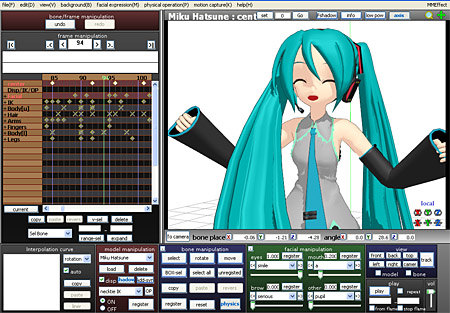
Step 1 – Attach to a dummy bone Via OP Menu
Attaching the effect to a dummy bone and the dummy bone to your model using the Outside Parent lets the effect be attached to your model, and yet you are able to set it down or transfer it to another model by undoing the OP when you are done with it.
Step 2 – in the AMP, set Tr and Si to 0.0
Step 3 – Register about 5 frames before you want the power effect with Si at about 0.0 … and Tr at 1.0
Step 4 – Register 10 frames after power up effect with Si at about 2.0 … and Tr at 1.0
Step 5 – Enjoy playing around with the effect ^_^
Note: The BeamCharge effect is a little different- do not Register in MMD until you are at the frame where you want it to start due to the way it auto charges based upon the frame.
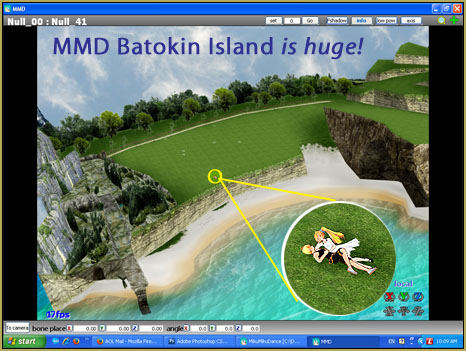
Here are a couple of my videos to demo the effects!
– SEE BELOW for MORE MMD TUTORIALS…
— — —
– _ — –
![]()


hey so great tutorial, only issue is every time i try to render it to an image, the aura effect just completely disappears, is there anyway around that?
i’m using auraparticles btw.
Hello! When you render to picture, you are commanding an instantaneous snap-shot of the screen. The particle effects require a few frames to generate. So, when you render to picture, the effect hasn’t started yet: it’s not there. … The only way around it that I know of is to render to video and then do a “PrintScreen” screen capture of the effect in progress. Use a large screen size like 1920×1080 and view your video at full-screen on your monitor so that your screen capture is of high quality.
Yes?
— Reggie
hey uh I can use the effect now, but I’m not sure how to resize the effect
Ive done everything step by step, but for whatever reason the effect wont show
Actually, it’s more complicated than the article makes it look, as every other effect has its own specifics. Which one gives you trouble?
i have situation but i don’t know how to explain it…..
you can see it on this pic: http://imgur.com/zORDrtG
the effect is on root bone of the model but the display is not exacly like these Beamman’s video
can you tell me what i must to do?
sorry for my bad grammar
thanks
So, what did you try to do and how the picture is not it?
I think he means that the burner effect isn’t displaying like the ones pictured here. It looks like..I dunno…pastel-colored?
But then again, the AMP says burner2.x and the one pictured here is the normal burner.x effect. So perhaps it IS meant to be a different effect?
Anyway, there’s an article dealing with Burner, see if it has answers to your question. Also, if the order of drawing is the problem, adjust it in the “background”->”accessories edit” panel.
thank you so much ^^
what is the Amp, Ti and ST?
Howdy… I got your email and sent an answer. The AMP is the Accessory Manipulation Panel; it’s down on the lower right of the MMD screen. Si controls Size. Tr controls transparency.
I do not know what Ti and ST are… ??